The Finish Coats
Tuesday, August 12th, 2008: No pictures today. For the past two days, I've been spraying the finish coats (Target Coatings' USL — Ultima Spray Lacquer). I did four coats yesterday and four coats today. Tomorrow I'll probably do four more coats. I'll probably end up doing around 12-13 coats total. I'm pretty much following the same routine I did two years ago, on the previous Taylor cutaway style guitar. Here's my routine:
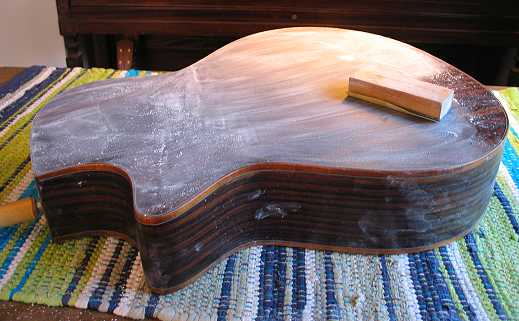
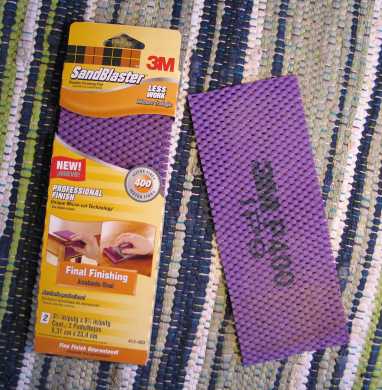
Wednesday, August 13th, 2008: I got a bit of a late start today. In the morning I needed to take my cat and dog to the vet's for their semi-annual checkups, so that took up most of the morning. Thus, I didn't get to start on today's job until after 11:00 a.m. I started by spending a couple of hours completely level-sanding the finish of the previous two days (I had eight coats on the guitar). (See photo to the right.) This is the first level-sanding I did; prior to this, I had just scuff-sanded after the fourth coat. I don't really HAVE to do a level-sanding at this point, but I like to do it because it helps make the final coats go on much more smoothly. I went and bought some 220-grit of that flexible (Sandblaster 3M) sanding sheet, to help especially when I leveled the sides. I used that, then the 320, then the 400. I have no problem just using regular 320 and 400 gold sandpaper on the top and back, as they're primarily flat — but when I get to the sides, I have more of a problem sanding because of the curves. I can't easily use a sanding block (with some foam — actually a piece of an old mousepad — glued to it) on all the parts of the sides, so the flexible sandpaper helps. Since I've become a bit paranoid about sanding too aggressively on the sides (because I'm more apt to sand through the finish here because of the curves), the flexible 220 helped, because I could use a little more gentle touch and still level it without sanding through. Then I was able to use the 320 and 400 to finish it off. So far, on this one, I haven't sanded through at all (YAY!!) — and I was really worried about that, because of the problems you have if you happen to sand through a Z-poxy pore fill (the Z-poxy is amber-colored, so if you have patches of Z-poxy along with bare wood patches, your finish will end up blotchy).
Thursday, August 14th, 2008: Well, all I did today was to level the soundbox's finish (12 coats) and spray on one final finishing coat. I leveled the neck's finish, also (but didn't spray another coat on that). Now there's nothing to do but WAIT...WAIT...WAIT.... (I hate the waiting!) I'm thinking I'll wait at least two weeks before I do any rubbing out of the finish. That means I won't be able to get to it until after school has gotten underway (school starts on the 25th)....sigh..... SO....this means you won't be hearing from me for few weeks.....It's been fun.......see you later!!!! |
|
So that's where I'm at right now — I have 8 coats of finish on the guitar, and it's now sitting waiting in my guitar room, until tomorrow, when I can spray on the final coats..... See you tomorrow....
SOME THINGS I'VE LEARNED IN THE PAST FEW DAYS: I've been really lucky this time (or I'm just getting more comfortable and better with spraying a finish), as I've had no drips as I've sprayed (well, there was a little gnat that landed on the finish, so I did have to use my finger to wipe him off before the finish set — poor guy — I wiped him off carefully and as smoothly as I could, and then sprayed over the area). I guess I'm just getting better at knowing a good way to spray the finish. (I even have had no drips or runs on the neck, which is where I've often run into that problem! Yay!) What I discovered was that, for the sides, it was better if I sprayed perpendicular to the sides (in other words, not spraying lengthwise along the sides); when I used to spray lengthwise, I'd have problems of finish pooling up because of the curve of the sides (it was difficult to follow the curve of the sides to keep the sprayer the same distance from the sides). So, instead, I do lots of short, perpendicular shots at the sides. Another thing I discovered was that it is better for me not to do a back-and-forth motion of spraying. I spray in one direction only, starting the spraying just before the edge and ending just after the edge, then returning to the original side, to spray again. The reason for this is, when I spray in a back-and-forth motion, I find I tend to swing my arm in a "rocking" motion, instead of a strictly straight motion, causing the spray gun to be closer to the wood surface than some times (and, thus, occasionally spraying too much in some areas, creating runs or drips). Also, when spraying the top and back, I first sprayed horizontally across the top, for example, then horizontally across the back; then I would flip it over and spray the surfaces vertically. (Remember, these are each somewhat dry — slightly pebbly — coats, not wet coats, so two of these coats ended up being kind of like one wet coat.) Doing these lighter, drier coats, I think, has been the reason for my success this time in having zero drips or runs (a first for me). And cleaning the spray gun after each application, I think, has helped prevent any spitting of the gun, which doesn't make for a smooth finish, either. Well, time to go and spray another coat (this will be the third coat today)!!! 7:00 p.m.......Well, I'm done for the day....I put on a total of four coats today. Tomorrow I will level it down and spray one final finish coat.
|
|
|