Truss Rod Slot, Peghead Veneer
Wednesday, July 30th, 2008: Today I started working on the neck. I already had a head start on it, though, because I had a leftover neck blank from when I made my first Taylor-style cutaway two years ago (when you purchase a 3" by 4" by 30" neck blank, you actually can get two necks out of it). A while ago, I had already drilled for and glued in a hardwood (walnut) dowel in the heel (so that my threaded inserts wouldn't have end grain to bite into). Today, the first thing I did was rout the slot for the Allied Lutherie truss rod I will be using this time. I've heard only good things about this truss rod, so I decided to try it this time. I needed to rout out a .40" deep, 1/4" wide slot. A couple of years ago, I had made a jig for doing this, an idea borrowed from John Mayes's and Jeff Traugott's versions. It makes routing the truss rod slot very easy! Here are some photos:
|
|
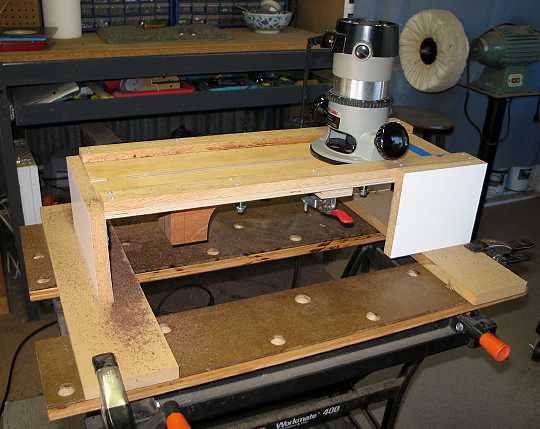
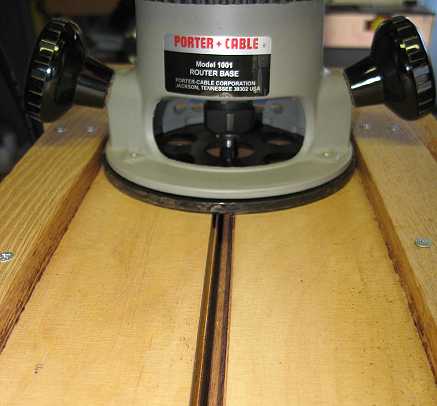
Here's the jig as it's being used. The router is guided by rails on both sides of the router base. There is a slot running down the middle of the jig. Underneath, I have three toggle clamps attached, which clamp the neck blank to the jig. I simply line up the center of the neck blank with the slot, adjust the router for the depth of cut (I make several shallow passes), and rout the slot. Easy! |
|
|
Here's what it looks like on the underside of the jig. |
|
In this case, I just line up the center laminations on the neck blank with the slot. |
|
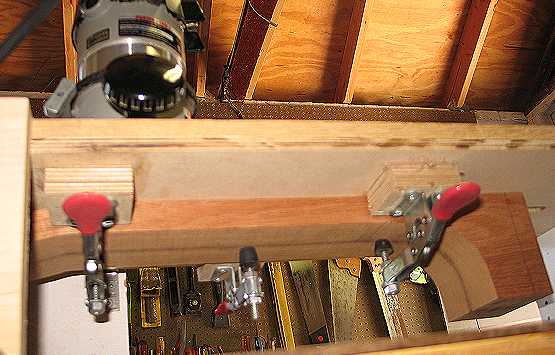
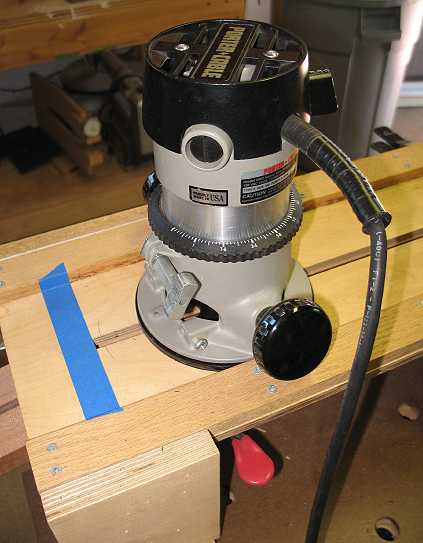
The blue masking tape is there so I know where to stop the router so I won't rout too far (this is the peghead end of the neck blank). |
|
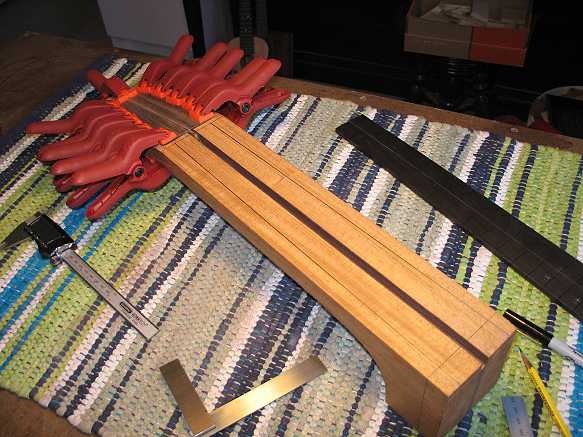
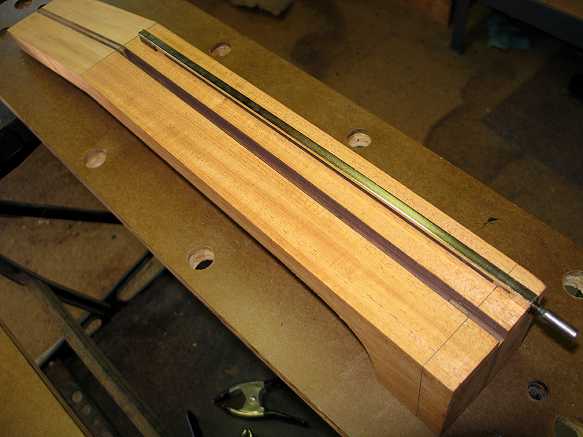
Here is the finished slot. A mahogany filler strip will lie on top of the truss rod; it will be epoxied in and serves to eliminate truss rod rattle and make the rod work most efficiently. |
|
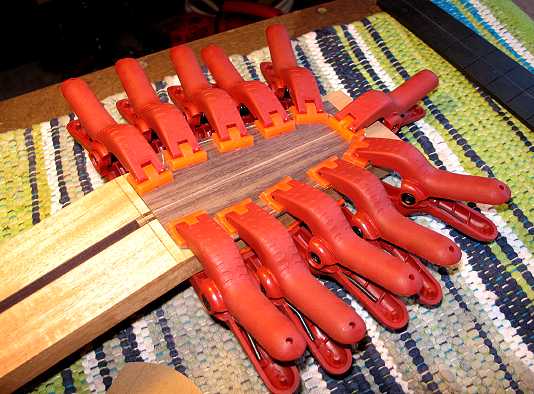
Next, I glued on my peghead veneer (just some leftover rosewood I had), after having used the table saw to cut the angle on the end of the veneer (to meet the vertical back side of the nut). |
|
I next used the fingerboard to mark the outline of the neck onto the blank. After the peghead veneer dries, I will cut off the heel end of the neck (the 14th fret spot). After that, I can choose from, oh, so many things to do next: thin the peghead, draw the heel contour onto the blank, put the fingerboard position dots and side dots onto the fingerboard, fret the fingerboard (I do this before gluing the fingerboard to the neck), carve the neck, do the peghead inlay (I'm going to do the same "Matsushita" kanji characters I did on the other guitar)..... |
Previous PageNext Page |