We Have A Soundbox!!!


Tuesday, July 22nd, 2008

Today was a big day....I glued on the top and now have a soundbox!!!! Yay!!!!

I learned something new, too, today. I realized I had forgotten to do the marking of the top (where the braces meet the kerfing and where they jut out of the sides) before I had glued the back on. It's not a huge mistake, but it is a bit easier to do all that when you can examine and mark the top from inside the rims. It's a bit more awkward to do it when you can't see the inside.

But I did manage to get it all figured out, trimmed the ends of the x-braces and the non-cutaway side of the upper tranverse brace, routed notches in the kerfing for those braces, and got the top to fit the rims perfectly! That was a huge relief.

To the right, you see the top being clamped in the go-bar deck.


INDEX:

Return to HOME PAGE

  1. A Little Detour....A Tour of My Workroom!!!
  2. Joining the Top
  3. Starting to Bend
  4. Bending, Day 2
  5. Bending, Day 3
  6. Neck Block, Center Strip, Cutaway!
  7. Bracing the Back, Gluing in the Blocks
  8. Shape Back Braces, Glue Neck Block, Make Spreaders
  9. Spreader, Rim, Kerfing
  10. Rim-Sanding, Brace-Shaping, Go-Bar Modification, & Obon!!!
  11. Side Strips & Rosette
  12. Beginning the Top Bracing
  13. Bracing, Continued...
  14. Gluing the Back
  15. Gluing the Top
  16. Trimming the Overhang
  17. Routing for Binding : Day 1
  18. Routing for Binding : Day 2
  19. Fitting & Gluing the Bindings
  20. The Soundbox is Done!!!
  21. Truss Rod Slot, Peghead Veneer
  22. Peghead, Start Heel
  23. Threaded Inserts, Neck Trimmed
  24. Fitting the Neck!!!
  25. Truss Rod Cavity, Heel Cap, Fingerboard Trimmed
  26. Finishing and Gluing the Fingerboard / Peghead Inlay
  27. Carving the Neck
  28. I Feel Good....The Basic Building is Done!!! (Now on to the Finishing....)
  29. Pore-Filling
  30. Sealing
  31. Finish Coats
  32. Finishing the Finish!!!
  33. Gluing the Bridge
  34. It's All Done!!!


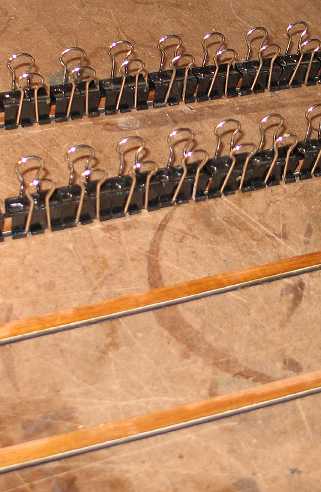
While that was in the deck, I decided I'd start preparations for bindings. I needed to glue my BWB side purflings to the curly koa binding I'm using on this guitar. I found an easy way to do that was with Titebond II and the same stationery clips I use to clamp kerfings:


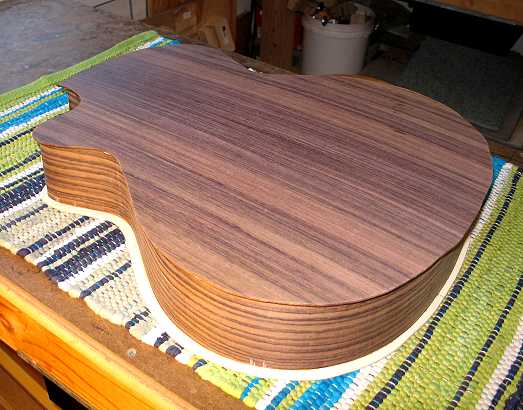
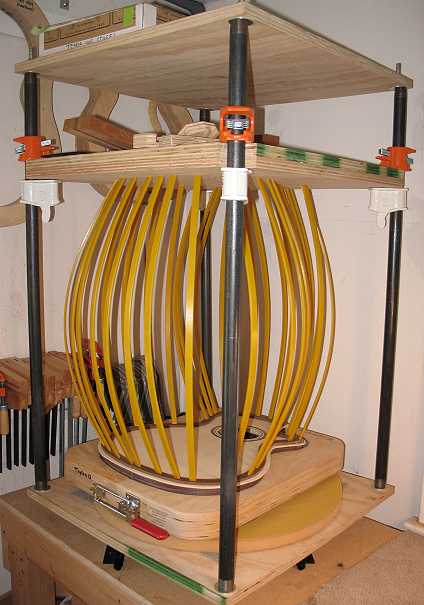
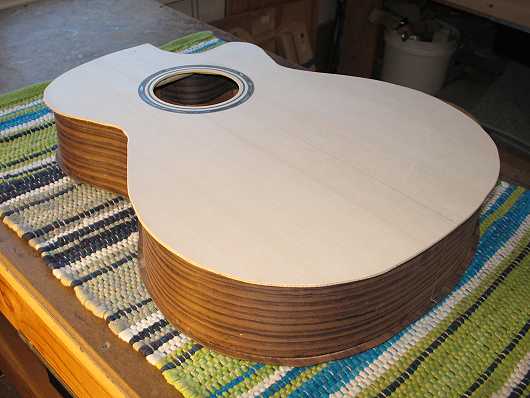
When that was done, I waited a while, and after a few hours, removed the soundbox from the go-bar deck. Here are a few shots of my untrimmed soundbox.

I just love this part!!!! I always love that first thumping on the soundbox!!! It has a really, really nice, resonant thump to it!!! I can't wait to hear what this guitar is going to sound like when it's all strung up....


Well, I have to quit for today....it feels kind of anticlimactic for me to do any more work on this guitar today, after the excitement and relief of completing the soundbox. I feel spent.

Tomorrow I will start fresh and trim the overhang of the top and back. Then it will be time for the next, even more nerve-wracking step for me....the binding. I'm not that great with fitting wood bindings yet, so it makes me nervous, especially with this sharp cutaway horn. (On my previous cutaway, I had used plastic bindings.)

Wish me luck.


Previous Page

Next Page