Another Grand Concert Cutaway!!!

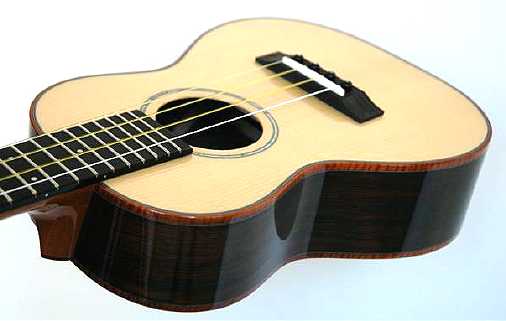
This summer, I will probably not do another step-by-step account of the building of this guitar, as that would be a bit redundant. But what I will do is, wherever I do something a bit differently from the way I did it during the building of that guitar, I will post something here. Another thing I might do this summer, is to post some very detailed, step-by-step descriptions of some of the particular methods I've come to use (for example, my flat butt-joint bolt-on neck). When I've posted these summer accounts, I've usually only taken pictures after I've completed a task, and people have often emailed me asking for more details. So, I'll try to do some of those descriptions this summer. BACK TO THE CUTAWAY..... So far, I've only ordered materials. I have decided to use East Indian rosewood again for the back and sides and Engelmann spruce for the top. For the bindings, I've decided to use (for the first time) curly koa. My inspiration for this choice was a photo an Internet friend sent me of his Ko'olau ukulele — it has lovely Brazilian rosewood and curly koa bindings. It was just such a beautiful combination of colors, I had to do that on my guitar! Here's a photo of that ukulele's woods:
|
Friday, June 20th, 2008: The Easy Jointer!!!
Well, here it is....my very first attempt at embedding a video into my website! (AND, for that matter, my very first experience with filming myself and making a QuickTime movie!!!) Would you believe it took me most of the day to figure out exactly how to do this, so it worked the way I wanted it to??? Well, it did, because at first I had tried to embed just a QuickTime file — but my Safari browser wouldn't play it (Firefox and Explorer would). I finally figured out that it was the Veoh video player and plug-ins that Safari has a problem with, so I deleted those, and all was well. But then I figured that, if others are using Safari and have Veoh on their computers, they'd have a problem opening the QuickTime video, too. SO...I figured out that I could just open a YouTube account, put my video on YouTube, then embed the YouTube flash video into my page!!! Ta dah!!!!! I have learned a bunch of new stuff today....even if I didn't get much done on the guitar.... ANYWAY....the whole point of this was to demonstrate my first experience with Luthier Suppliers' new "Easy Jointer" jig, for jointing tops and backs. I tried it out today on the beautiful Engelmann spruce top I will be using for this guitar, and the jig worked wonderfully! I like it. Thanks, Tracy!!!
Next Page |