Routing for Binding & Purfling : Day 1
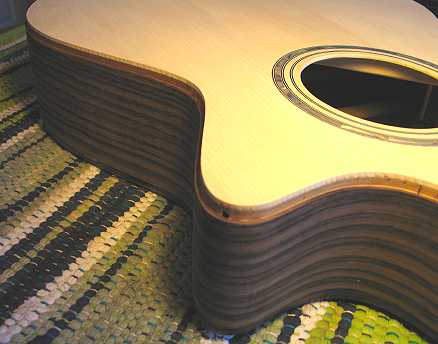
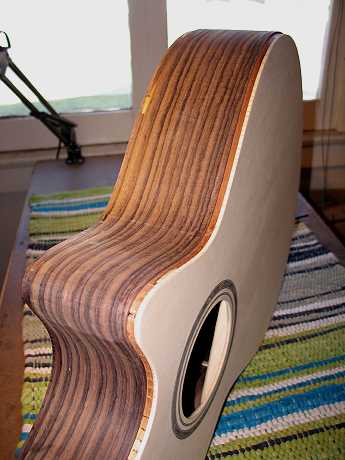
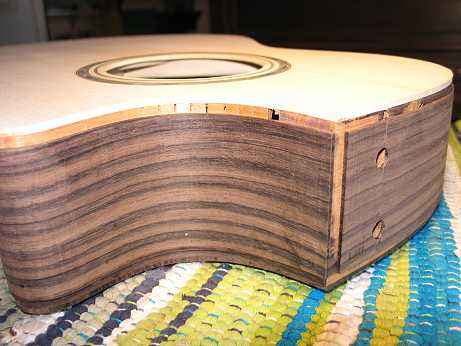
Thursday, July 24th, 2008: Today I first did a lot of little things before tackling the binding. The very first thing I did was to sit down at my computer and make a list of all the steps I need to take next in finishing up this guitar, and in what order I should do each little part. Having it all thought-out and written down should help me from getting confused (and making stupid mistakes). It helps calm me down. I used a sanding block to true up the sides of the soundbox. I rummaged through my scraps of leftover woods to find some curly koa I could use for my tail wedge (end graft) and some rosewood to use for my headplate. I cut a little binding/side purfling piece to use for my test cuts of the binding ledge. Then I took a deep breath and started on the nerve-wracking (for me) task of routing the binding ledges. I am using the Williams binding router jig with the LMI binding cutter/bearing bits. For routing the binding w/side purfling ledge, I needed to use the .080" bit w/bearing. I did a few test routs first. Once I had the router all set up, I spent some time adjusting the soundbox in the holding cradle, to get the sides perpendicular to the table. I routed out the top binding ledges first, then the back. It went well. I didn't have to re-do or touch up anything! Here are some photos.
|
|
|
|
|