Gluing the Bridge
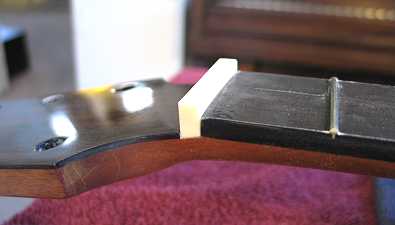
Sunday, August 31st, 2008: Today, the first thing I did was to fit the nut to the slot, in preparation for determining the bridge location. Here's the fitted nut (final shaping will come later):
Now I could figure out exactly where to position the bridge. I used Luthier Suppliers' "Simple Centerline Finder" to do this. First, I had to figure out where the front of my bridge should be located — it was 9/32" in front of the string length (my 24.9" scale length + .10" compensation at the center of the high E string). Once I did that, I scribed that front-of-bridge position onto the bottom of the jig and placed the jig's "Bridge Squaring Attachment" to meet that scribed line. Then, it was really easy: I simply placed the jig onto the neck, centering it with the little dowels/knobs, and butted my bridge's front up to the jig's bridge-squaring attachment edge, matching the bridge's centerline with the jig's scribed centerline. The bridge now properly positioned, I taped it down securely and removed the centerline finder jig. Next, I drilled two 3/16" holes into the 1st and 6th string holes in the bridge. These two holes were for the bridge clamp, which I would use later. Now it was time to remove the finish underneath the bridge position. I taped all around the bridge with masking tape, then did my usual process of using paint stripper to remove the finish within the masked area, scraping away the bubbled-up finish with a chisel and wiping the scraped area with a damp paper towel to neutralize any remaining stripper residue. I let it dry.
|
|
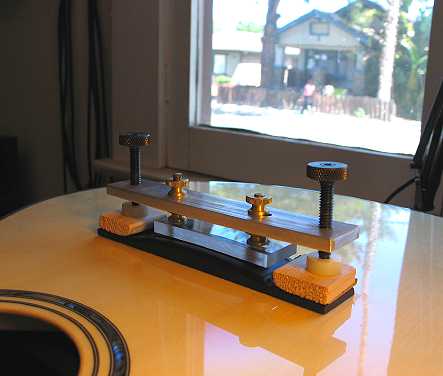
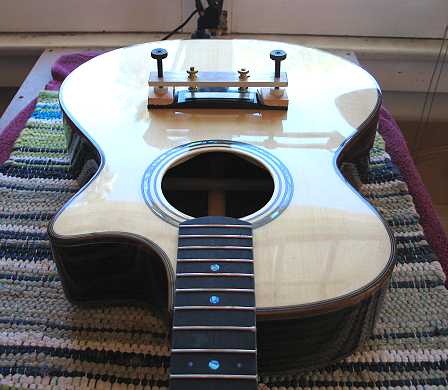
Now it was time to actually glue on the bridge. This time I used, for the first time, a bridge clamp from John Hall of Blues Creek Guitars. It worked wonderfully! It consists of an aluminum caul which goes inside the guitar, underneath the bridge plate, with two threaded rods through the 1st and 6th string holes. You position the bridge (with glue) onto the two threaded rods, clamping a piece of Lexan down onto it with a couple of threaded knobs, then place another, longer aluminum caul above that; this caul has two threaded rods at the ends to clamp down onto the wings of the bridge. This clamp eliminates the need for using bridge clamps through the soundhole and allows you to easily get to any glue squeeze-out that might occur. Here are a few photos:
|
|
|