Joining the Top
Tuesday, July 1st, 2008 I haven't done a whole lot on the guitar in the last few days....I spent a bit of time fine-tuning my little Performax 10-20 thickness sander --- realigning the sanding drum, getting the conveyor belt to track properly (it's a little finicky). After I got that all fixed, I thickness-sanded my sides. I also ended up jointing a new Engelmann spruce top set today, because when I thickness-sanded my original top set, it ended up a bit too thin on the outer edges (due to the Performax sander being out of alignment --- that's why I was spending that time readjusting it --- should have checked it first!). I can still use the original set on a smaller guitar later, so it's okay. ANYWAY....after jointing the new top and thickness-sanding it, I thought I'd make another video!!! (I think I'm getting addicted to playing around with iMovie!) So, here it is --- my video of how I join my tops!!!! It's the method I learned when I built my very first kit guitar, and I've used it ever since. |
You need a QuickTime Player to view this video. For a free download of QuickTime:
|
|
Thursday, July 3rd, 2008
|
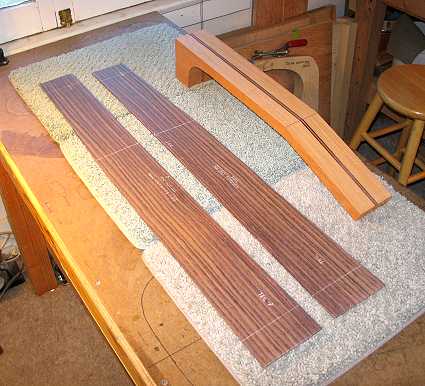
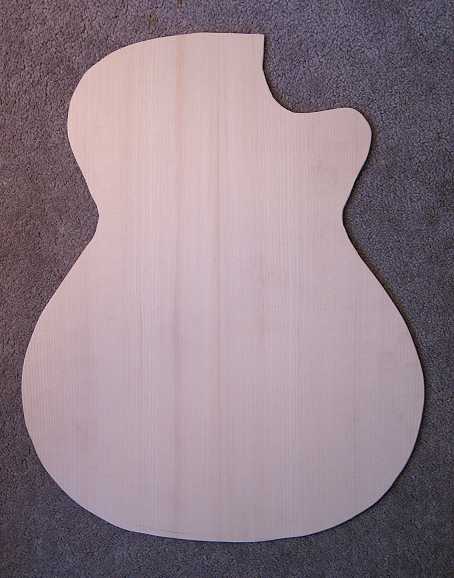
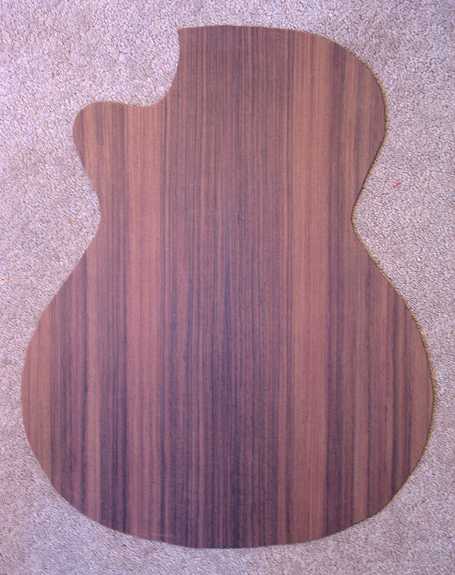
In the past couple of days, I have done a few things: I have joined the top and cut out its profile. Right now it's thicknessed to about 4mm or so; after I inlay the rosette, I will do the final thicknessing. As you might have noticed, I have a new set of wood for the back. The previous set I had joined, I was a little worried about, as it (like my previous top) was a little thin on the edges, too (because of my Performax sander being out of alignment). So, instead of using those top & back sets for this guitar, I ended up cutting them out for a future Size 5 guitar. To the right is my new set. I have it thicknessed to 2.4mm (about 3/32"). I like its striping and have decided not to inlay a backstrip to compete with it. TO THE LEFT BELOW: I found I had an already cut-out neck from the laminated mahogany neck blank I had used back in 2006 for the 1st cutaway project (you can get two necks out of one 3" by 4" by 30" neck blank), so I will be using that for this guitar. That saved me a bit of time!!! Also on the bench are the two sides I thicknessed to 2mm yesterday. Today I used the same Colin Symonds method of figuring out the side profile that I used successfully last year on my classical. I am making this Taylor-style cutaway a little thinner than I made the first one, more like their original dimensions for the Grand Concert, which I really liked for its daintier proportions. My soundbox depth will be 3-1/2" at the neck end and 4-1/4" at the tail end. |
|
|
|
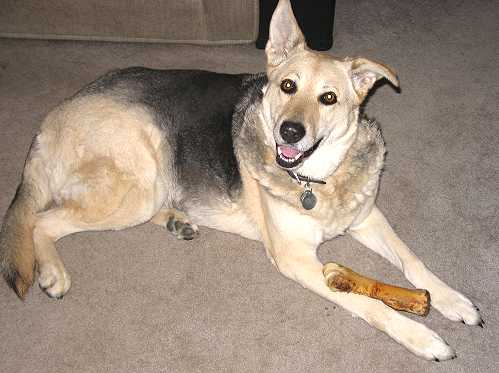
And here's Emily, who is busy gnawing on her very favorite yucky bone !!!! She is so patient with me every day, as I am constantly working on the guitar, that I felt she deserved a little recognition.....
Previous PageNext Page
|
|