Fitting the Neck!!!
Here's how I did it. I put self-stick sandpaper (100 grit) onto the bass side of the soundbox, firmly grabbed the heel, and moved it back and forth over the sandpaper. I kept checking and sanding, checking and sanding, until it finally did become centered.
|
|
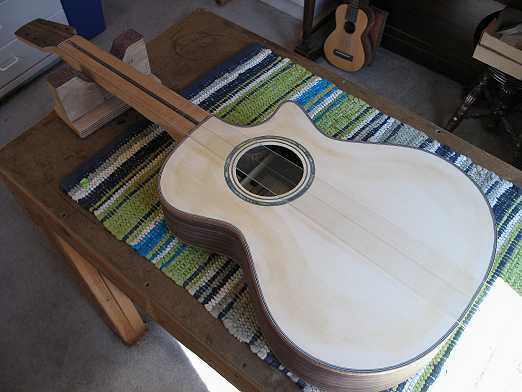
It's centered now!!!
|
|

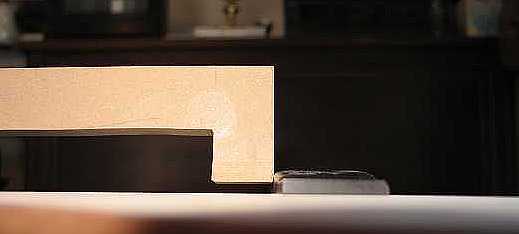
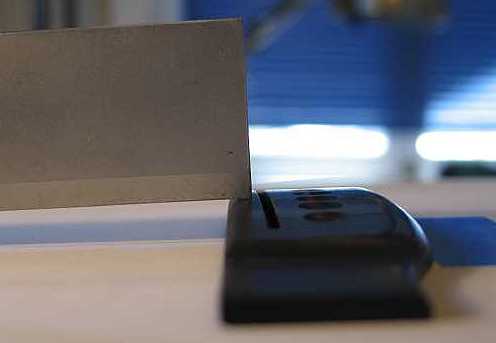
Now it was time to check the neck angle. I once again bolted the neck to the body, placed the unfretted fingerboard on top of the neck, and placed the bridge in its approximate position on the top. Placing a straightedge on the fingerboard, I could see that it was too low; the straightedge was quite a bit below the top of the bridge. What you want is for the straightedge to just "kiss" the top of the bridge.
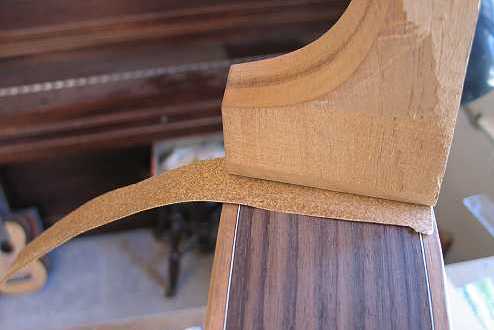
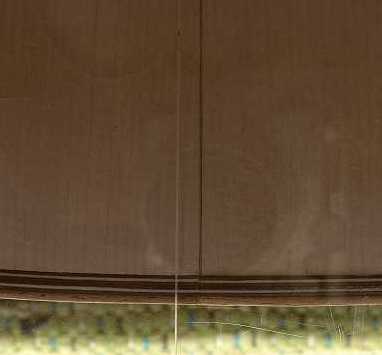
So...I would have to sand more off the lower part of the heel, to be able to angle the neck back (and thus raise the end of the fingerboard). The first thing I did (I forgot to take a photo of this) was to place self-stick sandpaper over the entire area the heel would contact on the soundbox. I then firmly grabbed the heel and sanded it, but put more pressure on the lower part of the heel. Again, more checking, sanding, re-checking. When I was getting close, I switched to the "flossing" technique. I loosely bolted the neck onto the box and slipped a 100-grit sandpaper strip underneath one side of the heel, like this:
|
|
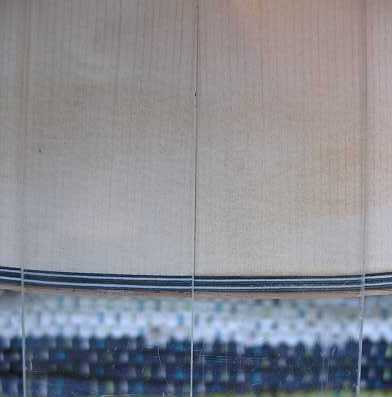
I pressed the heel firmly against the body and slowly pulled the sandpaper strip, until I reached the end of the strip:
I did this, on this side of the heel, say, five times, and then switched to the other side of the heel, five times also. What happens here is, when you pull the strip, the top of the heel gets sanded less than the bottom, because the sandpaper leaves the top right away, but it is continuing to sand the bottom. That way, you are able to get that back angle on the heel. Doing it the same number of times on both sides helps you keep that centered neck you worked so hard previously to get — or, at least, it doesn't get thrown off by too much — you do have to keep checking to see if it's still centered, and do more sanding of one side if it gets off-center. (But it's not that hard to do, as it doesn't go off-center by too much.) Okay.......SUCCESS....after a while of sanding, checking, sanding, checking....
|
Previous PageNext Page |