Trimming the Overhang
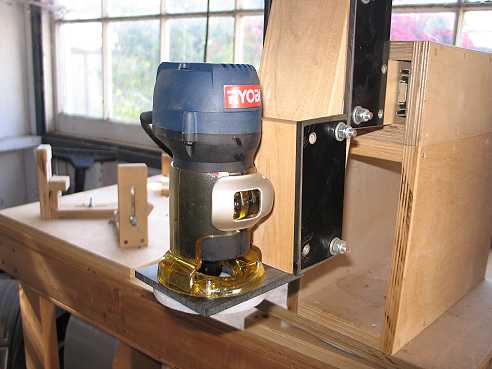
Wednesday, July 23rd, 2008 Lots of photos today.... First of all, I ended up spending the morning and most of the afternoon sidetracked a little bit. I did some shopping for a new laminate trimmer for my binding router jig. The old one worked, but it was a bit of a pain to raise and lower the trimmer, with just a wingnut to tighten and loosen. I bought a new Ryobi laminate trimmer which has a lever that you just flip, to unclamp and clamp the router in the base. I also liked that it has a kind of keyway that locks it in position, and that it's a little more compact and easier to handle than my older trimmer. It runs very smoothly. Anyway, I spent a couple of hours or so making a new phenolic base for the trimmer, for use in the binding router jig. Here it is:
|
|
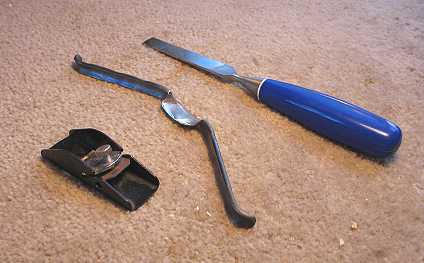
This was all in preparation for my next task — trimming the soundbox overhang and later routing the binding and purfling ledges. I wanted to make sure to have something that worked smoothly. Before I took the soundbox to the router jig, however, I trimmed the bulk of it with these tools:
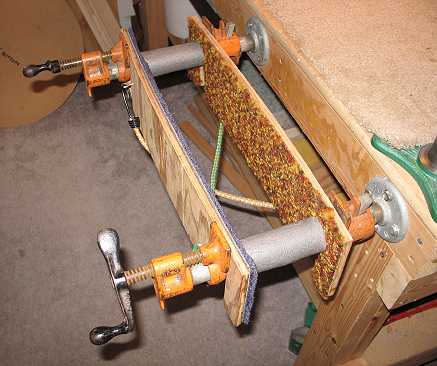
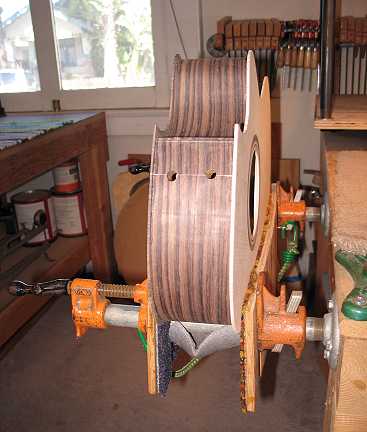
I left about 1/8" for the router jig to trim flush to the sides. To hold the guitar as I was trimming it with the tools above, I used my guitar-holding clamp, which I made long ago, from an idea in the GAL Lutherie Tools book. Below are a few photos of how the clamp is constructed and used. It consists of two 1/4" plywood jaws lined with carpet, two 12" pipe clamps screwed into two pipe flanges 16" apart. I have two bungee cords hanging underneath the jaws, to support the soundbox should it slip down. The thin plywood jaws are flexible, so they gently yet firmly support the top and back.
|
|
|
|
|
|
|
|
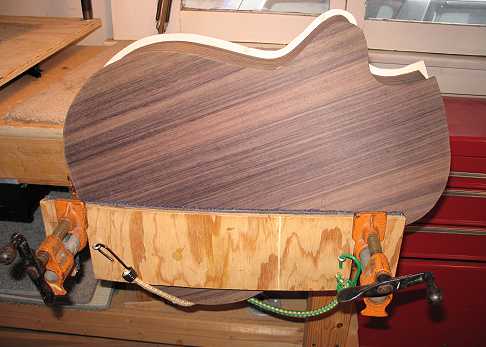
Next I took the soundbox to my binding router jig, with the new laminate trimmer. I set the soundbox into the holding cradle, clamped the cradle down, and used a bit with a flush-cut bearing to trim the rest of the overhang. It worked really smoothly and well!!! I am feeling better now about the upcoming task of routing the binding ledges. (Sorry, I forgot to take pictures of this.) To see how the soundbox looks now, all trimmed and beautiful, go to the Next Page!!!
|
Previous Page |