Peghead, Begin Heel Work


Thursday, July 31st, 2008:

LOTS AND LOTS OF PICTURES TODAY!!!! I accomplished a lot today.

I actually shaped the peghead last night. I stuck the template on top of the veneer with double-stick tape, flipped it all upside down, and used a Robo-Sander to follow the template.

Next, I drilled the tuner holes:


Then I used the soundhole cutout to mark the bottom shape of the rear of the peghead.

(Oh, yeah....that messed-up hole in the bottom row is no problem. It was the first hole I drilled, and I didn't have the drill set to go down far enough to go all the way through. But it didn't matter, as I was going to cut that bottom half off the peghead anyway, when I thinned the peghead!)


INDEX:

Return to HOME PAGE

  1. A Little Detour....A Tour of My Workroom!!!
  2. Joining the Top
  3. Starting to Bend
  4. Bending, Day 2
  5. Bending, Day 3
  6. Neck Block, Center Strip, Cutaway!
  7. Bracing the Back, Gluing in the Blocks
  8. Shape Back Braces, Glue Neck Block, Make Spreaders
  9. Spreader, Rim, Kerfing
  10. Rim-Sanding, Brace-Shaping, Go-Bar Modification, & Obon!!!
  11. Side Strips & Rosette
  12. Beginning the Top Bracing
  13. Bracing, Continued...
  14. Gluing the Back
  15. Gluing the Top
  16. Trimming the Overhang
  17. Routing for Binding : Day 1
  18. Routing for Binding : Day 2
  19. Fitting & Gluing the Bindings
  20. The Soundbox is Done!!!
  21. Truss Rod Slot, Peghead Veneer
  22. Peghead, Start Heel
  23. Threaded Inserts, Neck Trimmed
  24. Fitting the Neck!!!
  25. Truss Rod Cavity, Heel Cap, Fingerboard Trimmed
  26. Finishing and Gluing the Fingerboard / Peghead Inlay
  27. Carving the Neck
  28. I Feel Good....The Basic Building is Done!!! (Now on to the Finishing....)
  29. Pore-Filling
  30. Sealing
  31. Finish Coats
  32. Finishing the Finish!!!
  33. Gluing the Bridge
  34. It's All Done!!!


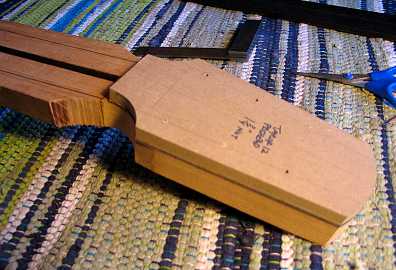
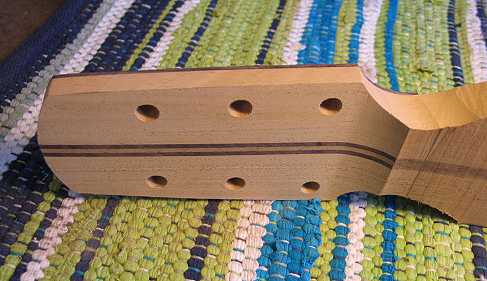
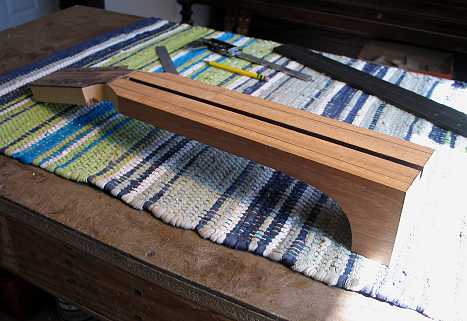
I marked the 1/2" thickness of the peghead and where it will scoop down to form the volute.

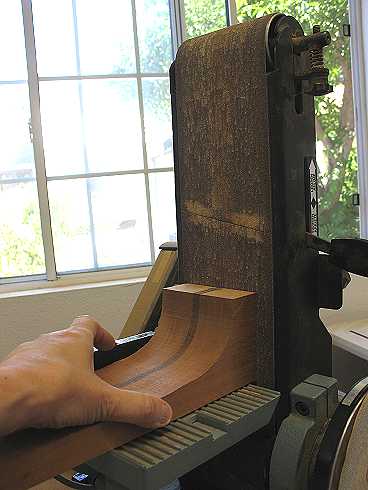
After first cutting close to the line with my bandsaw, I then used the belt sander to sand up to the line and form the volute. Later this will be sanded to form the curved bottom of the peghead rear.


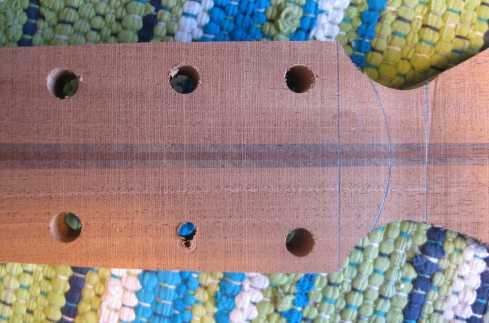
Next, in preparation for doing the preliminary neck angle work, I used the table saw to cut the end of the neck blank at the 14th fret position.


Previous Page


Next Page


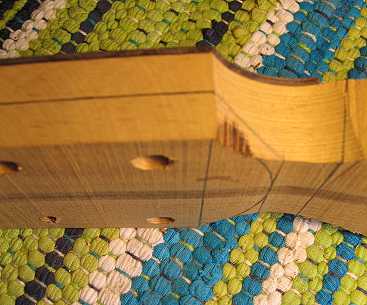
I used the belt sander in its vertical position to sand the proper angle on the heel (I use a flat butt joint). I hold the neck blank against the miter gauge and actually use both hands as I'm sanding the heel. (This photo was just to show you how I use the belt sander; I wasn't actually sanding here!)


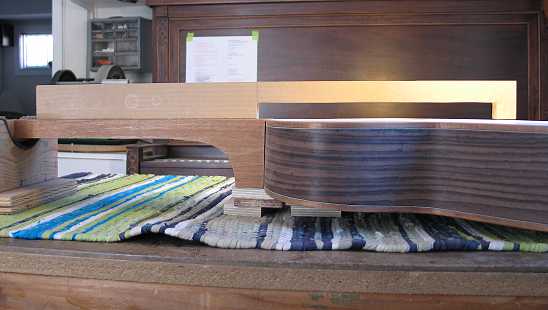
After a few tries, I got the angle right. Here I am checking it with a simple MDF straightedge. I want barely any space between the straightedge and the top at the saddle position. The neck angle and centering of the neck will be fine-tuned later, after I carve the neck and am able to bolt the neck to the soundbox.