Bracing, Continued...
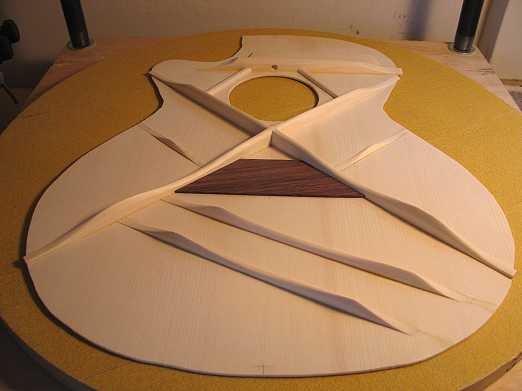
Saturday, July 19th, 2008: Well, last night I watched John Mayes's "Advanced Voicing" DVD, in which he takes 4 different tops (Sitka, Lutz, Carpathian, and Caucasian) and goes through what he does to "voice" (change and fine-tune the carving of the braces) each top to get the kind of sound he wants, for four different kinds of playing styles. From what I can tell, there doesn't seem to be a particular "system" of carving for each style; he just keeps carving/thinning different braces, tapping the top all along after each carving, until he hears the sound change little-by-little to the kind of sound he wants. I have never tried voicing the top; I've always just followed a standard pattern of scalloping braces from blueprints, mainly because all the explanations of voicing or "tap-tuning" I had previously read about seemed too complicated, technical, or unclear to me. But I think I'll try John Mayes's method on this top. John's DVD seemed to make it more understandable and less intimidating to me. It comforted me to know that it seems to be something that's do-able and not necessarily beyond my reach. As of last night I had glued on the x-braces, the upper transverse brace, the brace above that (I never remember what its name is!), the two tone bars, and the two finger braces. The only one I had carved at that point were the x-braces and the upper transverse brace. So....after having watched John Mayes's DVD last night, this morning I did a little re-carving of my x-braces (they seemed too tall to me), and then went on to carve the tone bars and finger braces. As I carved, I kept tapping the top, and, by golly, I could hear the sound starting to change and loosen up a bit!!!
|
|
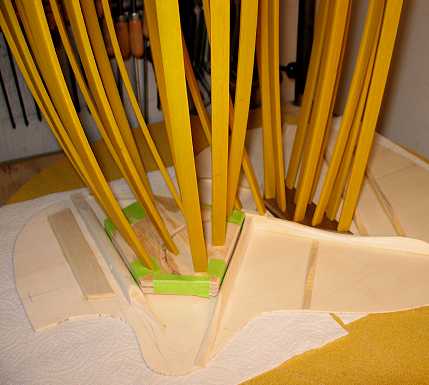
After I did that basic shaping of the braces, I went ahead and glued on the bridge plate, the cap for the x-brace intersection, and the soundhole braces. They're sitting in the go-bar deck right now:
After those braces are set, I will do the final voicing of the braces and will sand and clean the whole thing up. Then I can start thinking about putting this box together!!!! |
|
|
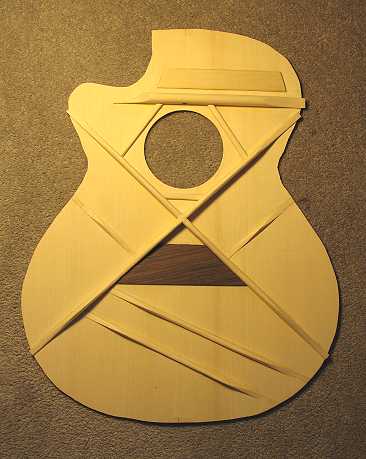
Later that evening..... Well, I finished the braces. It sounds good! Here are some photos:
|
|
|
Previous PageNext Page |