Finishing the Finish!!!
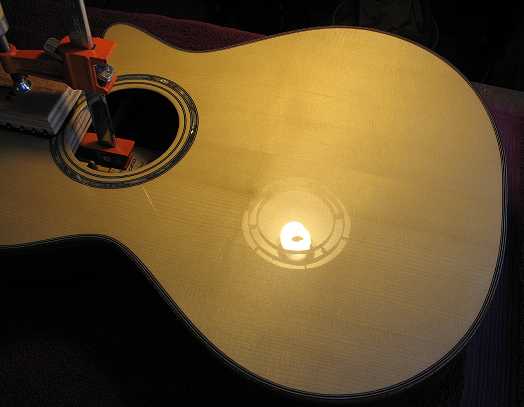
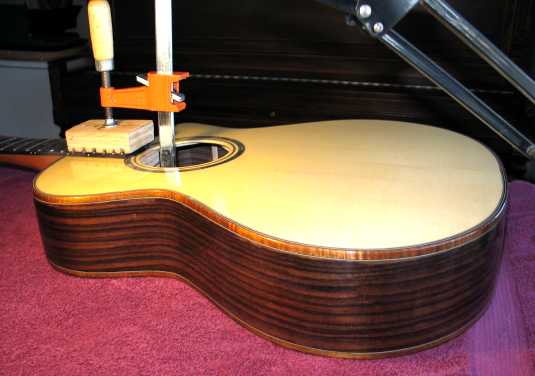
Saturday, August 30th, 2008: Well, the awful "waiting" period is FINALLY over!!! It's been a little over two weeks since I've touched the guitar (it was killing me). But today I finally was able to begin rubbing down the finish. I spent about four hours or so wet-sanding the finish, using all the grits of Micromesh (1500-12000) wrapped around a foam block. By the time I was down to the 12000, there was a fine mirror gloss to the finish. Then I finished it all off with three Meguiar's products — the #9 Swirl Remover, the #7 Glaze, and the #10 Plastic Polish. I was very fortunate this time; I didn't sand/rub through the finish at all! It all went really smoothly.
|
|
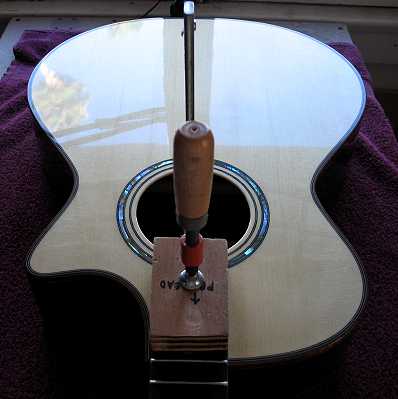
Next, I bolted the neck onto the soundbox, ran masking tape around the fingerboard extension on the top, and removed the neck. I used some Zip-Strip paint remover (very carefully with a small brush) to remove the finish underneath the fingerboard extension area, scraping the bubbled-up finish away with a 1/2" chisel. I neutralized any remaining stripper residue with a damp paper towel and set it all aside to dry. When it was dry, I applied white glue to the top scraped area, bolted the neck to the soundbox, and clamped the fingerboard extension down, using a couple of cauls. That's where it's sitting now. I'll let it sit until tomorrow. Then I'll determine the bridge position and glue that up.
|
|
|