Spreader, Rim, Kerfing


Thursday, July 10th, 2008:


Not too many pictures today....I did four things today:

I did end up making a spreader for the neck and tail blocks, as there was a small gap there that I wasn't totally satisfied with. I plan to keep all the spreaders in until after the box is glued up — I will do a trial run at removing the spreaders from the soundhole, with an old top I have in my workroom, to make sure it can be done. (Also, it's a good thing I have a small hand, to more easily get around inside the soundbox!!!) I wanted to keep the spreader thin, so it wouldn't interfere with the workings of the other three spreaders, so I used Robbie O'Brien's method of using threaded rod and an aluminum tube for the spreader.


INDEX:

Return to HOME PAGE

  1. A Little Detour....A Tour of My Workroom!!!
  2. Joining the Top
  3. Starting to Bend
  4. Bending, Day 2
  5. Bending, Day 3
  6. Neck Block, Center Strip, Cutaway!
  7. Bracing the Back, Gluing in the Blocks
  8. Shape Back Braces, Glue Neck Block, Make Spreaders
  9. Spreader, Rim, Kerfing
  10. Rim-Sanding, Brace-Shaping, Go-Bar Modification, & Obon!!!
  11. Side Strips & Rosette
  12. Beginning the Top Bracing
  13. Bracing, Continued...
  14. Gluing the Back
  15. Gluing the Top
  16. Trimming the Overhang
  17. Routing for Binding : Day 1
  18. Routing for Binding : Day 2
  19. Fitting & Gluing the Bindings
  20. The Soundbox is Done!!!
  21. Truss Rod Slot, Peghead Veneer
  22. Peghead, Start Heel
  23. Threaded Inserts, Neck Trimmed
  24. Fitting the Neck!!!
  25. Truss Rod Cavity, Heel Cap, Fingerboard Trimmed
  26. Finishing and Gluing the Fingerboard / Peghead Inlay
  27. Carving the Neck
  28. I Feel Good....The Basic Building is Done!!! (Now on to the Finishing....)
  29. Pore-Filling
  30. Sealing
  31. Finish Coats
  32. Finishing the Finish!!!
  33. Gluing the Bridge
  34. It's All Done!!!


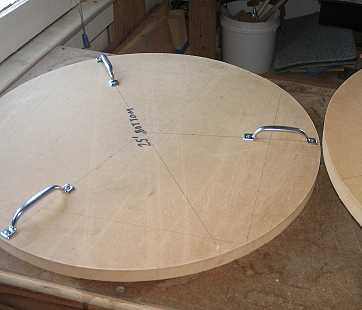
Next, I put some handles on my two radius dishes and sanded the top and back radius into the rim, before the kerfing is put on. This will make less sanding for me after the kerfing is on. This took a while, but the top and back now sit nicely in their radius dishes.

My 15' radius dish is minus a handle. I found that if I have 3 handles on the dish, it can still sit level when I'm using it normally. I need to buy another handle tomorrow!


Next, I glued kerfing on the back edge of the rim. Tomorrow I'll do the top edge.


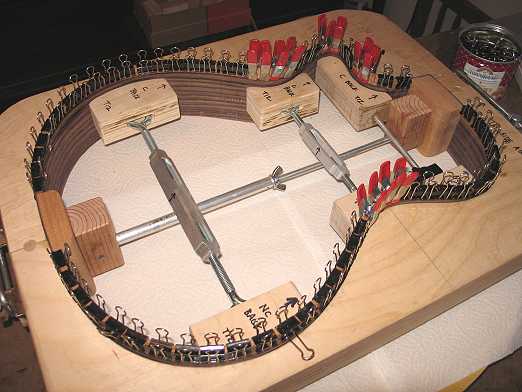
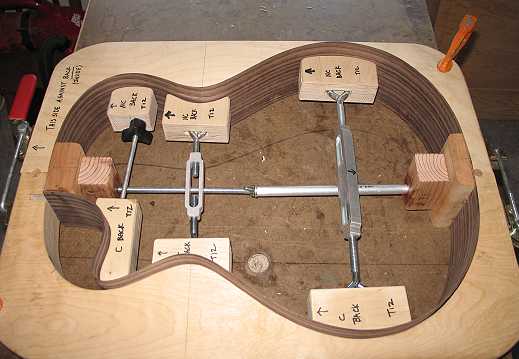
Oh, and another thing: I decided to remove the top brace from my back, as it stopped short of the cutaway horn (I stopped it there because it looked as if it would run into the kerfing). An Internet friend kindly suggested it would be better to run it all the way across, and later adjust the kerfing if some of it interferes with the brace. Well, I thought it over, and decided that probably would be a better idea. So...I removed that brace (by planing it down, then chiseling and scraping it out). I'll make a new brace tomorrow, then set the newly-kerfed rim on top of it, to see what I might need to adjust, before gluing on the brace.


Previous Page

Next Page