Spreader, Rim, Kerfing : Day 2
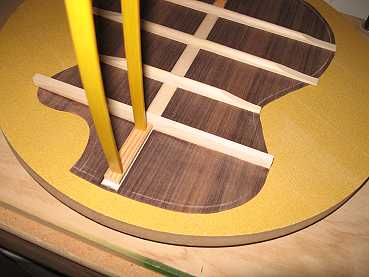
Friday, July 11, 2008: Today I only did a couple of things. I made a new top brace for the back, to replace the too-short one, and glued it onto the back, placing it a little lower than the previous one, so it will totally miss the kerfing at the cutaway. I'll shape it tomorrow. I also installed the kerfing on the top edge of the rim.
|
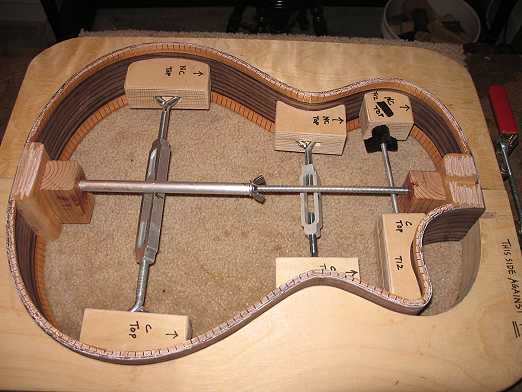
I also discovered something I hadn't thought of. With the three handles on the bottom of the radius dish, I have to be sure to put a go-bar or two at the opposite end of the dish, if I am only clamping at one side of the dish. If I don't do that, the dish may tip over! (See how I've placed a few go-bars at the lower bout of the back?) Duh... I may have to rethink this. I'll either have to always remember that, or only have the handles on the dish when I'm sanding down the rims. (I'll probably do the latter.) You learn something new every day.... |
|
|
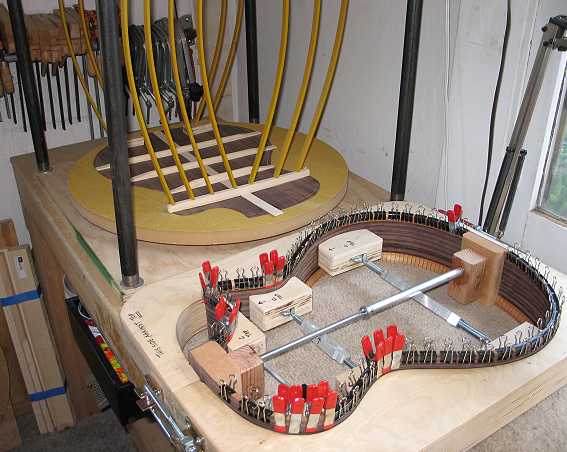
Here is the rim, all kerfed. I have marked the kerfing and blocks with white pencil, so that when I sand the rims down again tomorrow in the radius dishes, I can tell when it's all flush. (I shouldn't have to do much sanding, as I glued the kerfing just a tad higher than the sides.) Then I'll glue in the side reinforcement strips. Oh, yeah....I also discovered that I don't have the paua abalone I want to use for my rosette. I had thought I had some, but I just checked, and I don't. I want to use the wider strips (.135"). So....my plan to start on the rosette tomorrow is postponed till the abalone arrives. I guess the next thing I can work on is the fingerboard and neck. Or...I could start the process of getting the back ready to glue onto the rim....
|
|
|
Previous PageNext Page |