Pore Filling
I'm back..... It's now around 5:30 p.m., and I'm done for the day. I spent two hours or so doing the final sanding (grain-raising a few times, going from 120-grit all the way to 400-grit sandpaper). After that, I put a couple of coats of 2-lb. cut shellac (Zinsser Seal Coat) on the top, both to protect it and to serve as its seal coat underneath the ultimate waterbase finish I'll be using. (I'm not putting epoxy on the top, thus the shellac. If you were going to epoxy the top, though, you shouldn't apply the shellac coat, as epoxy doesn't adhere to shellac, apparently.) Then I started on the pore-filling process. This is the first time I'm using Z-poxy finishing resin to fill the rosewood and mahogany pores (applied to the bare wood). I've chosen it because it's gotten a lot of good reviews as a pore filler, and because it's known to "pop" the grain, also. After doing some experimentation on scrap rosewood in the past few weeks, I found that, to apply the epoxy, using a slightly dulled, "safe-cornered" razor blade worked the best for me. I glop a dollop (that sounds neat, doesn't it?) of the Z-poxy onto the rosewood, then use the razor blade to press it into the pores and scrape the excess off. I found using a razor blade makes it easier to avoid getting ridges when you're removing the excess epoxy. I hold the razor blade at a downward angle to the wood, and scrape diagonally to the grain, as I press the epoxy into the pores and remove the excess. I found that it worked best, also, to frequently wipe the excess epoxy off the razor blade with a rag dampened with denatured alcohol; that kept the ridges from forming.
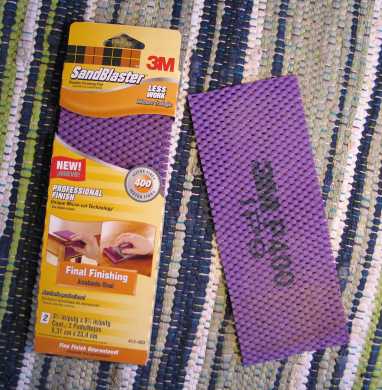
Thursday, August 7th, 2008: Well, it's the second day of pore-filling....I just finished applying the second coat of the Z-poxy. What I did before I applied the second coat was to lightly sand the surfaces with 400-grit sandpaper. I like the gold 3M 400-grit paper (P400); it doesn't load up on me. I also found what worked really well on the curved surfaces of the neck was this:
It's a flexible sanding pad, kind of like those foam pads for the bottom of drawers, but with some sort of sanding particles embedded in the foam. It comes in 6 different grits, from 80 to 400. |
|
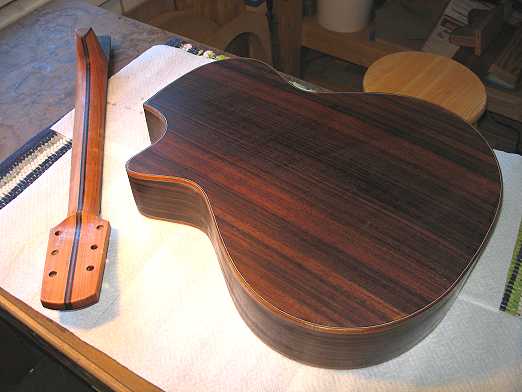
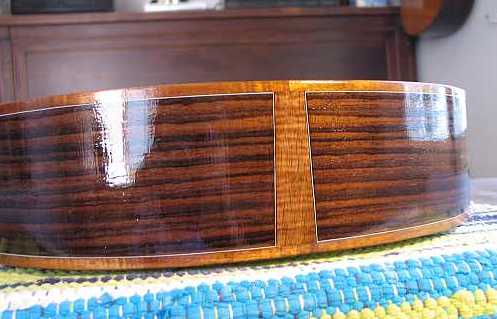
When doing curved surfaces (like the neck and the sides), I found it easiest to apply the epoxy with a piece of t-shirt wrapped around my index finger. So far, I like the ease of applying this epoxy. It stays liquid for a long time, so you have lots of working time. A little bit goes a long, long way. (Also, it doesn't smell, like some other epoxies do!) So far I have done one coat on the back and sides of the body and the neck. I know I will need at least one or two coats more to fill the pores; I'll do the second coat tomorrow, after lightly sanding the first coat with 400-grit sandpaper. Here's a photo (though you can't really tell anything from this photo):
I tried something new today that I had read somewhere on the OLF forum — to use one of those dense foam makeup wedges to apply the Z-poxy. I used it on the curved areas of the neck and the sides. I had found that it was difficult to use the razor blade on the curved areas, so I tried this. I like it. It applies the Z-poxy smoothly, without ridges, although you do have to be careful, as it sometimes crumbles a bit in the middle of the wedge if you press too hard on it (I'm not sure why). It's not a big problem, as any little dots of the foam that do come off don't seem to really stick to the surface and are easily removed. I just move on to a clean spot on the foam wedge. So....the second coat is on....now I just have to wait until tomorrow to see how it went. It looks as if the neck won't need any more; the pores appear to be filled. We'll see tomorrow whether or not I'll need a third coat on the rosewood back and sides.
Previous PageNext Page |
|
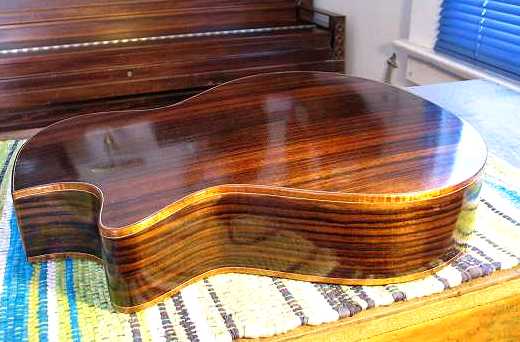
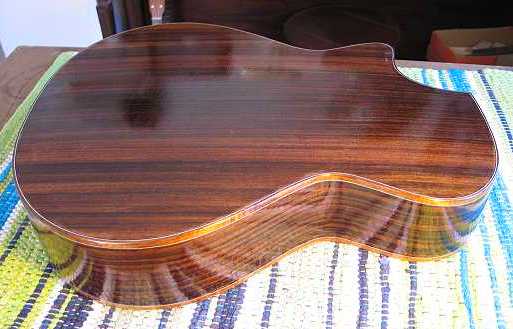
Friday, August 8th, 2008 (Happy Olympics Opening Day!!!): Turns out I didn't have to do another coat on the neck; the pores are all filled. So, I just leveled it and wiped on a thinned coat of the Z-poxy (50% Z-poxy, 50% denatured alcohol) on the neck. The back and sides, however, did need another coat, so that's what I did today, after sanding yesterday's coat with 320. Here's how it all looks now. Hopefully, tomorrow I won't need to do another coat!!!
|