Friday, June 26th, 2009:

Well, it's time now to work on the top bracing!!!

In these two photos, I am marking one of the X-braces on both sides, at the points where it intersects the sides of the other X-brace.


Then I connect the marks on the bottom of the brace, draw perpendicular lines down the side of the brace, and mark the halfway point on the side. The notch in this brace will be cut out of the bottom half.

I do the same thing on the other brace, only this time the notch will be cut out on the top of the brace.


Next, I clamp the brace in my vise, with the top edge of the vise right at the mid-point of the side. I will saw right down to the top of the vise.


INDEX:

Return to HOME PAGE

  1. Planning
  2. A Little Change in Plans...
  3. Back Braces
  4. Carving the Back Braces & Cutting the Top Braces
  5. The Rosette / Tapering the Fingerboard
  6. Bracing the Top
  7. Carving the Braces / Gluing the Soundhole Braces & Bridge Plate
  8. The Finished Top and Back!!! / Cutting and Bending the Sides
  9. Fixing Cupped Sides / Making Spreaders & Clamping Cauls
  10. Neck and Tail Blocks
  11. Sanding the Radius into the Sides / Gluing the Kerfing Strips / Side Reinforcements
  12. Fitting & Gluing the Back
  13. Fitting & Gluing the Top
  14. We Have a Soundbox Now!!!
  15. Bending and Routing for Bindings
  16. Gluing the End Wedge & Bindings
  17. Scraping the Bindings
  18. Beginning the Neck
  19. The Neck, Continued!!!
  20. The Neck, Day 3
  21. Peghead, Tuners, Dots, & Frets!!
  22. Peghead Inlay
  23. Backstrap & Gluing the Fingerboard
  24. Carving the Neck / A "Duh!" Moment / Side Dots / Preparing for Finish
  25. Pore-Filling and Sealing
  26. Spraying the Top Coats
  27. Finishing the Finish / Gluing on the Neck
  28. Gluing on the Bridge
  29. Set-Up / It's All Done!


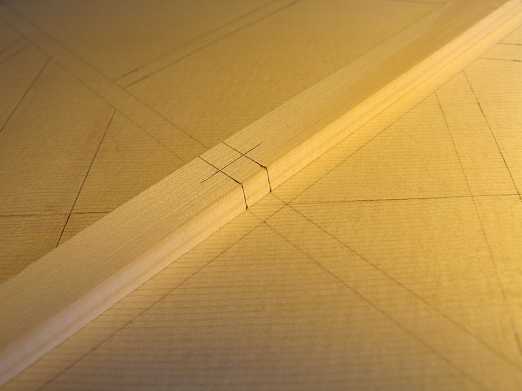
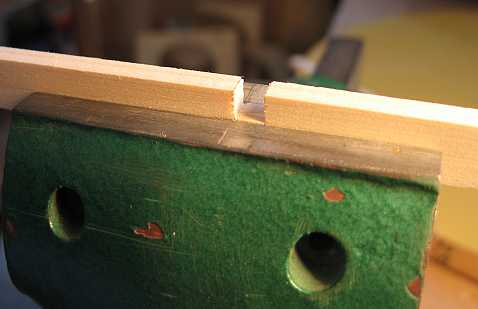
Then I use a 1/4" chisel to knock out the notch.


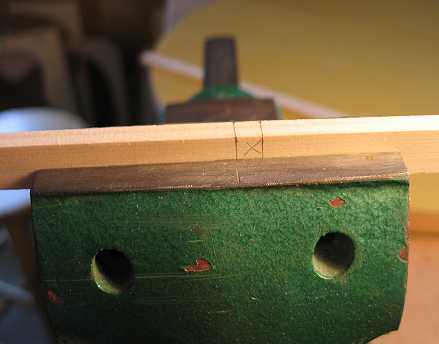
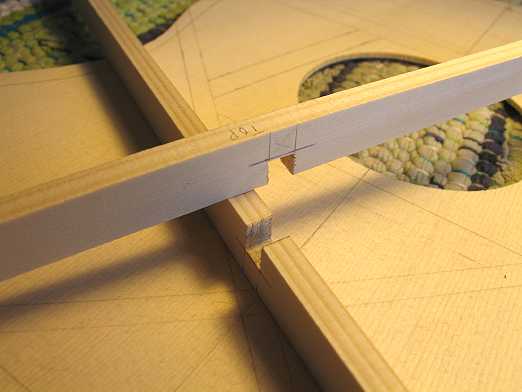
I do the same to the other brace and check the fit. I use a small flat needle file to fine-tune the fit.