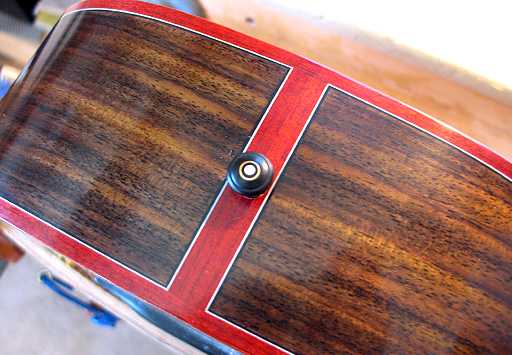
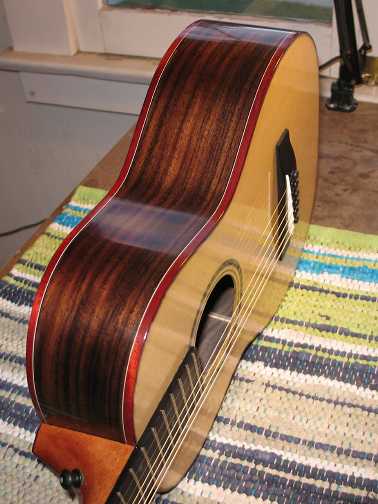
Wednesday , August 5th, 2009: Okay, first off, I guess I might as well tell you about my new stupid mistake, which I performed brilliantly last night. (I debated as to whether or not I should share this — it's embarrassing — but then I figured, I might as well, as you are already quite aware of all the stupid mistakes I make while building guitars! No use hiding it.) As I was drilling the 5/16" hole in the center of the end wedge, for the end pin, I guess I wasn't thinking too carefully, because I forgot to cover the area with masking tape. Thus, as I was drilling — or maybe it was as I was backing the drill bit out — I managed to chip-out a triangular piece of the end wedge (about 1/4" wide by 3/8" long), right below the drilled hole. YIKES!!!! MY BEAUTIFUL END WEDGE RUINED!!!! I was devastated. But I recovered (though I still felt awful about it). At least the chip-out didn't touch any of the purfling — it was just a piece of the bloodwood binding I'd glued together. SO....I decided to try to repair it. I used a small gouge to give the chipped-out hole somewhat of a shape, and then used the gouge to shape a piece of scrap bloodwood binding. I superglued it into the hole (it extended higher than the hole), held it there a while, and then sanded it down flush. I then proceeded to totally refinish that end wedge area — leveling it a bit and brushing on around 3 coats of the finish. I let it sit overnight. This morning I leveled it down with P600 sandpaper and then all the Micromesh grits again. Then I used the Meguiar's polishes on it again. It came out okay — unless you look closely, you can't really tell too much. Whew! What a relief. Take a look (the patch is right below the end pin, in the right part of the shadow):
I'll say one thing about the EM6000 finish — it sure makes doing repairs or refinishes easy!!! With the few sand-throughs I've done on this guitar, and with this major boo-boo, this finish worked beautifully — it sands and levels easily and smoothly and blends right in with the surrounding areas. Thank goodness for that!!!
|
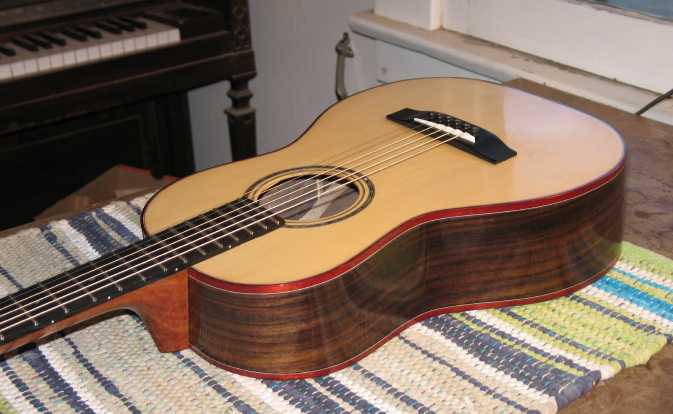
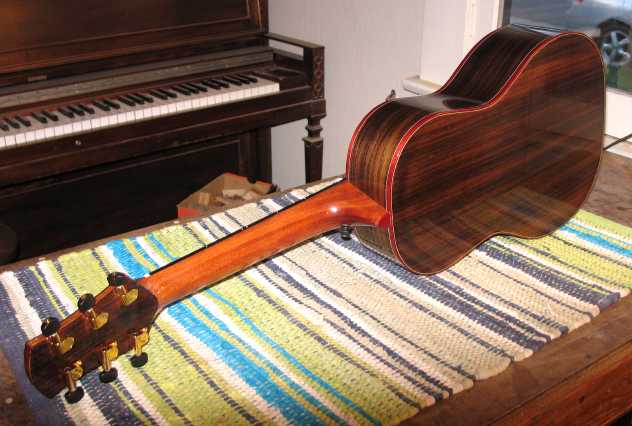
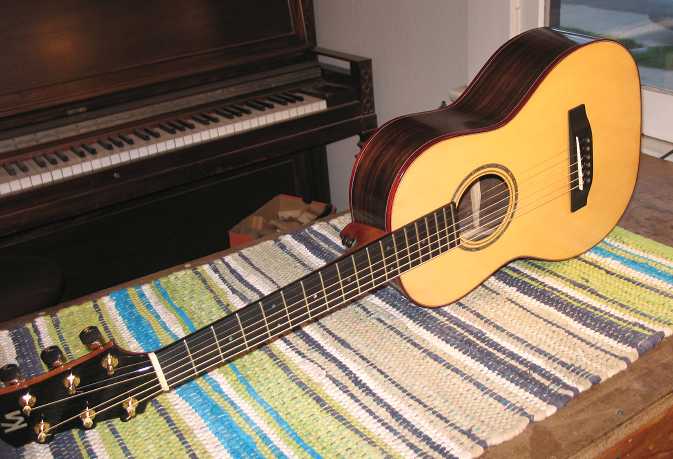
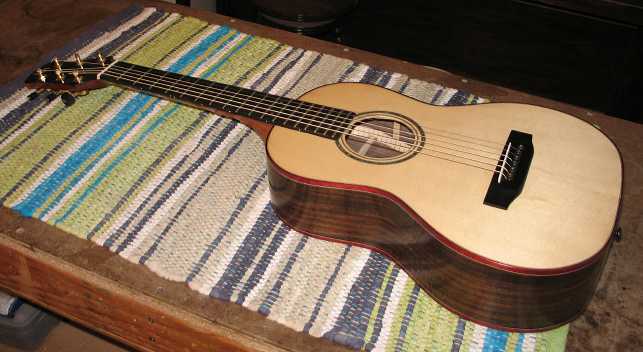
Now, with that out of the way, I moved on to the main job for today — the set-up! The first thing I did was to drill the bridge pin holes and saw out the little string slots in the holes. Last night I had prepared the nut and saddle, so those were ready. I sawed string slots in the nut and strung up the guitar. I worked on the nut slots first, to get them as low as I wanted them. (I press down between the 2nd and 3rd fret, and want to see the string just barely above the 1st fret. When it is that low, I know that's when I've cut the slot low enough. I also kind of just go by how it feels to me, when I fret the 1st fret.) Once the nut slots seemed right, I checked for the action at the 12th fret. I was shooting for 6/64" space between the low-E string and the 12th fret, and 4/64" between the high-E string and the 12th fret. I determined how much I had to remove from the bottom of the saddle (for example, at the low-E part of the saddle, you remove twice the amount of extra space over the 6/64" you have under the 12th fret). I then sanded that much off the bottom of the saddle. When I tried the saddle out, however, it turned out I took too much off the bass side of the saddle — the low-E string buzzed, but all the other strings were fine. So...I ended up shimming the saddle at that end by gluing another wedge-shaped shim of bone to the bottom of the saddle. By trial and error, I finally got it to work. I decided to try out Elixir Polyweb extra light strings on this one. I think I like them! Oh, yeah — the final thing I did was to install a strap peg on the heel. Here's a bunch of photos:
|
|
||||||||||
|
|
|||||||||||
|
|