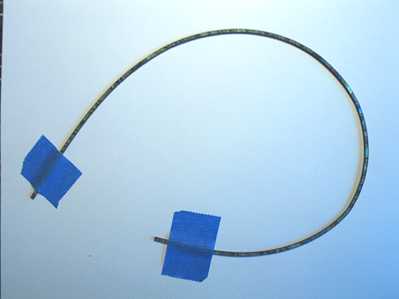
Thursday, June 25th, 2009: Well, the Zip-Flex blue paua Abalam strips came in the mail today!!!! Yay!!! Now I can work on the rosette. The Abalam shell is encased on three sides by some sort of flexible backing; that is what allows it to easily bend (as you can see below).
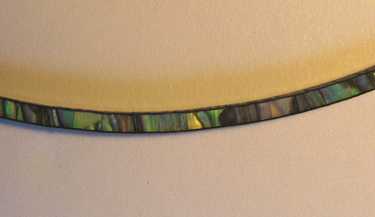
I got the blue paua .064" strip. Here's what the colors look like:
|
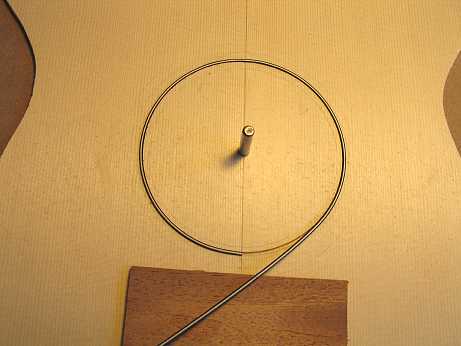
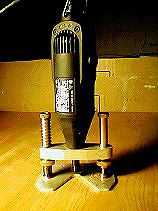
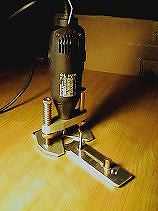
I have routed out a 3/64" wide channel for my BWB purfling (wood) here with my Dremel (using the Stew-Mac router base and circle cutting attachment). Here I'm preparing to cut the inner BWB ring to size, using a sharp chisel.
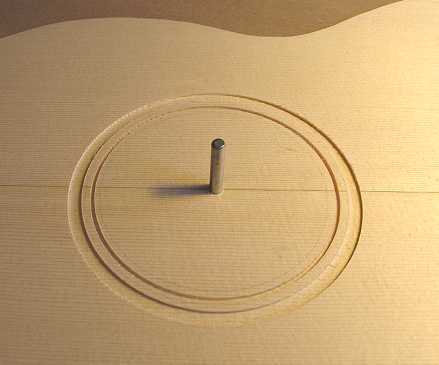
Now I can rout out the outer channel to around 11/64" wide, to fit the BWB / Zip-Flex paua strip / BWB ring. I first routed the channel a tiny bit shy of the full 11/64", then routed it wider a tiny bit at a time, all the while checking the fit with some scrap pieces of the purflings.
|
|||
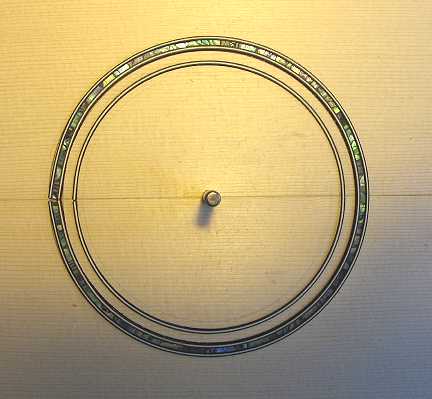
BELOW: I have test-fitted the rosette rings into their channels.
|
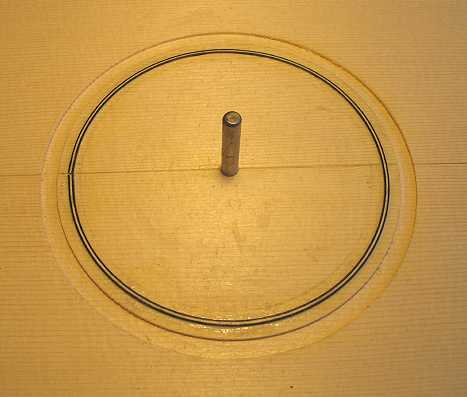
Here I have glued in the BWB inner ring with Titebond.
|
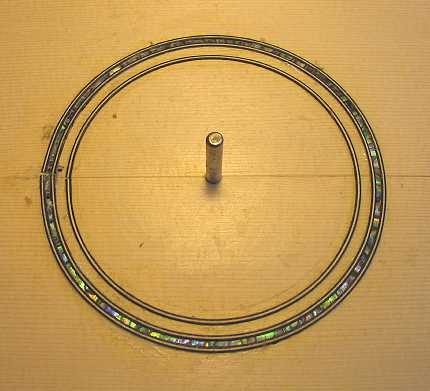
Both rings have been glued. It's kind of messy now, but that will be cleaned up later, when I scrape and sand the rosette down flush.
|
|