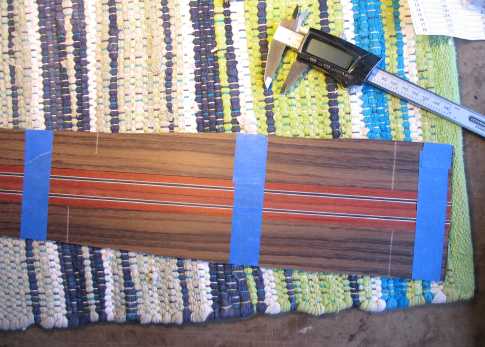
The next thing I did today was to prepare my bloodwood bindings for bending. This time I made sure not to make the same mistake I had made last summer; I had only put the bindings (taped together) into the bending machine, not realizing the waist caul and spring steel would slant down on one side, crushing one side of the binding. This time I made sure to support the bindings on both sides with the scrap strips from cutting my sides. (Luckily, they were both the same thickness, 3/32"!)
|
I wrapped the bindings in the same way I did the sides (foil and moistened Kraft paper) and bent them in the bender. They came out perfectly!
|
||||||
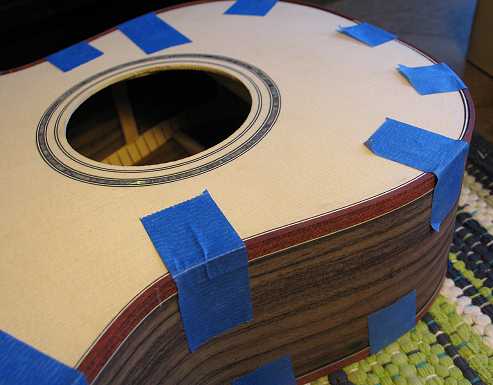
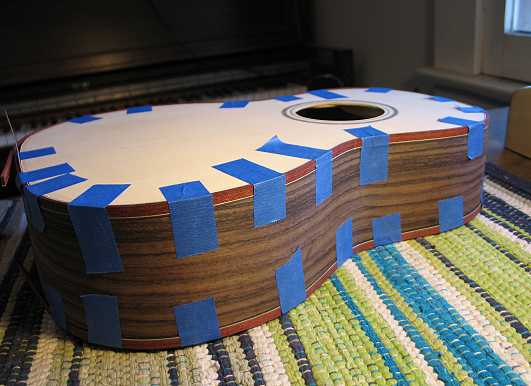
While the bindings were cooling down and setting in the bender, I then turned my attention to routing the binding and purfling channels. (Sorry, I didn't take any pictures!) I set the soundbox in the same cradle I showed on this page, did some test routs on scrap wood, and routed away!!! I ended up using the .080" bearing bit (from LMI) for the binding ledge, then the .130" bearing bit for the purfling ledge. My binding scheme is very simple (my guitars tend to get more and more basic in their decoration as the years go by, and, for this one, I was trying to use up whatever spare materials I had on hand): bloodwood binding with a simple B/W/B wood purfling. The bloodwood binding already had the side purfling (W/B) on it.
|
Below are a couple of photos of how it's going to look. After taking the bindings out of the bender, I have just taped them (dry) into the ledges, just to see how they fit and to hold them there till tomorrow, when I will work on it further. Tomorrow, I will first make my end wedge — actually, not a wedge, but just two of the bloodwood bindings glued together (with the purfling on the outside). I think I'll miter the side purflings to the wedge strip purflings. After that's done, I'll glue in the bindings and purflings with Titebond. That's enough for today. I can relax now. (Routing binding channels always stresses me.)
|
||||||
|
|
|