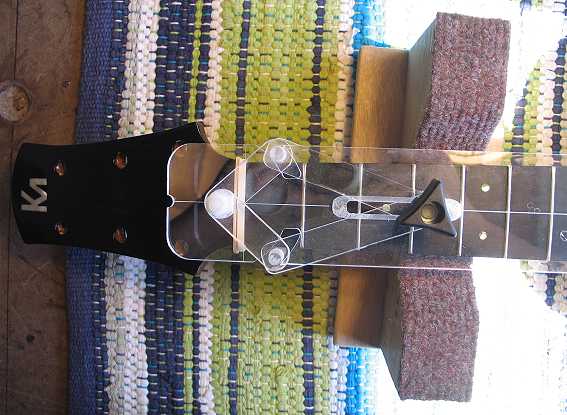
Still Monday , August 3rd, 2009: I decided to do some planning for doing the bridge tomorrow. My guitar is a 21.2965" scale (25.34" standard Martin-style fingerboard cut off at the 3rd fret). Compensation for this scale is .127" (at the center of the saddle). Thus, my saddle will be placed at 21.4235" from the nut. I will be using Luthier Suppliers' CenterLine Finder tool to determine the placement of the bridge. Therefore, I need to subtract 9/32" (or .28125") — the distance from the center of the saddle to the front of the bridge — from that 21.4235" measurement, and then scribe a line at that point on the CenterLine Finder, so I can position the tool's bridge squaring attachment. Then, all I do is butt the front of the bridge up to that attachment, and it will be centered, square to the centerline, and at the proper distance from the nut. In case this sounds a bit confusing, or difficult to picture, here's the description of the CenterLine Finder tool: http://www.luthiersuppliers.com/products/p9.html Tonight I did the measuring and scribed the line on the tool. Tomorrow I will glue on the bridge! Tuesday, August 4th, 2009: I glued on the bridge today, after a lot of checking and re-checking the measurements. Here are some photos. This is the nut end of using the CenterLine Finder. Since this guitar is a lot shorter than your standard guitar, I couldn't just butt the end of the tool up to the nut, so what I did was scribe a line for the nut location on the tool. (And I then, using that nut location, scribed the line for where the front of the bridge should be.) Then I just lined up the scribed line to the nut.
|
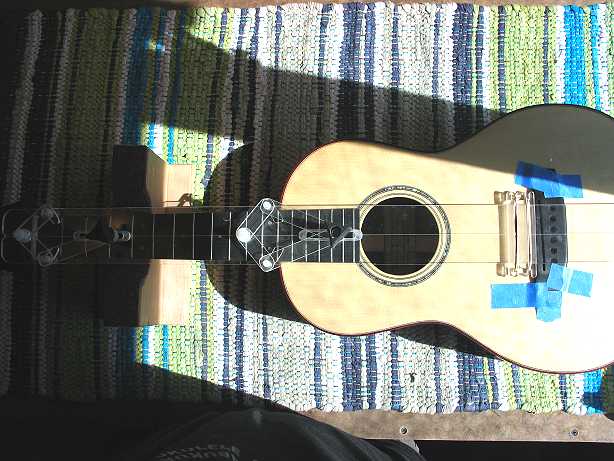
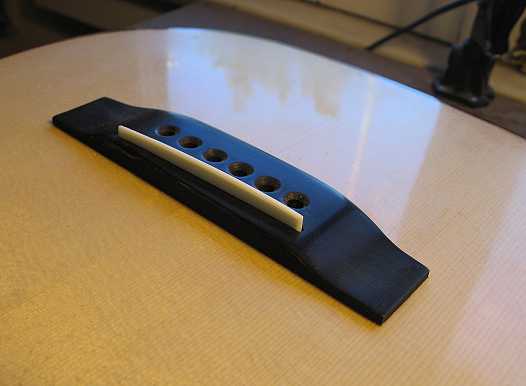
And then I butted the front of the bridge up against the bridge squaring attachment and taped the bridge down with masking tape.
I checked to make sure that the center of the saddle was in the right position (21.4235", or 544mm), and it was fine:
|
|
||||||||||
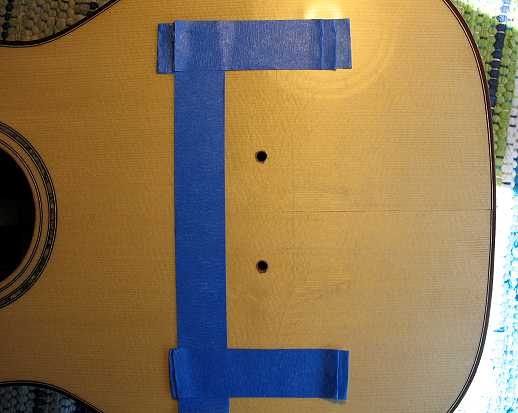
I put a few layers of masking tape around the front and sides of the bridge, scribed around the back end of the bridge with an Exacto knife, and, with the bridge still taped down, drilled holes through the 1st and 6th bridge pin holes. After that was done, I again used paint stripper to remove the finish underneath the bridge position. I put stripper almost up to the outline of the bridge, scraped it away with a 1/2" chisel, wiped it down with a dampened paper towel, and, when it was dry, lightly sanded it.
|
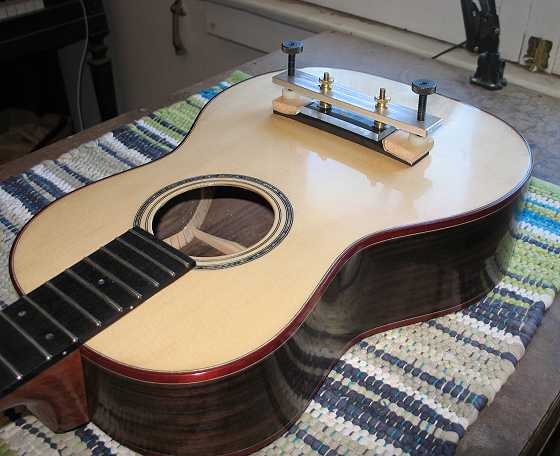
Now I could glue on the bridge. I used, as I used last summer with the Grand Concert cutaway guitar, the bridge gluing clamp I had gotten from John Hall of Blues Creek Guitars. This clamp makes it very easy to glue the bridge and get to the squeeze-out.
|
|
||||||||||
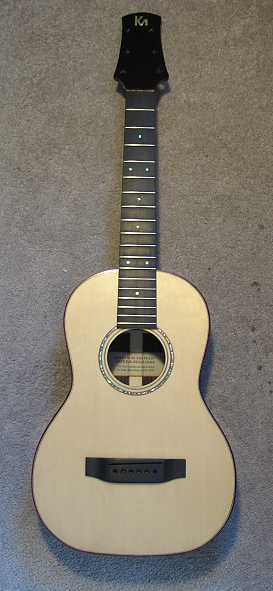
Here is how the guitar looks now, after the bridge has been glued.
Tonight I also plan to install the tuners and put in the end pin, so I'll be all ready to do the set-up tomorrow. |
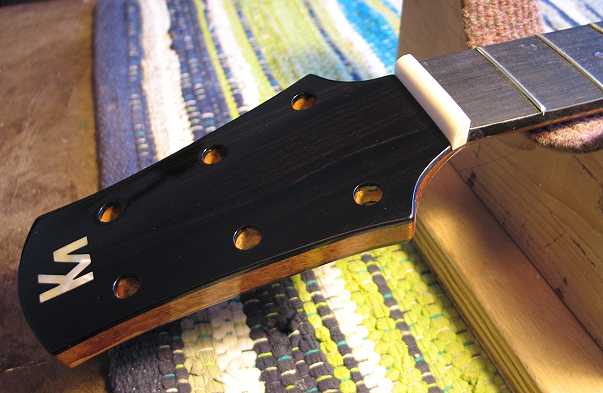
Finally, I made a nut and saddle, in preparation for stringing up the guitar tomorrow and setting up the guitar!!!
|
|