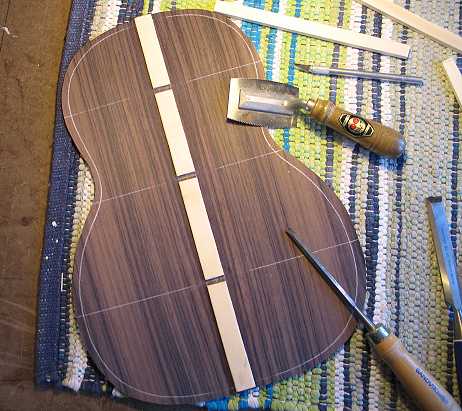
FINALLY. . . .the last task for today. . .the back bracing.

The first thing I do is to cut and sand the three back braces to the 15' radius arch. The braces are 1/4" wide and 1/2" tall.

After doing that, to make the slots in the back reinforcement strip, I use a little saw I found a long time ago — I think it's for cutting veneer — that works well for sawing out the slots for the back braces. I like using it, instead of a razor saw, because its curved saw edge keeps the blade from marring the rosewood beyond the reinforcement sides. After the slot is cut out, I use a 1/4" chisel to knock out the spruce piece and to clean up the slot.


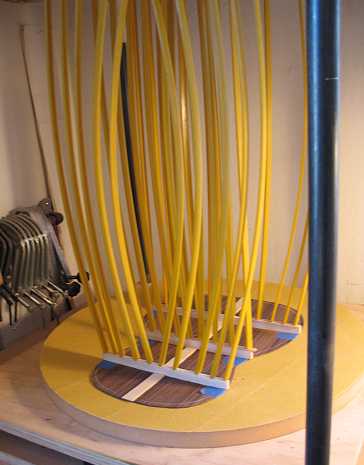
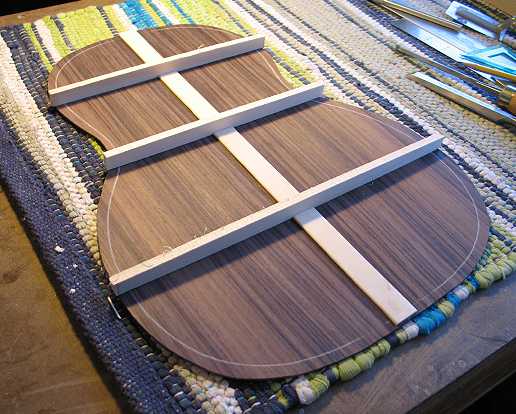
BELOW: The three braces fit snugly into their slots.

LOWER RIGHT PHOTO: Gluing the back braces in the go-bar deck.


INDEX:

Return to HOME PAGE

  1. Planning
  2. A Little Change in Plans...
  3. Back Braces
  4. Carving the Back Braces & Cutting the Top Braces
  5. The Rosette / Tapering the Fingerboard
  6. Bracing the Top
  7. Carving the Braces / Gluing the Soundhole Braces & Bridge Plate
  8. The Finished Top and Back!!! / Cutting and Bending the Sides
  9. Fixing Cupped Sides / Making Spreaders & Clamping Cauls
  10. Neck and Tail Blocks
  11. Sanding the Radius into the Sides / Gluing the Kerfing Strips / Side Reinforcements
  12. Fitting & Gluing the Back
  13. Fitting & Gluing the Top
  14. We Have a Soundbox Now!!!
  15. Bending and Routing for Bindings
  16. Gluing the End Wedge & Bindings
  17. Scraping the Bindings
  18. Beginning the Neck
  19. The Neck, Continued!!!
  20. The Neck, Day 3
  21. Peghead, Tuners, Dots, & Frets!!!
  22. Peghead Inlay