Monday, June 22, 2009:

Well, I'm going to deviate a little from my original "plan of attack" — I won't be working on the top yet, as I've just recently decided to try out Advanced Shell Technology's (Kevin Ryan's) relatively new "Zip-Flex" blue paua strips for my rosette. These are flexible strips of Abalam that can much more easily fit into the curves of your guitar design. They eliminate the need to file the ends of the individual strips of shell to fit your curve and the need to use a Teflon strip to act as a "filler" piece before inlaying the shell; you can just glue both your purfling strips and your Zip-Flex strip at the same time.

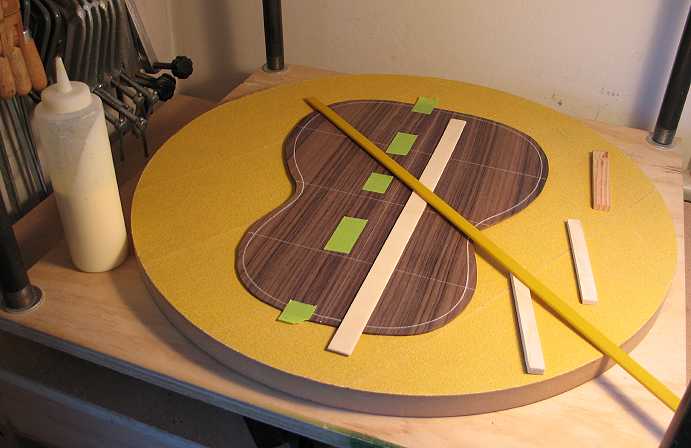
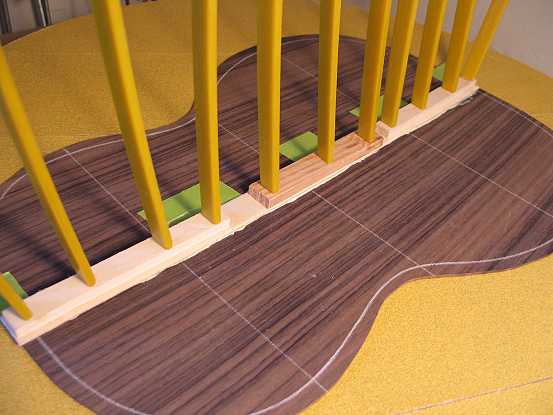
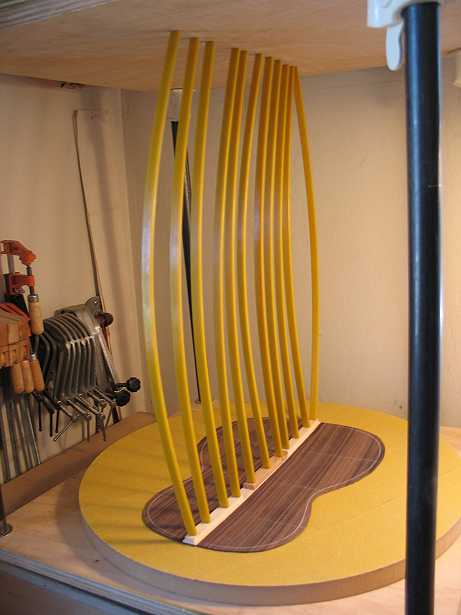
Thus, while I'm waiting for the Zip-Flex strips to arrive (I just ordered them today), I will be working on the back, instead. I will first thickness-sand my back to around .09" or so, then make and glue in the back reinforcement strip. Then I will cut and glue in my back braces. After that, I will carve the back braces. If the Zip-Flex strips still haven't arrived by then, I'll start cutting out the braces for the top.

OKAY....I'M BACK:

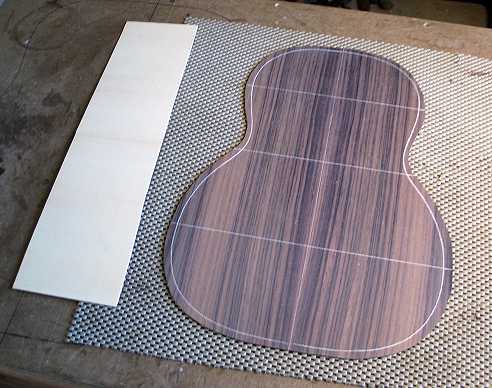
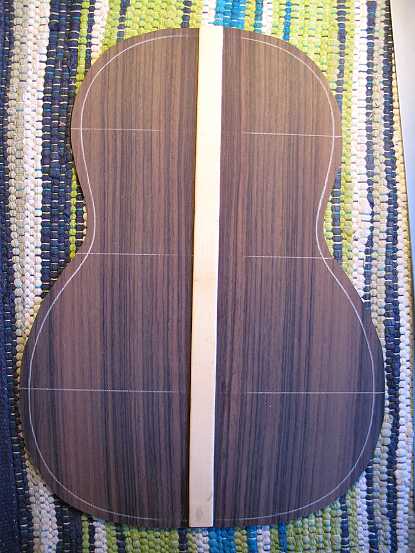
Below is my back (thinned to around .094", or about 3/32") , with the positions marked for the three braces, and a piece of spruce from the scrap of a previous top. This is for the back reinforcement strip, with the grain running horizontally. I will cut a 3/4" wide strip from this spruce.


ABOVE I have gotten everything ready for gluing on the back reinforcement strip. The green masking tape is there to mark where I should align the left edge of the reinforcement strip. I have the back sitting atop the 15' radius dish. The three wood strips to the right are clamping cauls, so the soft spruce strip is not damaged by the go-bars.

BELOW: I'm gluing the reinforcement strip, using my go-bar sticks. The glue squeeze-out you see will be cleared away with my curved glue-clearing chisel and a slightly damp paper towel.


INDEX:

Return to HOME PAGE

  1. Planning
  2. A Little Change in Plans...
  3. Back Braces
  4. Carving the Back Braces & Cutting the Top Braces
  5. The Rosette / Tapering the Fingerboard
  6. Bracing the Top
  7. Carving the Braces / Gluing the Soundhole Braces & Bridge Plate
  8. The Finished Top and Back!!! / Cutting and Bending the Sides
  9. Fixing Cupped Sides / Making Spreaders & Clamping Cauls
  10. Neck and Tail Blocks
  11. Sanding the Radius into the Sides / Gluing the Kerfing Strips / Side Reinforcements
  12. Fitting & Gluing the Back
  13. Fitting & Gluing the Top
  14. We Have a Soundbox Now!!!
  15. Bending and Routing for Bindings
  16. Gluing the End Wedge & Bindings
  17. Scraping the Bindings
  18. Beginning the Neck
  19. The Neck, Continued!!!
  20. The Neck, Day 3
  21. Peghead, Tuners, Dots, & Frets!!
  22. Peghead Inlay
  23. Backstrap & Gluing the Fingerboard
  24. Carving the Neck / A "Duh!" Moment / Side Dots / Preparing for Finish
  25. Pore-Filling and Sealing
  26. Spraying the Top Coats
  27. Finishing the Finish / Gluing on the Neck
  28. Gluing on the Bridge
  29. Set-Up / It's All Done!


TO THE LEFT: Another view of the go-bar deck in action.

BELOW: Here is the back, with the reinforcement glued.