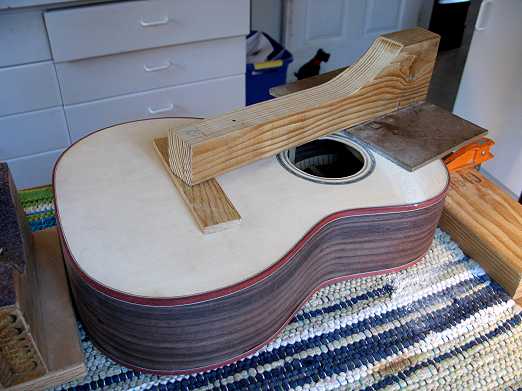
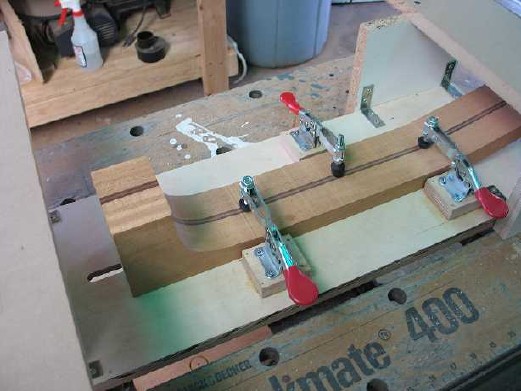
Monday, July 13th, 2009: Now that the soundbox was done, I needed to do a little bit of sanding on the upper bout, to remove some of the slight arch that was introduced when I mistakenly glued the flat upper face brace while it was sitting in the radius dish. (I should have glued it on a flat surface.) Here I have a sanding paddle the thickness of my fingerboard, pivoting on top of a wood strip the thickness of my bridge. I simply swing the paddle (120-grit sandpaper is stuck to the bottom of the paddle) back and forth, until the pencil marks I have put on the upper bout have disappeared.
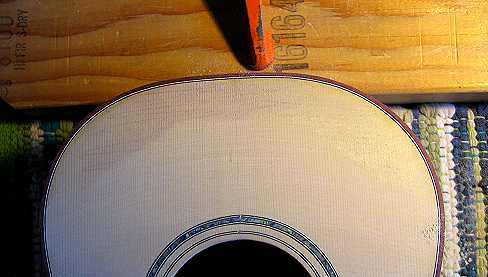
Here you see that all but the very upper rim has been sanded flat.
|
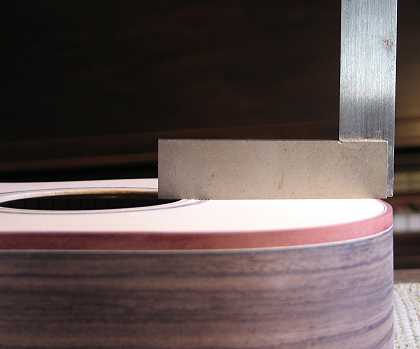
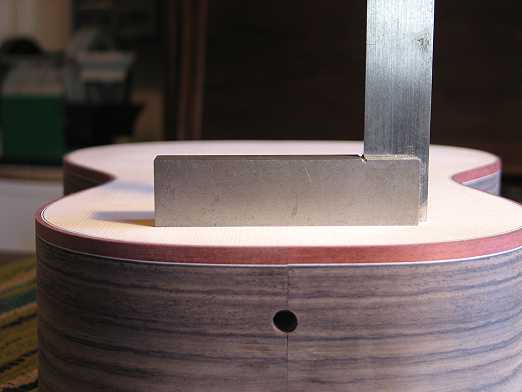
When the sanding is all done, you can see that the upper bout area is now flat both vertically and horizontally. This way the fingerboard extension will be able to sit flat upon the upper bout, instead of being thrown off by the radius arch of the top.
|
|||||
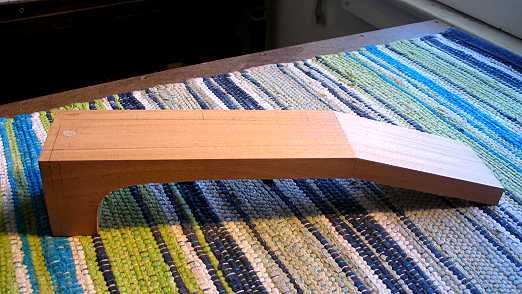
Here is the neck blank I will be using to make my neck. It is 3-1/2" by 4", and around 18" long. I think I had gotten it from my local hardwood store a while ago. I first squared it up on my benchtop jointer, then drilled vertically down the heel end for a 7/16" dowel, and glued that dowel in. (The dowel is to give the two threaded inserts I will install later something to grab into, instead of end grain.)
|
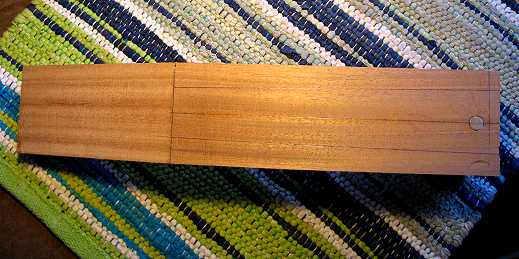
As you see below, I have sawn out the rough neck shape on my bandsaw. I ran the peghead face (a 12° angle) on the jointer, to true it up. On the neck surface, I have also drawn the outline of the fingerboard.
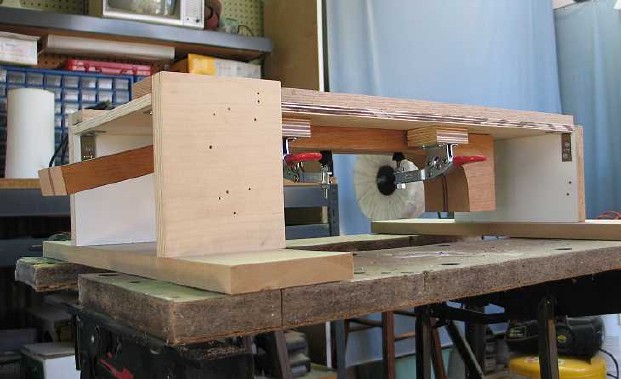
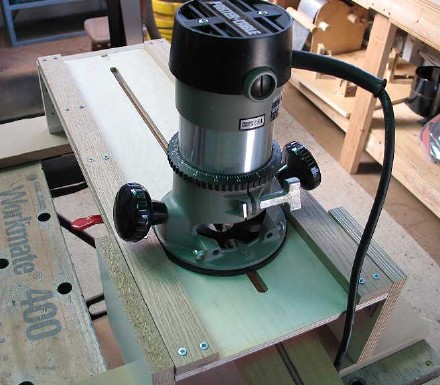
Finally, today I also routed out the slot in the neck for the single 1/4" by 3/8" carbon fiber rod I will install in the neck, in place of a truss rod. It will give the neck strength and stability, without the weight of a truss rod, which is probably unnecessary in a neck as short as this. To rout out this slot, I used this jig, which I've used before. (Truss rod jig 1, 2, 3) I have epoxied the carbon fiber rod in, which I will scrape down tomorrow (and will have photos of tomorrow). |
|||||
|
|
|