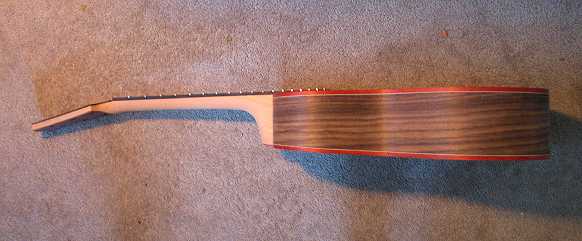
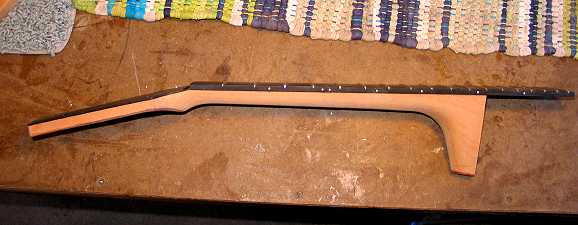
Monday, July 20th, 2009: Last night and this morning I carved the neck. I also cut the nut slot. Here's what it looks like now:
|
|
||||||||
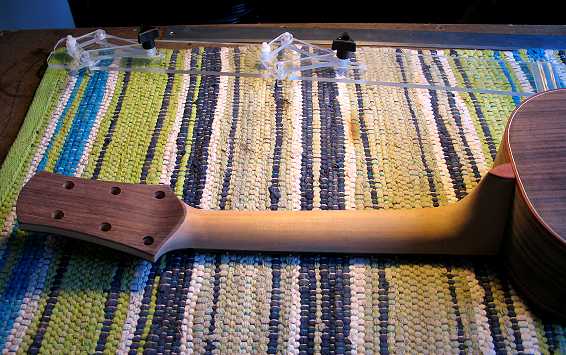
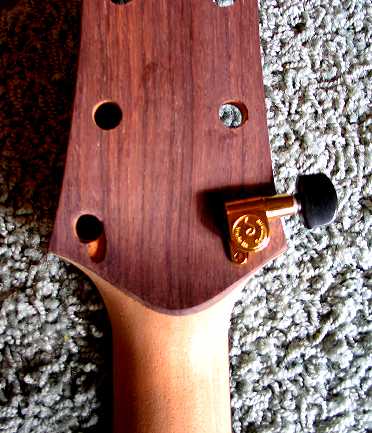
Tuesday, July 21st, 2009: OKAY. . . . So here's my major goof for this guitar . . . . Why do I only figure so many logical things out AFTER the fact????? Sigh . . . . . It turns out that, in designing my peghead, I hadn't thought about how close the tuner holes were going to be to the curved part of the volute, and how that would affect the placement of the particular tuning machines I was using. Two discoveries: (1) I hadn't counted on how the curve would be closer to the hole after I had added the backstrap (the tuners did fit before I added the backstrap) and (2) I should have waited to drill the tuner holes until after I had finished shaping the entire peghead. Duh! (I seem to have many "duh!" moments when building guitars.) Anyway, the part of the tuning machine that was causing the problem was the little part that extends out, which holds the little screw to attach the tuning machine. I couldn't change the curve of the volute (flatten it out a little), because that would thin out the backstrap on the bottom (and that would look weird). So . . . I decided to excavate a little bit of the wood, to make room for that tuner extension to lie a little bit lower. It looks crummy right now, but once the tuners are installed, you won't be able to tell (but I'll know).
|
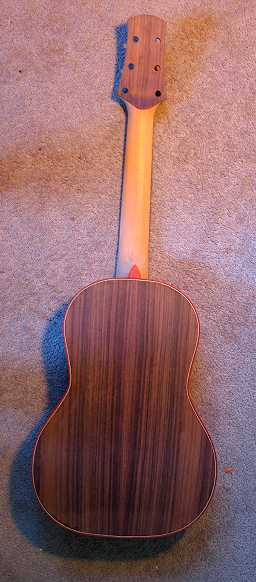
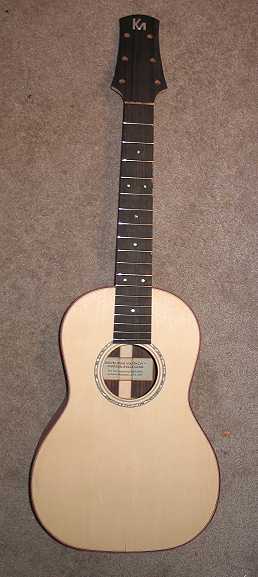
Another thing I did this morning was to reshape the neck, to make it a bit thinner. It was feeling a bit too "chunky" to me. I also spent some time checking the neck angle again and doing some more adjusting there. Also, as you can see below, I have installed the side dots and filled in the little holes under the fret tangs (on the sides of the fingerboard) with glue tinted black.
Now I am in the process of doing the final sanding, preparing the guitar for the finish. I'm grain-raising a couple of times, sanding it up to 220. I've decided to pore-fill with Z-poxy, put on shellac as a sealer, then use Target Coatings' new Emtech 6000 (the successor to the USL I've been using the past few years).
Stay tuned!!!! |
||||||||
|
|
||||||||
|
|