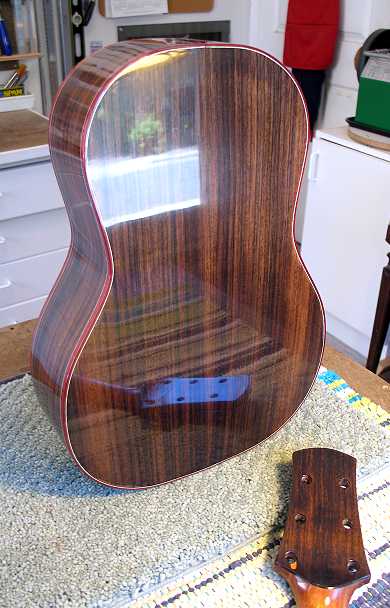
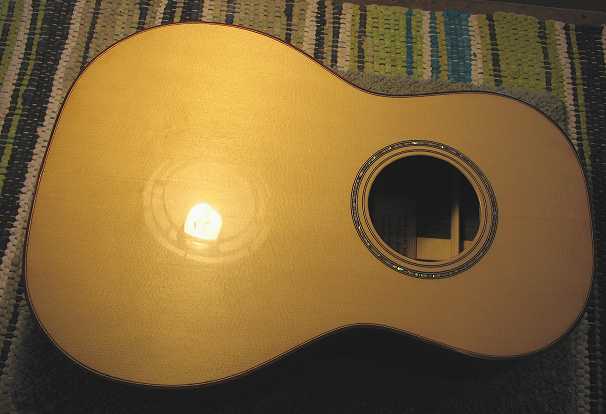
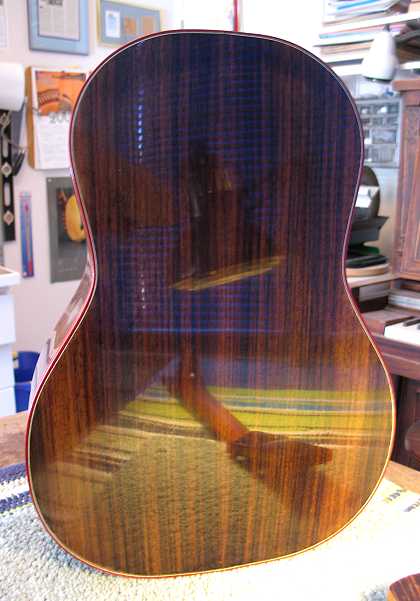
Monday, August 3rd, 2009: I'M BACK!!!!! YAY!!!! Well, today was the day I'd been eagerly awaiting — the day when I could finally "finish" the finish! It's been a week since I sprayed the last coat of finish. It pretty near killed me to wait, but I was good. I spent this morning rubbing out the finish. What I ended up doing was first leveling the finish with P600 grit gold sandpaper. Then I dry-sanded with Micromesh, from 1800 to 12000. (Previously, on all my guitars, I have wet-sanded with the Micromesh, but I'd read on various forums that this new EM6000 finish sometimes does better with dry-sanding, so I decided to try it.) I think from now on, I will dry-sand, instead of wet-sand, as it went just as easily (and it's a lot less messy). I did happen to sand through a couple of places on the binding, but all I did was to put a few thin coats of the EM6000 on the little sand-through spots and, a little while later (it didn't take long for the coats to dry), I just used some Micromesh to sand and polish them up again. After that, I used the buffer (I have a Caswell Plating 1100 RPM buffer that I got a few years ago for only $99!) and some Menzerna fine compound to buff the guitar. Finally, I polished it up with Meguiar's #9 (swirl remover), #7 (deep glaze), and #10 (plastic polish). To be honest, I wasn't really sure what was the best polishing procedure to use — I went on the different forums and found that different people all had different methods — so I just did what I did. It seems to have worked out nicely:
|
|
|
||||||||||
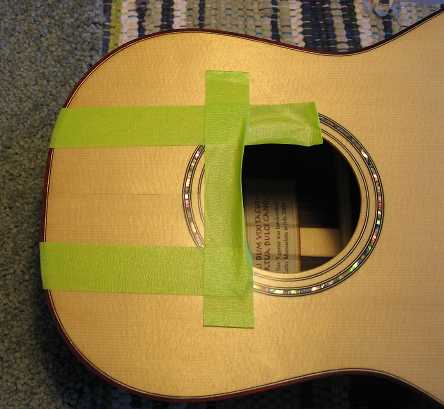
After that, I took a little break for lunch. Then I moved on to gluing on the neck. I first bolted on the neck, checked the fit of the neck again (it was still good!), and put masking tape around the fingerboard extension. I removed the neck, and put some paint stripper on the area within the masking tape. When I do this, I remove the finish with a 1/2" chisel, wipe the area with a dampened paper towel to neutralize any stripper residue, and let it dry.
|
When it is dry, I lightly sand the area before applying Titebond to the fingerboard extension. I bolt on the neck and clamp it all up. That's where it is now.
I'm a bit tired now. I think I'll wait till tomorrow to do the bridge. |