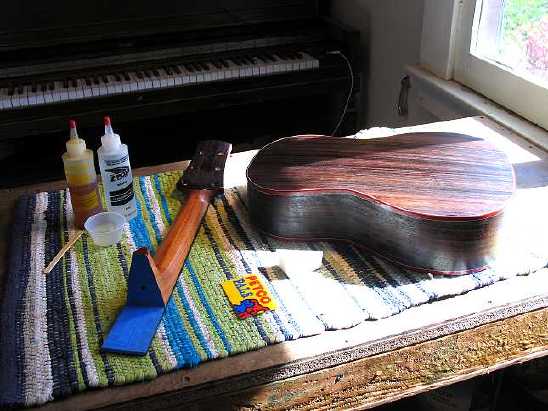
Wednesday, July 22nd, 2009: Last night I finished all the final sanding. Then I put a couple of coats of shellac (Zinsser SealCoat) on the top, both to protect it and act as a seal coat under the finish. This morning I began the pore-filling process. Before I began, though, I spent a little bit of time masking the fingerboard. I also taped some Kraft paper to the top, just for some added protection. I am using Z-Poxy to fill the pores. I use a credit card to mash the Z-Poxy into the pores and then to squeegee off the excess. (I highly recommend using a PetCo Rewards card — ha! just kidding — because it was more flexible than other credit cards I tried — it was able to flex better to conform to the curves of the guitar.) For the sides, I also used a foam makeup wedge. On the neck, I found it easiest to apply the Z-Poxy with just my finger (covered with a latex glove, of course). So far I've just put one coat on. Later today (it is recommended to wait at least 6 hours for the Z-Poxy to cure) I will level-sand it and then apply another coat. Usually it only takes two coats to fill all the pores. Here's a photo of what it looks like at the moment, after the first coat of Z-poxy has been applied:
|
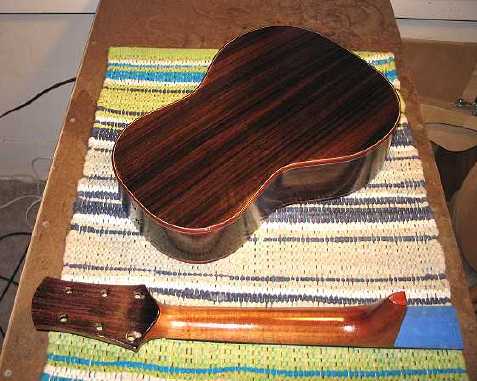
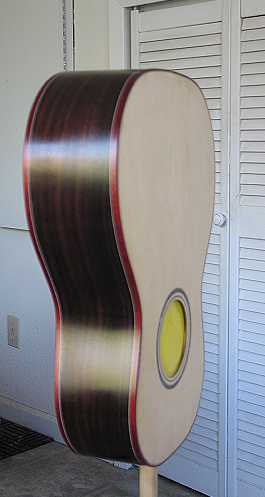
And here it is, 9 hours later, with the second coat of Z-poxy applied, after level-sanding the first coat with 220 sandpaper:
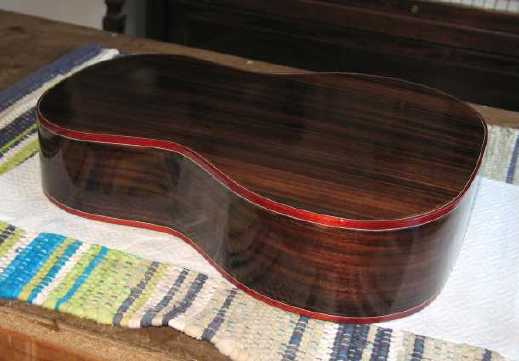
Thursday, July 23rd, 2009: This morning I spent two hours level-sanding the 2nd coat of Z-Poxy (I could have used my random orbital sander to do it, but I don't feel I have a lot of control with it, especially when sanding the sides, so I stuck with hand-sanding). The pores were all filled. After that was done, I made up a 50/50 mix of the Z-Poxy and denatured alcohol and wiped it on with a lint-free cloth. Here's how it looks now:
|
|||||||||||
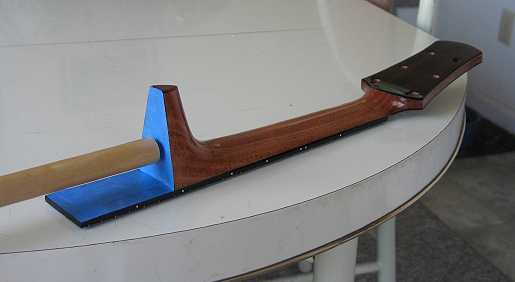
Friday, July 24th, 2009: The first thing I did this morning was to very lightly scuff-sand the last thinned coat of Z-Poxy that I had applied yesterday, in preparation for the shellac sealer. I then used a PreVal sprayer to spray on a coat of Zinsser SealCoat shellac (it's a 2-pound cut of wax-free shellac). I waited over an hour for it to dry, then lightly scuff-sanded it, before spraying on a second coat of the shellac. SOMETHING I DID DISCOVER (not for the first time): I need to always be sure to do my level-sanding carefully (with a gentle hand, especially on the curves of the sides and neck). The reason I say this is that, in sanding the first shellac sealer coat, I did manage to sand through the Z-Poxy to the wood in one tiny (1/8") spot on the upper bout of one side. I immediately stopped, wiped some more thinned Z-Poxy over it, let it dry (actually, I ran a hairdryer over it briefly), and then went on to spray the second shellac coat. I scuff-sanded that second coat with a much lighter hand, and went on to spray my first coat of finish. All is well. No evidence of the sand-through!!! (I was relieved, because this was one particular aspect of using the slightly amber Z-Poxy that I had been worried about — the possibility of sanding-through and creating blotches in the final finish.) I will wait till that's dry, scuff-sand it lightly, and begin spraying on my topcoats. I will be trying out Target Coatings' new EmTech EM6000 waterbase lacquer. (It's the successor to the USL I've been using for the past few years.) Here's how the guitar looks presently (after the shellac sealer coats):
|
|