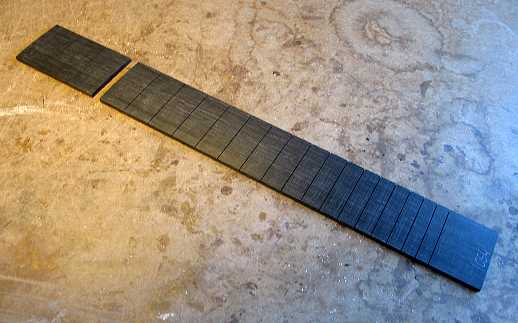
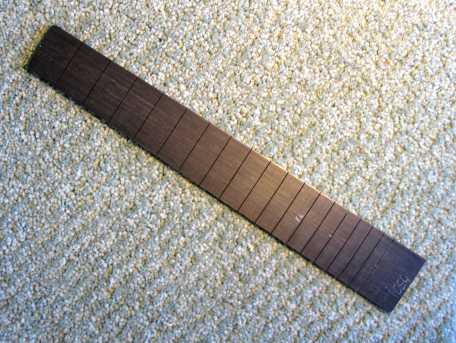
While I'm waiting for the rosette to fully dry, I can get a little start on my fingerboard.

What I have done here is to simply cut off a standard 25.4" scale fingerboard (with a 16" radius) at the 3rd fret. This will give my Size 5 guitar about a 21.3" scale.


I have used my fingerboard taper jig with the table saw to shape this fingerboard to its proper taper. I will have an 1-11/16" nut, with the fingerboard 2-1/16" wide at the 12th fret.


INDEX:

Return to HOME PAGE

  1. Planning
  2. A Little Change in Plans...
  3. Back Braces
  4. Carving the Back Braces & Cutting the Top Braces
  5. The Rosette / Tapering the Fingerboard
  6. Bracing the Top
  7. Carving the Braces / Gluing the Soundhole Braces & Bridge Plate
  8. The Finished Top and Back!!! / Cutting and Bending the Sides
  9. Fixing Cupped Sides / Making Spreaders & Clamping Cauls
  10. Neck and Tail Blocks
  11. Sanding the Radius into the Sides / Gluing the Kerfing Strips / Side Reinforcements
  12. Fitting & Gluing the Back
  13. Fitting & Gluing the Top
  14. We Have a Soundbox Now!!!
  15. Bending and Routing for Bindings
  16. Gluing the End Wedge & Bindings
  17. Scraping the Bindings
  18. Beginning the Neck
  19. The Neck, Continued!!!
  20. The Neck, Day 3
  21. Peghead, Tuners, Dots, & Frets!!
  22. Peghead Inlay
  23. Backstrap & Gluing the Fingerboard
  24. Carving the Neck / A "Duh!" Moment / Side Dots / Preparing for Finish
  25. Pore-Filling and Sealing
  26. Spraying the Top Coats
  27. Finishing the Finish / Gluing on the Neck
  28. Gluing on the Bridge
  29. Set-Up / It's All Done!

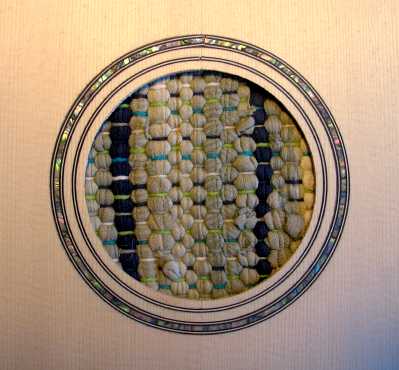
BACK TO THE TOP . . . . .

Well, after a couple of hours of letting the rosette dry, I used a scraper and sandpaper to level down the rosette. Then, it was to the thickness sander to sand the top to its final thickness. I ended up sanding it to around 3/32", sanding the rosette side just enough to sand away any remaining glue marks, etc., and then doing the rest of the sanding on the inner side of the top. After that was done, I cut out the soundhole.

Here's how the rosette came out:


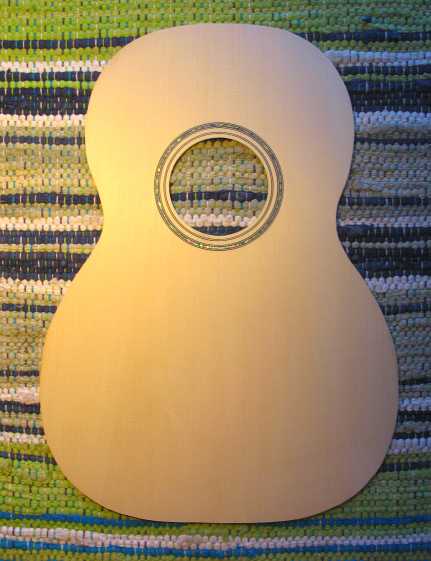
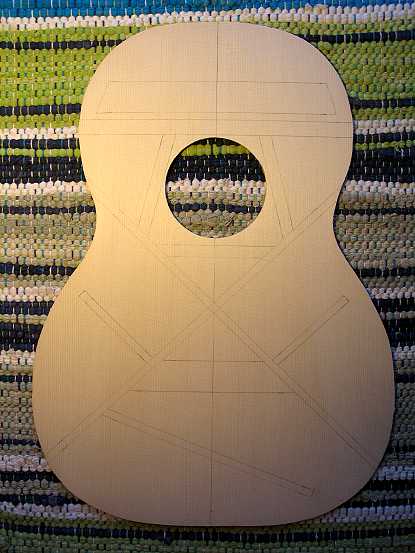
Finally, I re-traced the bracing plan onto the top:


Well, that's about it for today. Tomorrow, I will brace the top!!!


Previous Page


Next Page