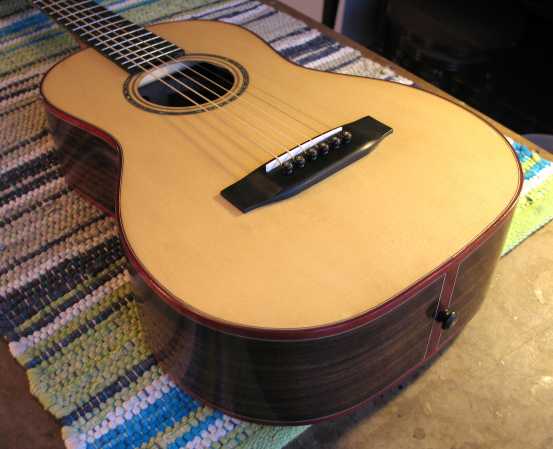
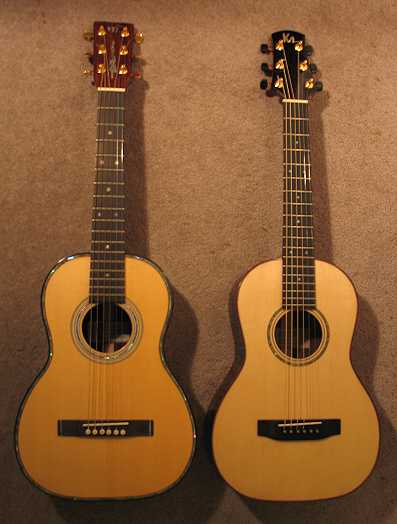
Oh, yeah — how does it sound????? I always amazed at how much sound comes out of this little body!!!! Even though this guitar has not yet "broken in," it still sounds pretty good — it has a nice, full, clear sound and great sustain. I can't wait to hear how it sounds once the guitar gets used to being strung up! Oh, and another thing. I pulled out my old, 1997 Size 5 — I think it was about the fifth guitar I made — and was amazed at the differences between that one and this one. For one thing, my tastes in design/decoration have definitely changed over the years — back when I started, I, for some reason, felt that things had to be as ornate and fancy as I could make them (I see it now as somewhat too gaudy). That early Size 5 was full of abalone all around the top edges, with a multi-ringed, abaloned soundhole rosette. Secondly, the neck on my old one is SO, SO thick and "clunky"-feeling (I guess I had no concept of how thin you can make a neck). Third, the peghead on that old Size 5 was ugly, just a chopped-off peghead. Finally, the weight — that old Size 5 is a full pound heavier than my new one — I think I had put a truss rod in it. My new Size 5 is around 2 pounds total. I think, as the years go by, I gravitate more and more towards the simpler, more balanced look. To me, that just looks much more elegant. Take a look - - - - - - - - - - - - - - - > |
|
|
||||||||||
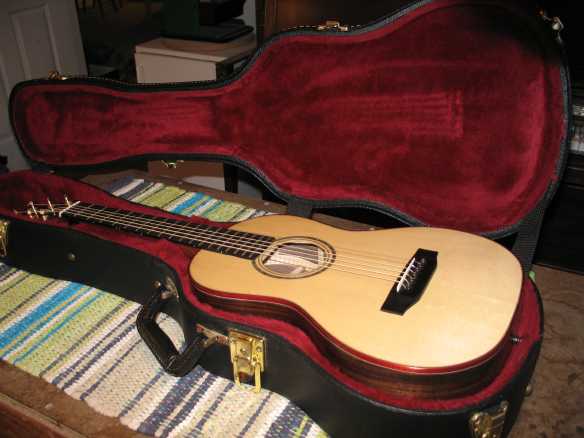
Well, that's about it for this summer!!!! If you're going to Healdsburg, then I'd love to meet you! I think I'll be taking this little guitar with me there. (It's just so cute and easy to carry and play!) School starts the week after Healdsburg!!!
|
January 18, 2014: In December of 2012, my church's former worship leader, David Toledo, returned to his homeland of Guatemala, and, as a going-away gift, I gave him this Size 5 guitar. Just last week, he posted this little video of himself singing and playing my (his now!) guitar:
|
|||||||||||
|
|