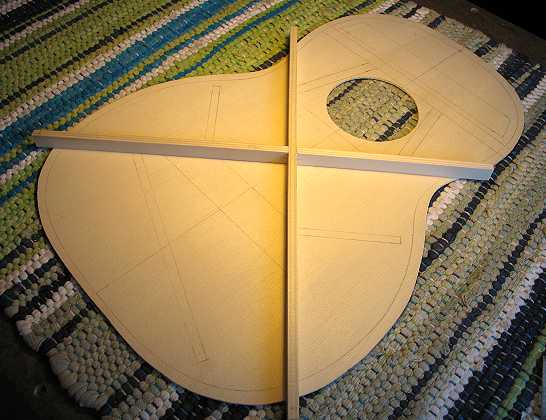
I check the fit of the X-braces to the bracing plan on the top. It came out well!


Next, I sand all the braces which need the 25' radius arch on the bottom, using the radius dish covered with sandpaper. I sand arches on all the braces except the upper face brace, the soundhole braces, and the upper transverse graft. These will remain flat.


INDEX:

Return to HOME PAGE

  1. Planning
  2. A Little Change in Plans...
  3. Back Braces
  4. Carving the Back Braces & Cutting the Top Braces
  5. The Rosette / Tapering the Fingerboard
  6. Bracing the Top
  7. Carving the Braces / Gluing the Soundhole Braces & Bridge Plate
  8. The Finished Top and Back!!! / Cutting and Bending the Sides
  9. Fixing Cupped Sides / Making Spreaders & Clamping Cauls
  10. Neck and Tail Blocks
  11. Sanding the Radius into the Sides / Gluing the Kerfing Strips / Side Reinforcements
  12. Fitting & Gluing the Back
  13. Fitting & Gluing the Top
  14. We Have a Soundbox Now!!!
  15. Bending and Routing for Bindings
  16. Gluing the End Wedge & Bindings
  17. Scraping the Bindings
  18. Beginning the Neck
  19. The Neck, Continued!!!
  20. The Neck, Day 3
  21. Peghead, Tuners, Dots, & Frets!!
  22. Peghead Inlay
  23. Backstrap & Gluing the Fingerboard
  24. Carving the Neck / A "Duh!" Moment / Side Dots / Preparing for Finish
  25. Pore-Filling and Sealing
  26. Spraying the Top Coats
  27. Finishing the Finish / Gluing on the Neck
  28. Gluing on the Bridge
  29. Set-Up / It's All Done!


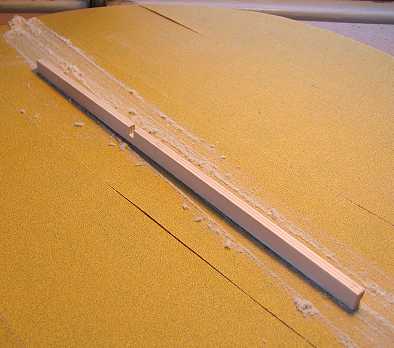
Here I have cut all the braces to their final lengths. I have also made a rosewood bridge plate (3/32" thick).


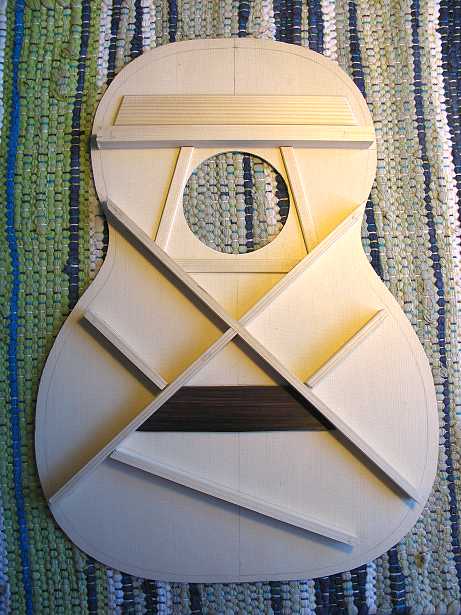
The first brace I am gluing is the upper face brace.


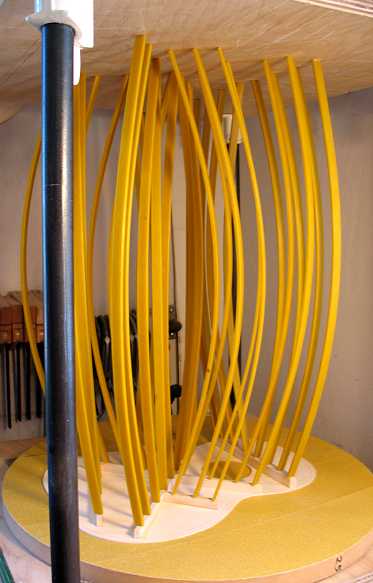
I then glue and clamp all the other 1/2" tall braces. Whew! I had just enough go-bar sticks to do all these braces at once!


Well, that's it for today....

Tomorrow I will carve the braces. After that, I will glue the upper transverse graft and the soundhole braces. Then I will sand the arch into the bottom of the bridge plate and glue that in.