The thing that took me the longest time today was doing the preliminary neck-setting. Look over HERE for an explanation of how I sand the heel to get my neck both centered with the top and set at the proper back-angle.

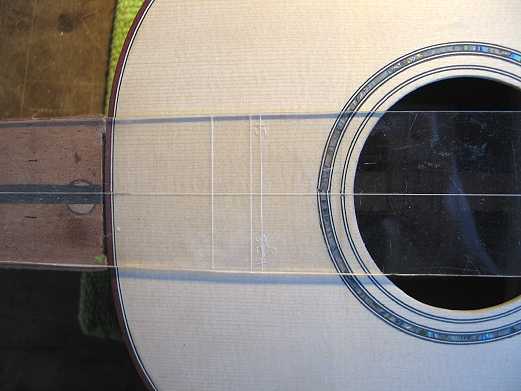
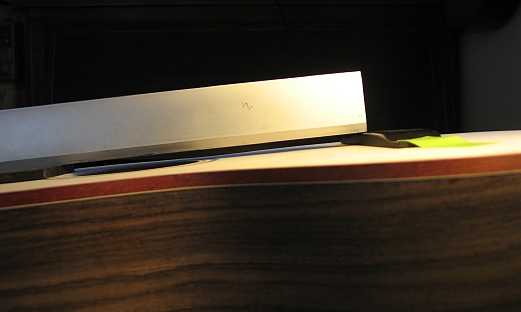
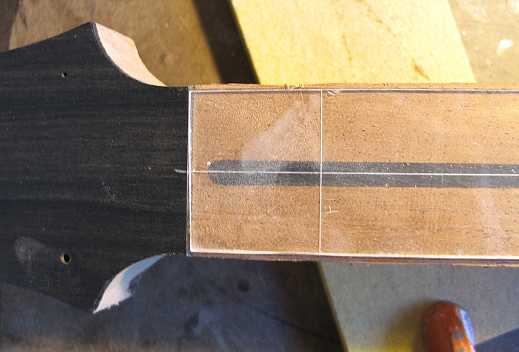
After I have done all the sanding and checking (over and over), here is the result — my neck is centered, lining up (1) at the nut end,


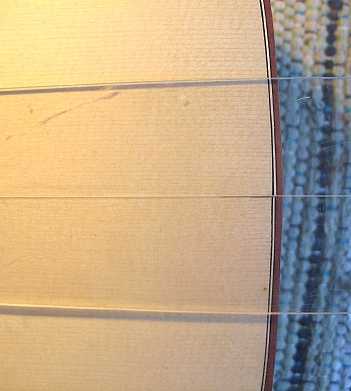
and (3) at the tail end of the soundbox.


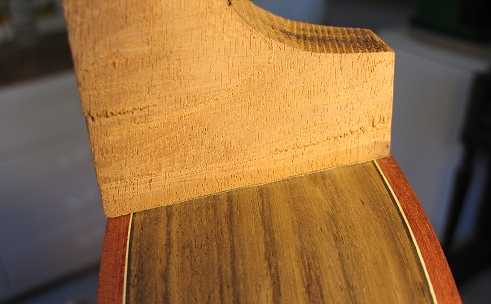
To the right: After all the neck-fitting is done, you can see that the cheeks of the heel are nice and tight to the soundbox. A good fit!


(2) at the heel,


Then I spent time getting the neck back-angle right. The result — my straightedge laid on top of the unfretted fingerboard on the neck just "kisses" the top of the bridge.


INDEX:

Return to HOME PAGE

  1. Planning
  2. A Little Change in Plans...
  3. Back Braces
  4. Carving the Back Braces & Cutting the Top Braces
  5. The Rosette / Tapering the Fingerboard
  6. Bracing the Top
  7. Carving the Braces / Gluing the Soundhole Braces & Bridge Plate
  8. The Finished Top and Back!!! / Cutting and Bending the Sides
  9. Fixing Cupped Sides / Making Spreaders & Clamping Cauls
  10. Neck and Tail Blocks
  11. Sanding the Radius into the Sides / Gluing the Kerfing Strips / Side Reinforcements
  12. Fitting & Gluing the Back
  13. Fitting & Gluing the Top
  14. We Have a Soundbox Now!!!
  15. Bending and Routing for Bindings
  16. Gluing the End Wedge & Bindings
  17. Scraping the Bindings
  18. Beginning the Neck
  19. The Neck, Continued!!!
  20. The Neck, Day 3
  21. Peghead, Tuners, Dots, & Frets!!
  22. Peghead Inlay
  23. Backstrap & Gluing the Fingerboard
  24. Carving the Neck / A "Duh!" Moment / Side Dots / Preparing for Finish
  25. Pore-Filling and Sealing
  26. Spraying the Top Coats
  27. Finishing the Finish / Gluing on the Neck
  28. Gluing on the Bridge
  29. Set-Up / It's All Done!


Previous Page