Here are the drilled holes for the inserts. (I know, they're not exactly on the centerline — for some reason, I'm never able to get those holes perfectly centered when I drill those holes through the sides! But all that really matters, in the end, is that the holes in the heel and the neck block match up with each other. So, I'm good.)


A little visualization:


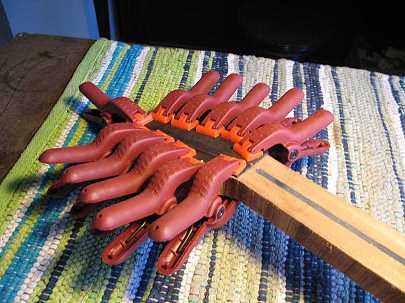
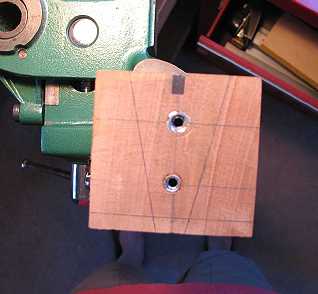
I've put the inserts in:


Here I have bandsawn the rough neck shape out, keeping about 1/16" away from my lines:

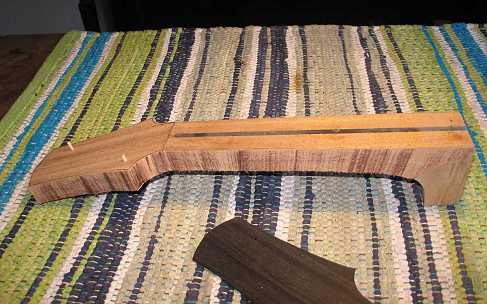
The last thing I did today was to glue on the peghead.

Tomorrow I will use the peghead overlay as the guide to rout the mahogany with a bearing flush to the overlay. Then I will probably do a preliminary fitting of the neck angle and move on to working on the fingerboard.

INDEX:

Return to HOME PAGE

  1. Planning
  2. A Little Change in Plans...
  3. Back Braces
  4. Carving the Back Braces & Cutting the Top Braces
  5. The Rosette / Tapering the Fingerboard
  6. Bracing the Top
  7. Carving the Braces / Gluing the Soundhole Braces & Bridge Plate
  8. The Finished Top and Back!!! / Cutting and Bending the Sides
  9. Fixing Cupped Sides / Making Spreaders & Clamping Cauls
  10. Neck and Tail Blocks
  11. Sanding the Radius into the Sides / Gluing the Kerfing Strips / Side Reinforcements
  12. Fitting & Gluing the Back
  13. Fitting & Gluing the Top
  14. We Have a Soundbox Now!!!
  15. Bending and Routing for Bindings
  16. Gluing the End Wedge & Bindings
  17. Scraping the Bindings
  18. Beginning the Neck
  19. The Neck, Continued!!!
  20. The Neck, Day 3
  21. Peghead, Tuners, Dots, & Frets!!
  22. Peghead Inlay
  23. Backstrap & Gluing the Fingerboard
  24. Carving the Neck / A "Duh!" Moment / Side Dots / Preparing for Finish
  25. Pore-Filling and Sealing
  26. Spraying the Top Coats
  27. Finishing the Finish / Gluing on the Neck
  28. Gluing on the Bridge
  29. Set-Up / It's All Done!


Previous Page