Neck and Tail Blocks


Monday, June 25th, 2012:

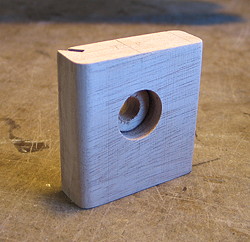
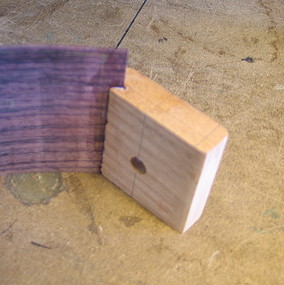
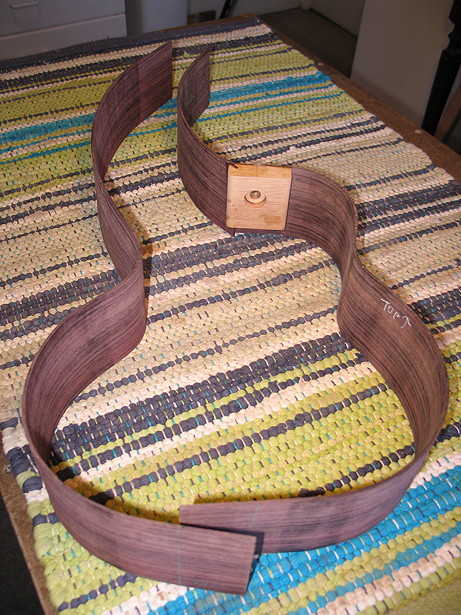
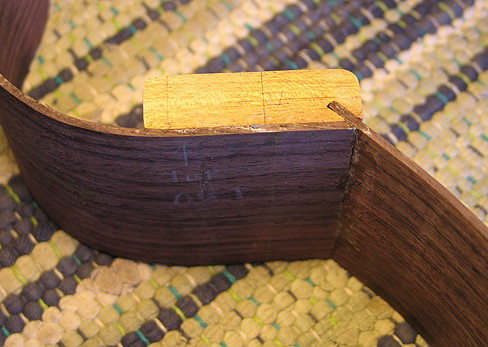
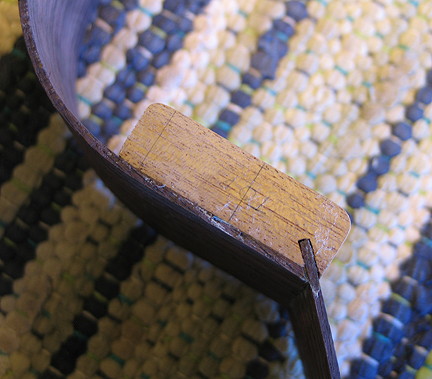
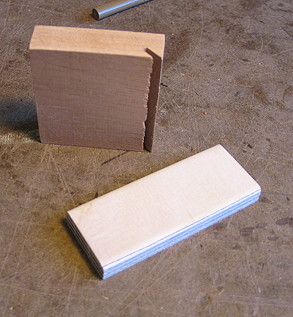
Now that the sides were bent, it was time to work on the neck and tail blocks. Below you see the mahogany neck block, with the 45-degree angle cut into it on my table saw, and the tail block, made of 3/8" birch plywood.


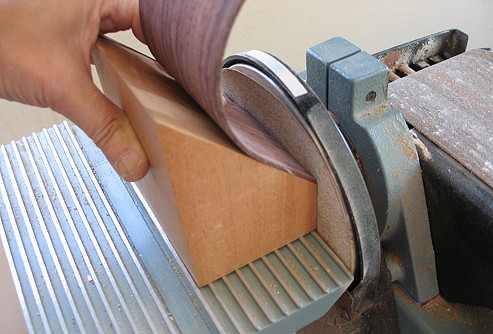
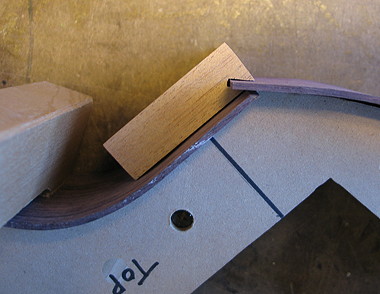
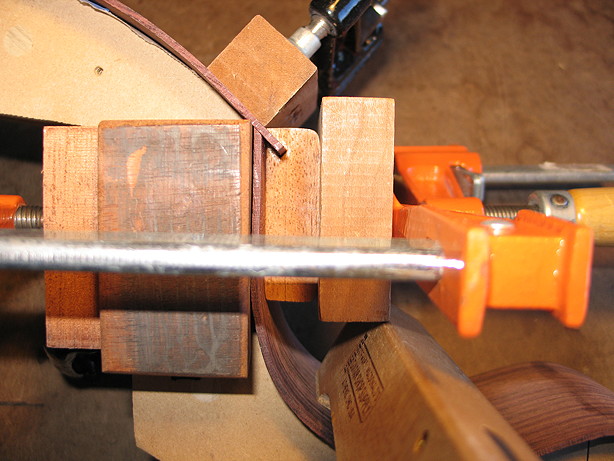
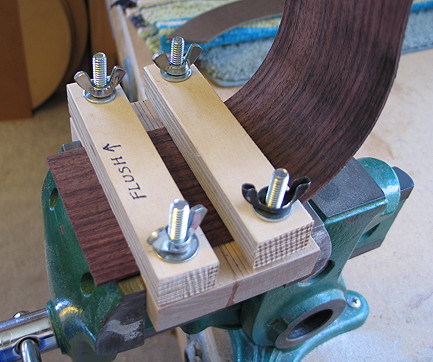
Here is a little jig I made today to make clamping and sawing off the ends of the sides a little easier. I saw it on Jon Sevy's excellent guitarbuilding site. It's basically just a big block with two narrow blocks that are attached with carriage bolts and wingnuts. I can use this for clamping a side so I can accurately trim (with either a plane or saw, as you see to the right) the ends of the sides. I will also use it later to clamp the tail block when I glue it to the sides.


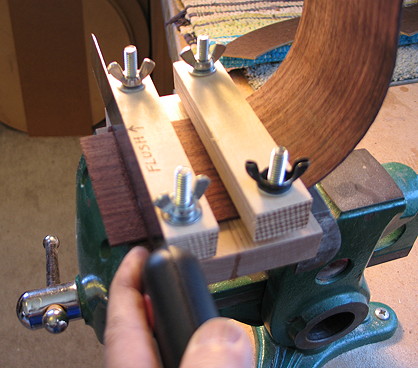
(I'm actually right-handed; I'm holding this saw with my left hand only because I need my right hand to snap the photo.)

INDEX:

Return to HOME PAGE

  1. Working on the Top and Back
  2. Finishing the Rosette, Harpbox Peghead Veneer
  3. Bracing
  4. Carving the Braces
  5. Bending the Sides
  6. Neck and Tail Blocks
  7. Pegheads & Top Kerfing
  8. Profiling the Sides for the Back
  9. Soundport and Side Reinforcements
  10. Gluing on the Top
  11. Gluing on the Back
  12. Trimming Overhang & Harpbox Peghead
  13. Routing for Binding
  14. End Wedge & Binding
  15. Scraping the Binding, Binding the Harpbox Peghead
  16. The Box is Done --- On to the Neck!!!
  17. Working on the Neck & Fingerboard
  18. The Neck is Finished!!! Now to the Bridge!!!
  19. Peghead Inlay, Final Sanding & Pore-Filling
  20. Shellac Seal Coats and Finishing!!!
  21. Finishing the Finish!!!
  22. The Final Steps
  23. It is Finished!!!


Below I am sanding the 45-degree angle on the short harpbox side; this is the end that will be inserted into the neck block. (I saw this tip on John Parchem's excellent blog on the harp ukulele he is currently building!) (And, once again, I am only holding this with one hand because I'm using the other to snap the photo; when I sanded this joint, I was holding the side against the jig with both hands!)


Here is a loose layout of how it all goes together at the neck block end (nothing's glued yet):


And here is the neck block after I have drilled for the neck bolt I will be using (a furniture bolt into a barrel nut in the heel).


Once the neck block was all finished, I glued the short harpbox side into its slot in the block (top side down). (The side is standing proud of the block because I am waiting to taper the sides later, after all the blocks are glued.)


Finally it was time to glue on the neck block. To make sure everything is aligned properly, I am clamping everything against the mold. (This is a view looking down onto the back side of the block; the top side is lying flat on the workbench.)


Two hours later....

It's about 5:30 p.m., and I have removed the clamps. Here's where it all stands now --- the neck block (and connected harpbox side) is solidly glued to the side. It came out perfectly!!! I am so glad. Sometimes when I glue things, there is some misalignment or not a solid glue joint. This time everything went as it should! All the time I spent this morning measuring and checking and rechecking things paid off!