Routing for the Binding!


Friday, July 6th, 2012:

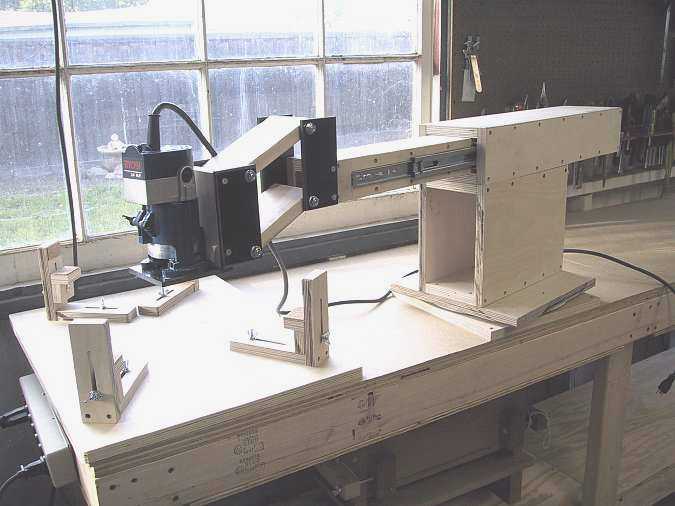
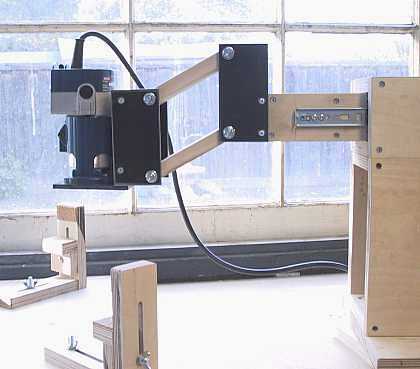
It's now about 3:00 p.m., and I'm taking a little breather from the day's work, so far. Today I tackled the most nerve-wracking part of a build for me --- routing for the binding! As I did on my first harp ukulele, I used the binding router jig to rout the channels.

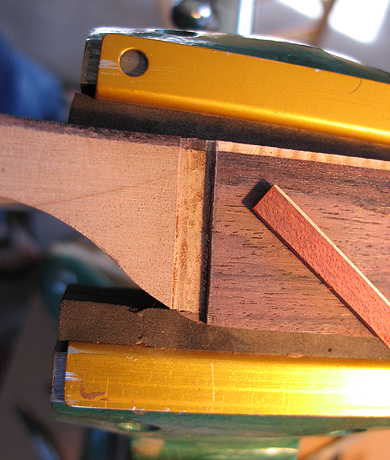
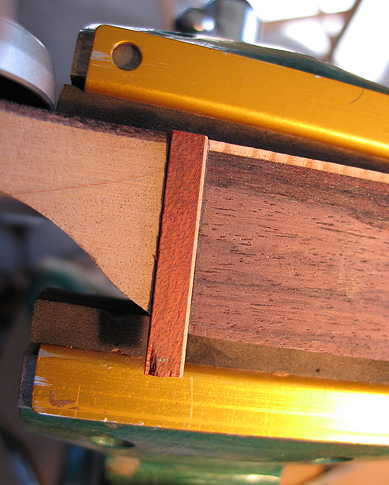
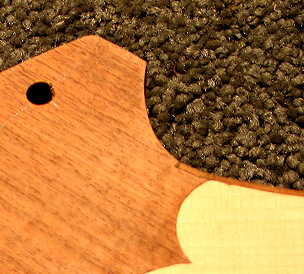
The first thing I did, though, was to cut out this channel by hand (I used a Dremel and a 1/16" bit, after I had cut the two edges with an Exacto knife). This channel is for the binding that is at the peghead end of the harp box.


Next, much of my time this morning was spent in the preparations for routing --- figuring out which size bearing to use for the binding channel depth of cut (it turned out to be an .080" depth of cut), setting up the bit in the laminate trimmer for the height of the channel, and setting up the soundbox in the holding cradle so that all the sides were as perpendicular to the workbench surface as I could get them.

Sorry, no pictures of the process --- I get too preoccupied with doing this actual job to stop and take photos. Anyway, here are the results:


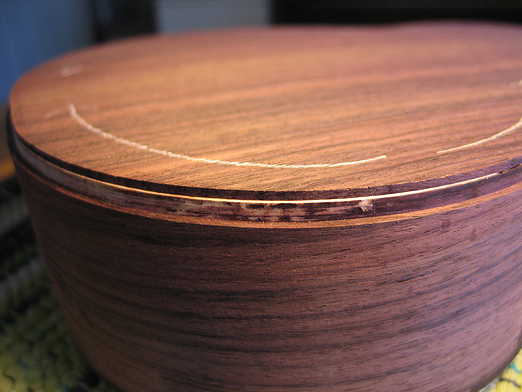
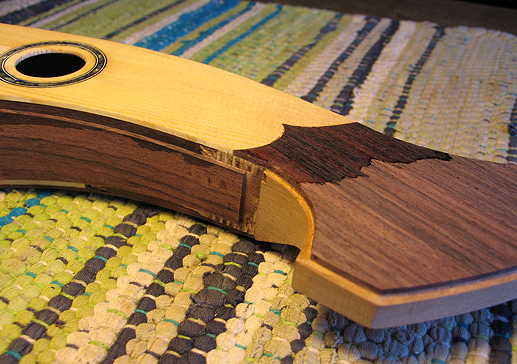
The top binding channel (it will just be a simple bloodwood binding, with a single white line underneath the binding on the side):


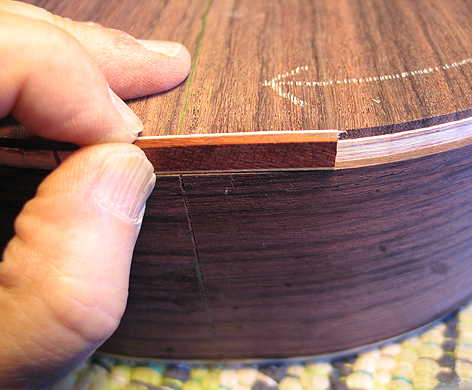
The back binding channel (this one has the same bloodwood binding with a white line underneath on the side, along with a single white purfling line on the back):


INDEX:

Return to HOME PAGE

  1. Working on the Top and Back
  2. Finishing the Rosette, Harpbox Peghead Veneer
  3. Bracing
  4. Carving the Braces
  5. Bending the Sides
  6. Neck and Tail Blocks
  7. Pegheads & Top Kerfing
  8. Profiling the Sides for the Back
  9. Soundport and Side Reinforcements
  10. Gluing on the Top
  11. Gluing on the Back
  12. Trimming Overhang & Harpbox Peghead
  13. Routing for Binding
  14. End Wedge & Binding
  15. Scraping the Binding, Binding the Harpbox Peghead
  16. The Box is Done --- On to the Neck!!!
  17. Working on the Neck & Fingerboard
  18. The Neck is Finished!!! Now to the Bridge!!!
  19. Peghead Inlay, Final Sanding & Pore-Filling
  20. Shellac Seal Coats and Finishing!!!
  21. Finishing the Finish!!!
  22. The Final Steps
  23. It is Finished!!!


Here is what the binding will look like on the back and side. Routing for the white line purfling was kind of weird, because it is barely .02" wide --- when you're doing the pass for that channel, it barely feels as if you're cutting anything!


Finally, here is a problem that I had on the first harp ukulele build, which I am trying to remedy this time. The ends of the "V" joint on the peghead overlay did not coincide with the end position of the binding on the side (I had placed it at the end of the harpbox peghead heel). As a result, the binding jutted into the peghead overlay.

At that time, I had no idea how to remedy that, so I left it as it was. But it looks ugly. So, what I am doing this time is extending the bloodwood binding line into and all around the peghead, with a short strip of binding (about 3mm tall). I'm sure I'll easily be able to blend the two lines of binding together at the joint, by just filling it in with some bloodwood dust and glue.

To cut these little channels, I used my old Stew-Mac binding router attachment in the Dremel (what I used to do all my binding channels with, when I first started building). It's good for doing small binding jobs like this.


Go to Previous Page


Go to Next Page