Wednesday, August 15th, 2012:
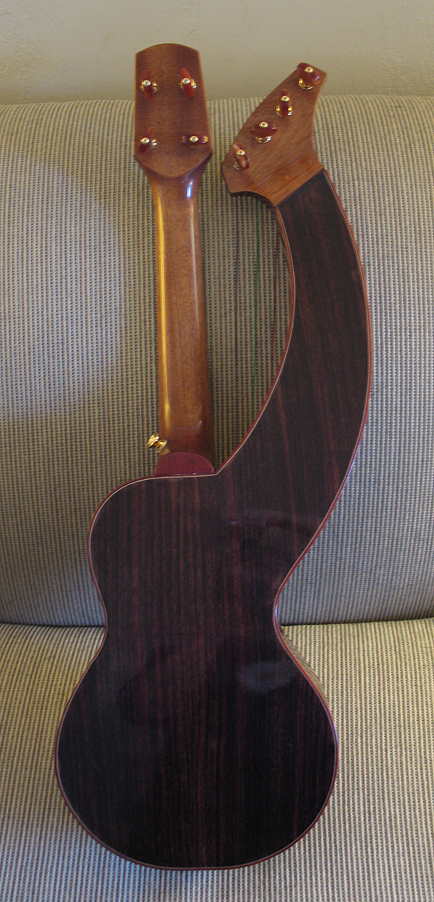
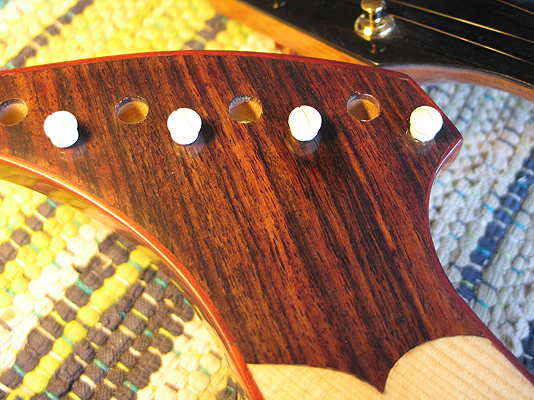
The first thing I did today was to level and polish up the chip repair. It turned out well, thank goodness!!! I am relieved. Can you tell where the repair is, in the photo below? If you guessed that it was right below the third harpbox nut (bridge pin) to the right, you are correct!
|
|
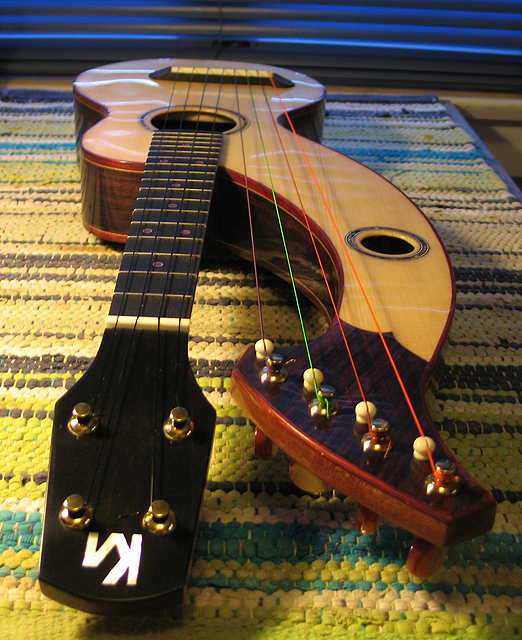
After that was finished, I strung everything up again, and encountered two problems: (1) The 6th string (the third sub-bass string to the right) was buzzing, and (2) The 4th (low G) string was buzzing over the whole fretboard.
For the first problem, I fixed that by filling the slot of harpbox nut for that string with bone dust and superglue, and filing a new slot, not as deep as before. That fixed it.
For the second problem, I figured out that I needed to raise the saddle more towards the bass end. To do that, I made an ebony shim, about 1.5mm tall, glued it to the bottom of the saddle, and sanded the bottom of the shim, so that the saddle was increasingly taller as it approached the bass end. That worked. Now none of the strings are buzzing, and it still has very nice action.
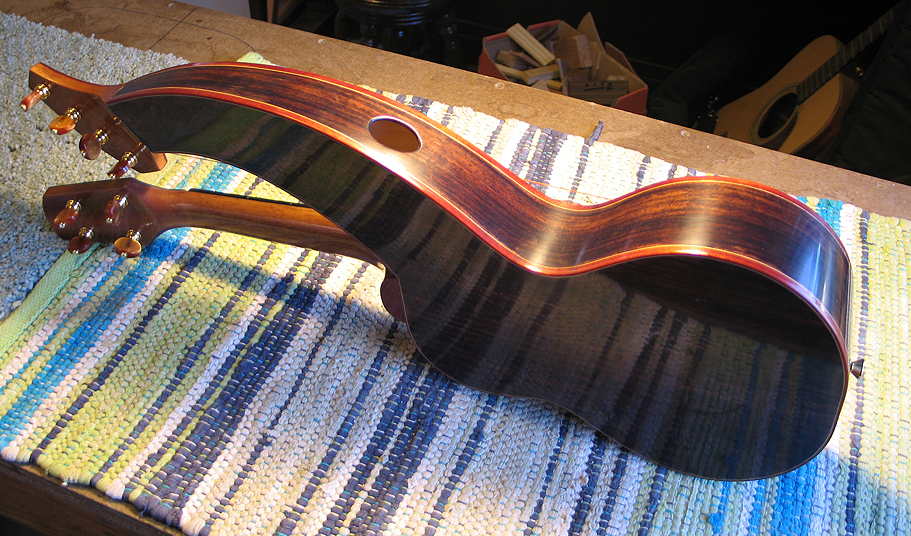
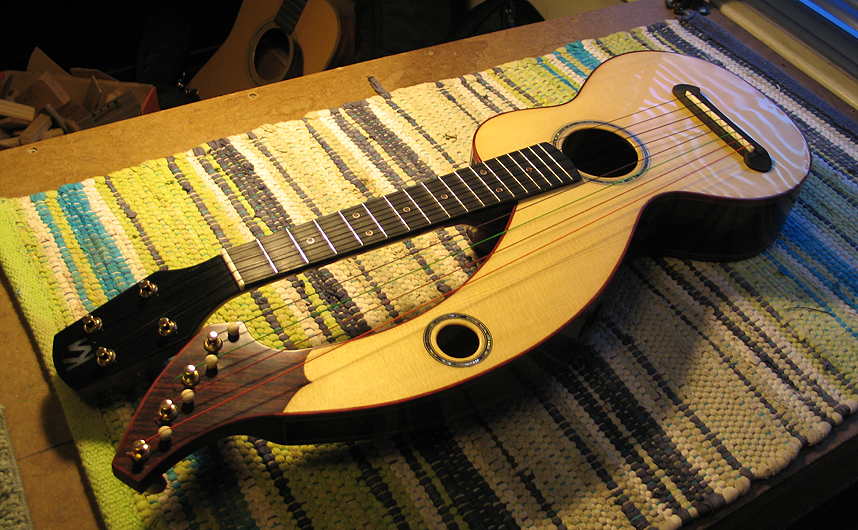
Here's a video and some photos:
|
|