Carving the Braces


Wednesday, June 20th, 2012:

Well, today I didn't get a start on the harp ukulele until around noon, as I spent the morning having coffee with a woman from my church who runs a homeless ministry; lately I've become more involved in this new church I've been going to since January, and I wanted to find out more about her ministry and how I could help.

Anyway, it's now about 4 p.m. I spent about an hour sharpening a couple of chisels (a 1/2" Marples chisel and my curved glue-clearing chisel --- see this photo), in preparation for carving the braces. All I've done so far is the rough carving of the braces on both the top and the back.

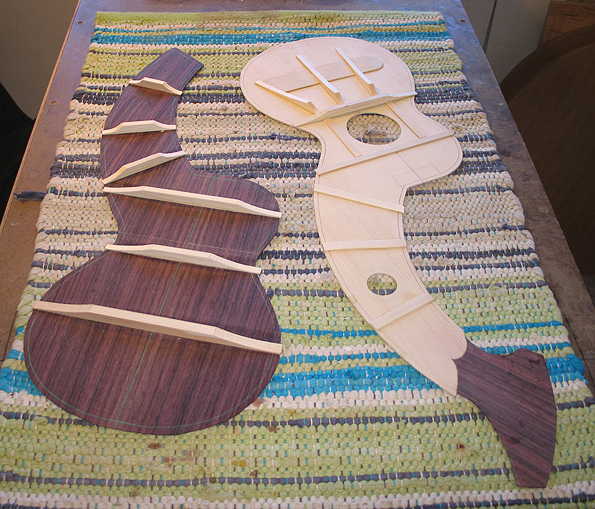
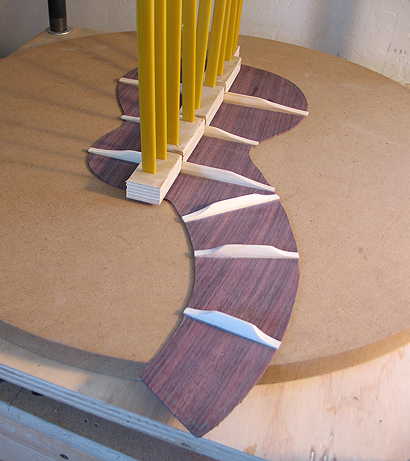
TO THE RIGHT: Here's what the rough-carved braces look like.

Tomorrow I will taper the braces (carve the sides) and sand it all smooth.


INDEX:

Return to HOME PAGE

  1. Working on the Top and Back
  2. Finishing the Rosette, Harpbox Peghead Veneer
  3. Bracing
  4. Carving the Braces
  5. Bending the Sides
  6. Neck and Tail Blocks
  7. Pegheads & Top Kerfing
  8. Profiling the Sides for the Back
  9. Soundport and Side Reinforcements
  10. Gluing on the Top
  11. Gluing on the Back
  12. Trimming Overhang & Harpbox Peghead
  13. Routing for Binding
  14. End Wedge & Binding
  15. Scraping the Binding, Binding the Harpbox Peghead
  16. The Box is Done --- On to the Neck!!!
  17. Working on the Neck & Fingerboard
  18. The Neck is Finished!!! Now to the Bridge!!!
  19. Peghead Inlay, Final Sanding & Pore-Filling
  20. Shellac Seal Coats and Finishing!!!
  21. Finishing the Finish!!!
  22. The Final Steps
  23. It is Finished!!!


Thursday, June 21st, 2012:

Today I carved and sanded the top and back braces. To the right, I am gluing the center reinforcement strip (spruce taken from scraps from the top) in the go-bar deck.