Scraping the Binding


Tuesday, July 10th, 2012:

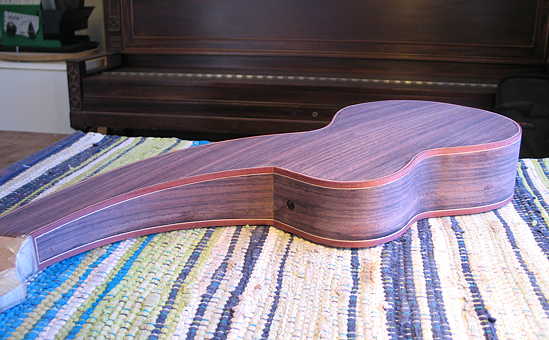
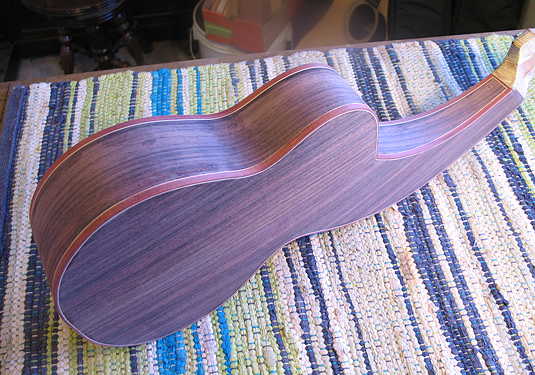
I didn't take any photos yesterday, but I did work on the uke --- I bent and glued all the back bindings. Then, late last night, I removed the tape from the bindings, to let it air-cure overnight.

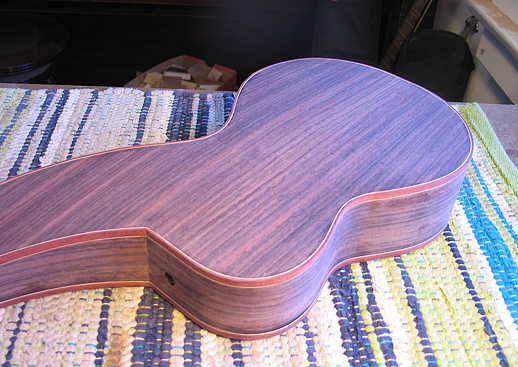
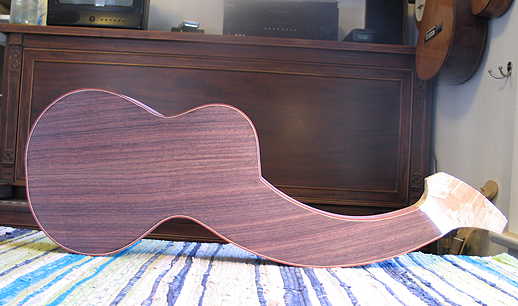
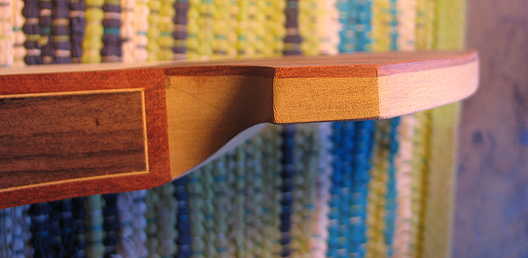
This morning, I first dealt with a slight gap I had on one side of the waist area on the back. What I did first was to make a couple of waist cauls. Then, I slipped some Titebond into the gap and applied a long Jorgensen clamp to the cauls at the waist. Next, using a heat gun on a low setting, I heated up the area of the gap until I saw the glue start bubbling. When I saw that, I slowly tightened the clamp until the gap was gone. I let it sit for a while, and, once it cooled down, I removed the clamp. It worked! No more gap!

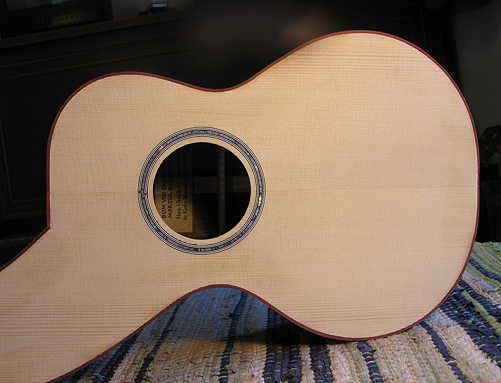
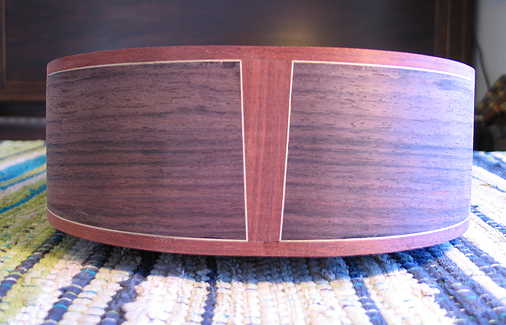
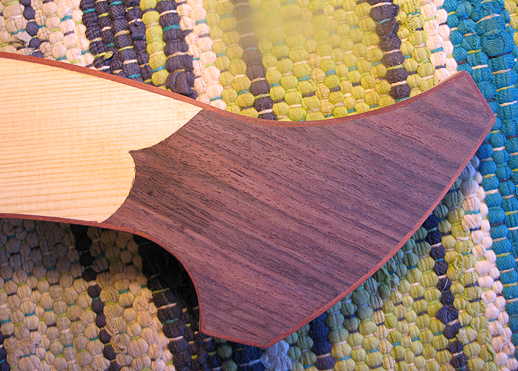
The next task was to scrape down all the bindings. That took a while (probably an hour or so).

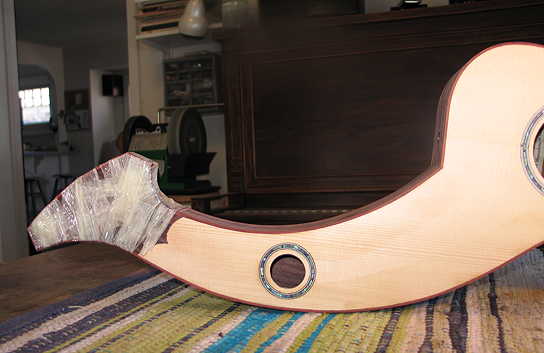
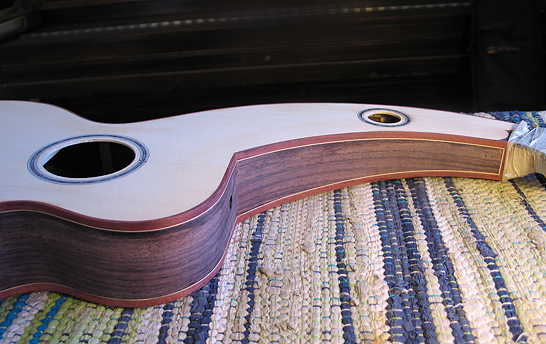
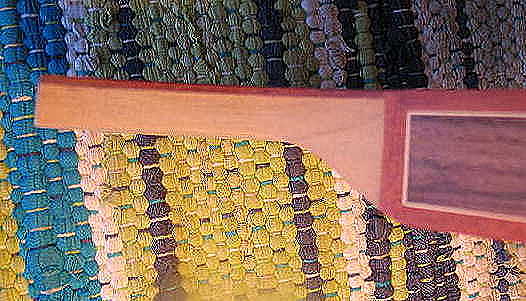
Finally, I bent and glued the shallow bindings on the harpbox peghead. This proved to be a little difficult, as the short curved section kept breaking on me! But finally I got it done, and it's all taped up now. We'll see how it looks tomorrow.

SO....here are a bunch of photos of how it is all looking now.


INDEX:

Return to HOME PAGE

  1. Working on the Top and Back
  2. Finishing the Rosette, Harpbox Peghead Veneer
  3. Bracing
  4. Carving the Braces
  5. Bending the Sides
  6. Neck and Tail Blocks
  7. Pegheads & Top Kerfing
  8. Profiling the Sides for the Back
  9. Soundport and Side Reinforcements
  10. Gluing on the Top
  11. Gluing on the Back
  12. Trimming Overhang & Harpbox Peghead
  13. Routing for Binding
  14. End Wedge & Binding
  15. Scraping the Binding, Binding the Harpbox Peghead
  16. The Box is Done --- On to the Neck!!!
  17. Working on the Neck & Fingerboard
  18. The Neck is Finished!!! Now to the Bridge!!!
  19. Peghead Inlay, Final Sanding & Pore-Filling
  20. Shellac Seal Coats and Finishing!!!
  21. Finishing the Finish!!!
  22. The Final Steps
  23. It is Finished!!!


6:30 p.m., still Tuesday:

I removed the tape from the harpbox peghead binding. Here's the result, after a little gap-filling and sanding:


I think it looks much better than the first harp ukulele peghead!!!


Here's the side view of the harpbox peghead (see the attempt at the mahogany gap-fill?):

Here 's the other side of the harp box:


Go to Previous Page


Go to Next Page