Friday, June 29th, 2012:
Well, I figured it was about time to make my first requisite mistake on this build. (Can't keep you all waiting too long, right???)
Luckily, this mistake isn't a major one --- or at least it didn't end up being one!
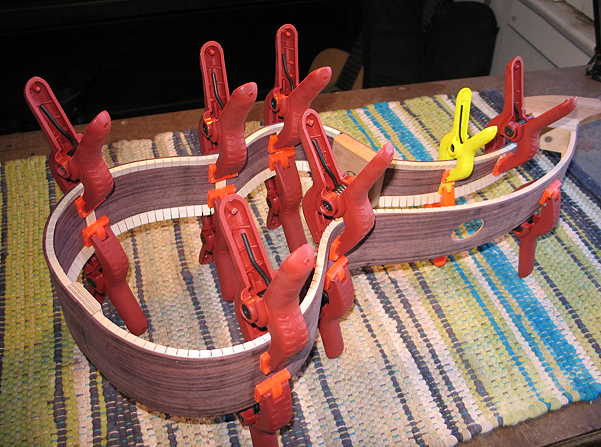
The first thing I did today was to remove the clamps on the back kerfing. Then I spent a little time sanding both the top and back kerfings in the radius dishes, so they both sat nice and flush to the dishes. No photos of this, as it is a pretty uneventful task.
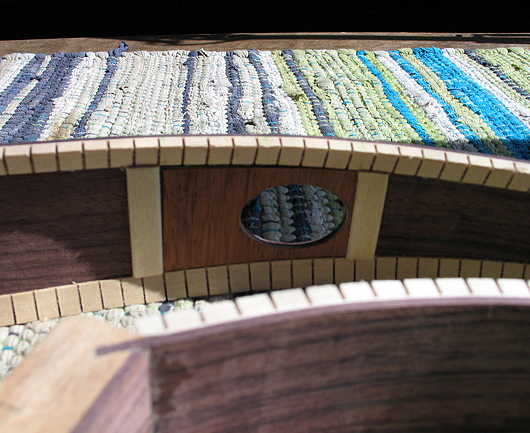
Now comes the exciting (?) part . . . Since I had decided to put a soundport in this harp ukulele, I spent about an hour trying out different shapes and sizes for the soundport and printed my final choice on plain paper. I marked on the inside and outside of the side where to place the veneer reinforcement patch. Then I glued the two pieces of veneer to the inside, at its proper position.
Here's where the problem came in. SOMEHOW --- and I still can't, for the life of me, figure out exactly how I managed to do this, because I did have it all marked correctly both on the inside and outside of the side --- when I glued on the paper drawing of the oval hole (on top of masking tape), I managed to glue it on in the wrong spot. Not just a little off, but WAY off!!! It's a mystery how I managed to do that! I keep looking at it trying to figure it out.
At any rate, I didn't discover this error until after I had routed out the hole (with a Dremel and a 1/8" bit, followed by a little sanding drum, with masking tape and a caul on the inside, also, to minimize tear-out). Luckily for me, the oval hole still had landed within the area of the reinforcement patch. I added a couple of wood strips (popsicle sticks!) to each side of the patch; somehow it makes it look as if I meant it to be that way --- a little asymmetrical design, I'll call it . . .
|
|
Here's where the soundport is (top side down):
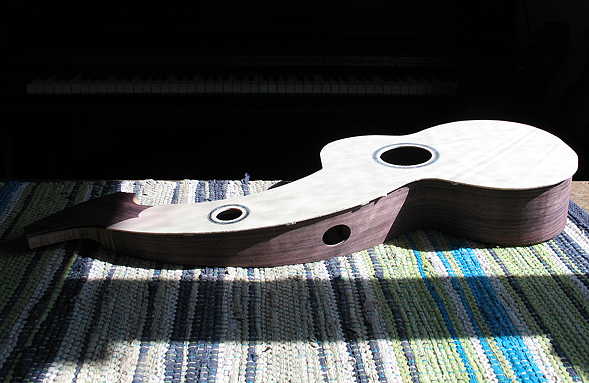
And here's where it is in relation to the other two soundholes:
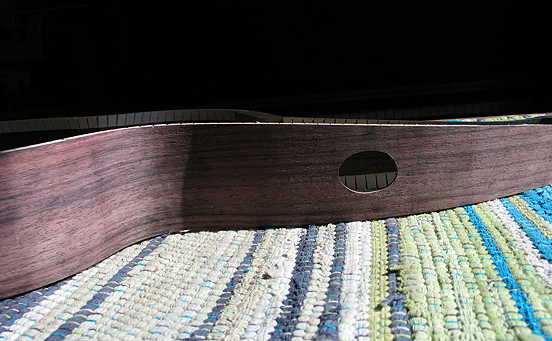
Later I will sand and round out the soundport's edges. |
|