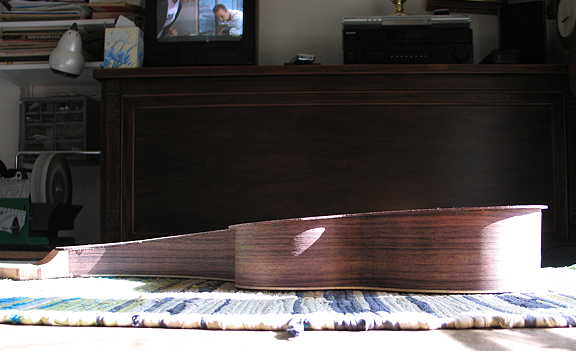
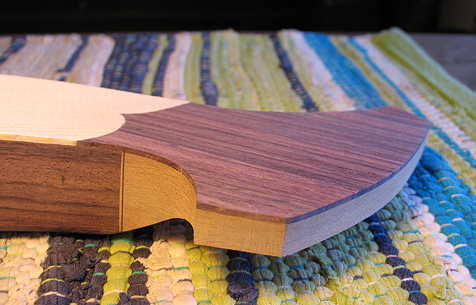
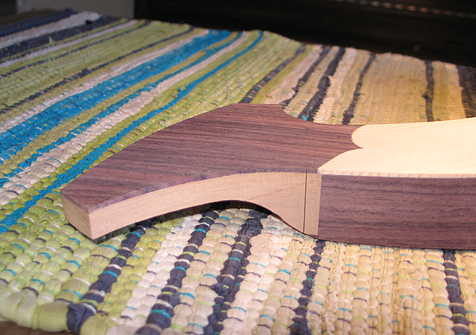
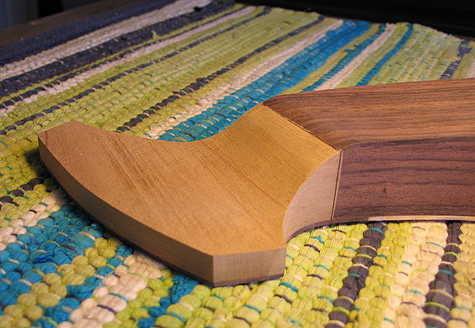
Also, this time I elected not to go to the belt sander to true up the slightly misaligned harpbox peghead. (Portions of the peghead veneer were overhanging the mahogany, or vice-versa.) Sometimes the belt sander can be too aggressive and you can oversand or mis-sand, losing some control. I decided to be more careful and do it all by hand, again using the little handplane and sandpaper blocks. It came out well.
The pencil line you see on each side of the peghead are where binding will begin. The binding edge will line up with the top edge of the harpbox back.
|
|
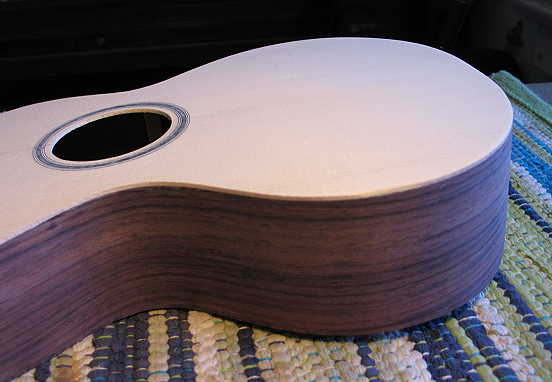
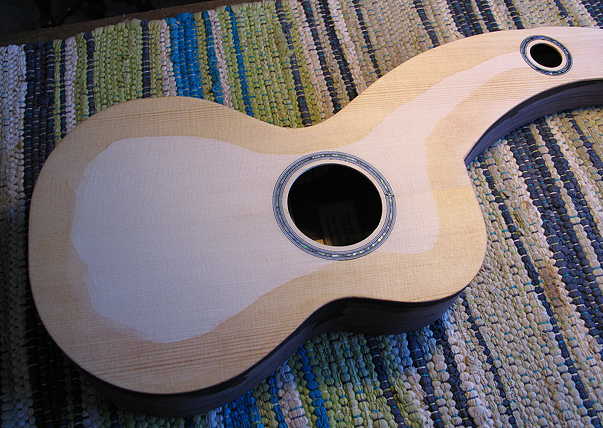
Finally, I have sanded the top (to get all the rosewood dust off) and brushed shellac around the perimeter of the top, in preparation for the routing of the binding ledge later. This will minimize chipping of the more delicate spruce when I rout out the binding ledge.
This time I will be installing bloodwood binding. On the top, I will have no purfling --- I think I would rather have the simple contrast of the rich bloodwood against the Engelmann spruce top, AND it will be so much easier to do without having to rout a purfling ledge. Beneath the binding, there will be a single white line of purfling, to better contrast the bloodwood binding from the rosewood side.
All of this took me until about 1:30 p.m. This next part is what makes me particularly nervous --- the routing of the binding ledge! I will start doing my planning for that next, later this afternoon, after a bit of lunch. Stay tuned!!!
|
|