Profiling the Sides for the Back


Still Thursday, around 3:30 p.m.:

The first thing I did was make a paper template of the side profile, using, once again, Colin Symonds's simple method of figuring out a side profile.

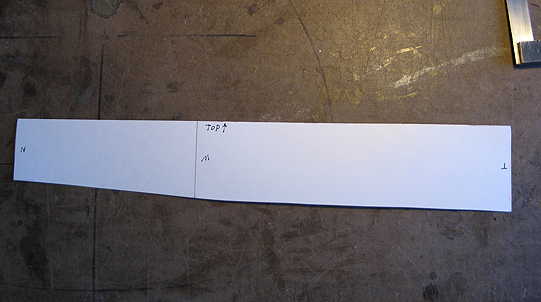
Here is the line I will need to plane the sides to:


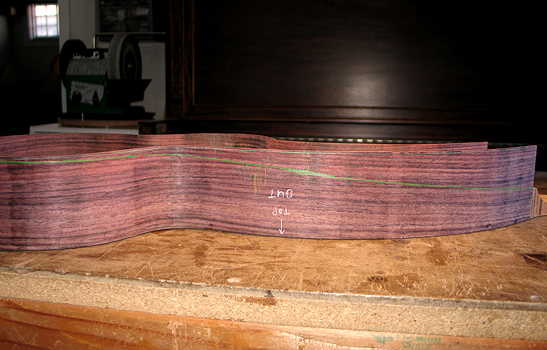
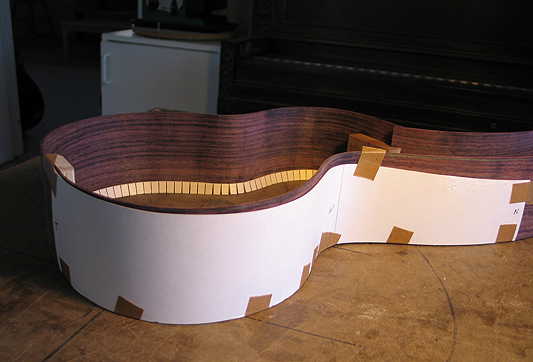
I then placed the template on each side and traced the outline. (However, on the long harpbox side, I had to adjust the line somewhat, to match the taper of the other side of the harp box.)

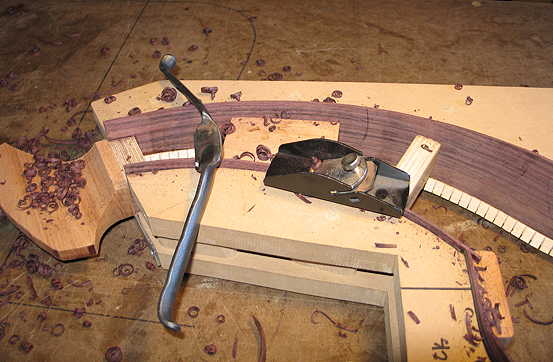
Most of the cutting had to be done on the harpbox sides. To take away the bulk of it, I used my mini-drawknife. Then I used this little block plane to trim it down to the line.


INDEX:

Return to HOME PAGE

  1. Working on the Top and Back
  2. Finishing the Rosette, Harpbox Peghead Veneer
  3. Bracing
  4. Carving the Braces
  5. Bending the Sides
  6. Neck and Tail Blocks
  7. Pegheads & Top Kerfing
  8. Profiling the Sides for the Back
  9. Soundport and Side Reinforcements
  10. Gluing on the Top
  11. Gluing on the Back
  12. Trimming Overhang & Harpbox Peghead
  13. Routing for Binding
  14. End Wedge & Binding
  15. Scraping the Binding, Binding the Harpbox Peghead
  16. The Box is Done --- On to the Neck!!!
  17. Working on the Neck & Fingerboard
  18. The Neck is Finished!!! Now to the Bridge!!!
  19. Peghead Inlay, Final Sanding & Pore-Filling
  20. Shellac Seal Coats and Finishing!!!
  21. Finishing the Finish!!!
  22. The Final Steps
  23. It is Finished!!!


After I finished all the trimming (it took me about three hours!), I sanded the non-harpbox portion in the radius dish (15' radius for the back). Here it is, completed!


The final job for today was to glue on the back kerfing (I'm using basswood for the kerfing).


Go to Previous Page


Go to Next Page