Gluing on the Back


Wednesday, July 4th, 2012:

LOTS OF PHOTOS TODAY!!!

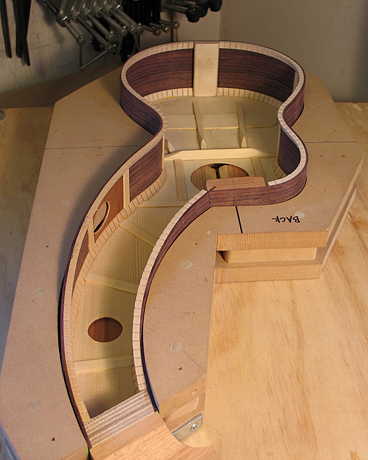
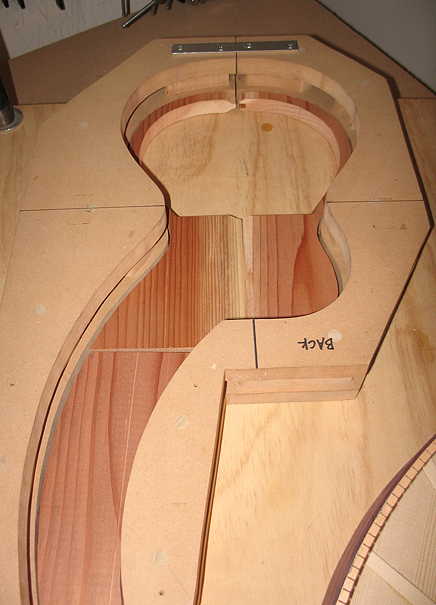
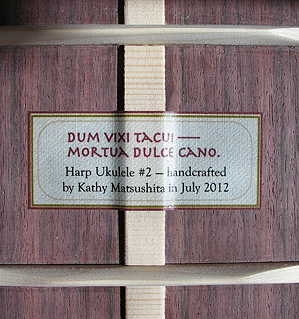
(1) The first thing I did today was to make my label. I printed it up on some linen paper, sprayed it with some shellac as a sealer, and let it dry for a while. Then I used some spray adhesive to glue it onto the back.


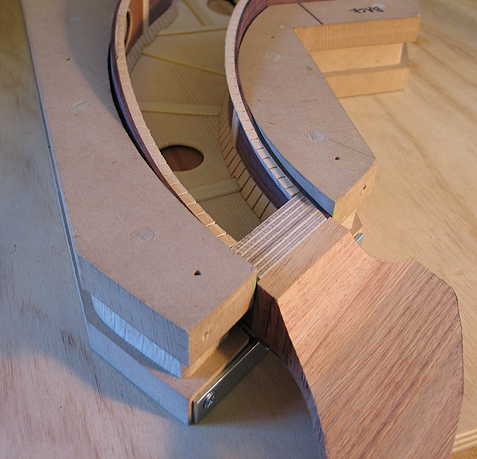
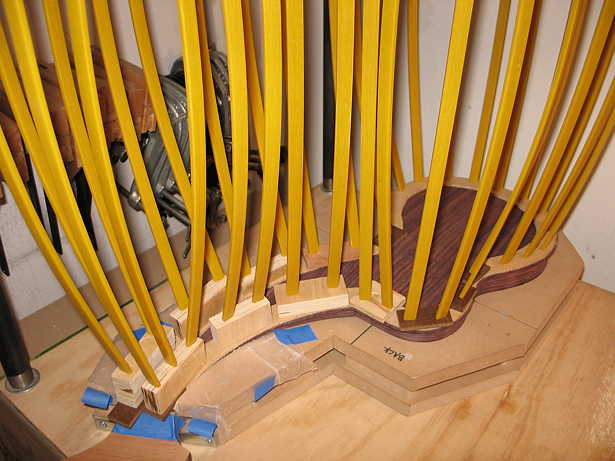
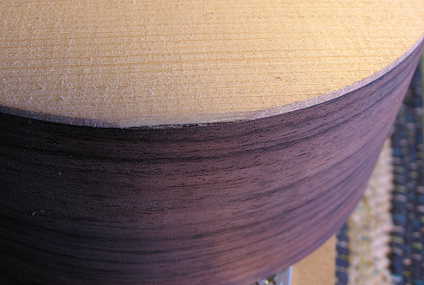
(3) However, as you can see in the two photos below, I did manage to chip out the spruce in a couple of places. Luckily, the chip-out was minimal, and was narrower than the binding ledge I will rout out later.


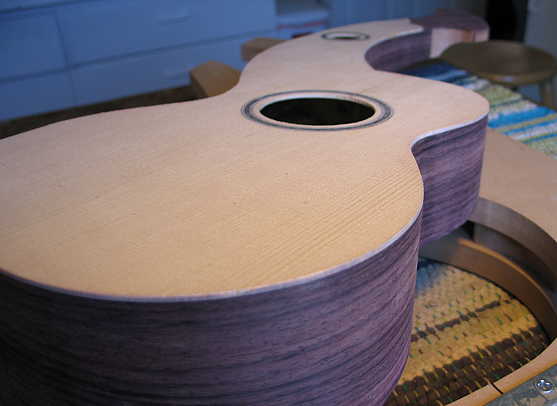
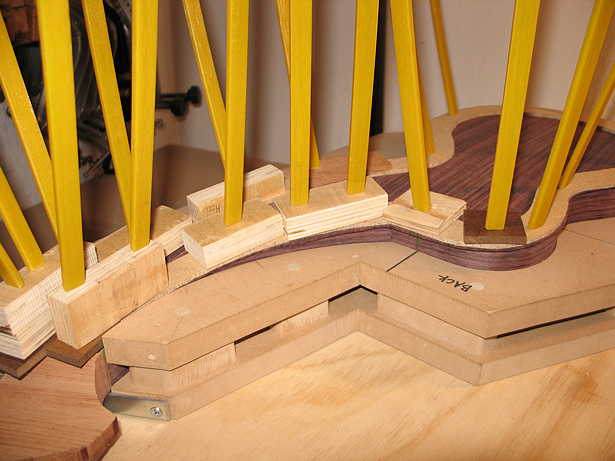
(2) Next, it was time to trim the overhang on the top. I wanted to do this now, so I could see how square the top was to the sides. It turned out to be almost perfectly perpendicular to the sides! To trim the overhang flush to the sides, I used my mini-drawknives and the cute little mini-plane I got from Stephen Boone. As I trimmed the overhang, I was careful to follow the grain.


INDEX:

Return to HOME PAGE

  1. Working on the Top and Back
  2. Finishing the Rosette, Harpbox Peghead Veneer
  3. Bracing
  4. Carving the Braces
  5. Bending the Sides
  6. Neck and Tail Blocks
  7. Pegheads & Top Kerfing
  8. Profiling the Sides for the Back
  9. Soundport and Side Reinforcements
  10. Gluing on the Top
  11. Gluing on the Back
  12. Trimming Overhang & Harpbox Peghead
  13. Routing for Binding
  14. End Wedge & Binding
  15. Scraping the Binding, Binding the Harpbox Peghead
  16. The Box is Done --- On to the Neck!!!
  17. Working on the Neck & Fingerboard
  18. The Neck is Finished!!! Now to the Bridge!!!
  19. Peghead Inlay, Final Sanding & Pore-Filling
  20. Shellac Seal Coats and Finishing!!!
  21. Finishing the Finish!!!
  22. The Final Steps
  23. It is Finished!!!


(4) Here is the top, after it has been trimmed flush to the sides:


(5) The next thing I did was to bandsaw out a quick platform to support the top, so that the back kerfing edge will protrude out of the mold. (The next time I build a harp ukulele, I might consider reducing the height of the mold, so as to avoid this problem --- when I built the mold, I wasn't thinking about how shallow the harp ukulele becomes down at the harpbox peghead end!)

I had some redwood scrap wood left over from when I built the cellar bulkhead door last summer, so I used that. The open space you see in the lower bout is to accommodate the slight radius of the lower bout of the top.


To the left, you can see how the side set now sits in the mold.


(6) Next, I spent probably about an hour or so fitting the back to the sides --- trimming the back reinforcement strip to butt up against the neck and tail blocks, marking where the back braces hit the kerfing, chiseling out the pockets in the kerfing for the brace ends, and trimming the back braces so that they end within the sides.


(7) The extreme end of the harpbox, however, still lay below the top of the mold, so what I had to do was to trim the back in that area so the perimeter of the back was flush to the sides.


(8) Here I am doing a dry-run of the go-bar clamping for the back. That way I will know exactly what blocks I will need for the lower sections of the back.


(9) FINALLY. . . .I am gluing on the back. It's about 6 p.m. right now. Later tonight I will remove the go-bar sticks. Then I will have a soundbox!!!


Go to Previous Page


Go to Next Page