Finishing the Finish!!!


Friday, August 10th, 2012:

Well, I finally was able to get back to the harp uke today --- the waiting was over!!!

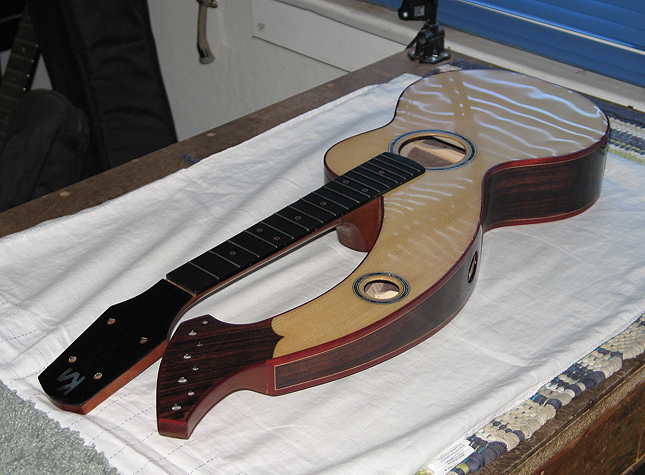
It has been over a week since I finished the spraying. Today I spent about 6-7 hours rubbing out the finish. This time I decided to do it totally by hand; I didn't want to risk another broken-off fingerboard extension, which happened to me on the last harp uke when I was buffing the neck out on the buffer.

So, I rubbed out the finish using all the MicroMesh grits, from 1500 (equivalent to regular 600 grit sandpaper) all the way down to 12000 grit. I dry-sanded it, as that's what I've heard works better on the EM6000. Then I used Meguiar's #9 (Swirl Remover) and #7 (Show Car Glaze) to do the final polishing.

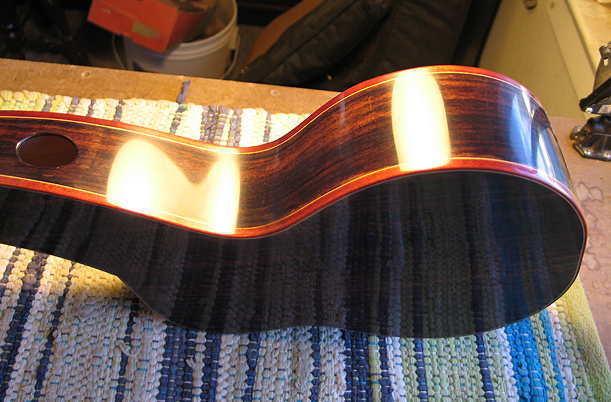
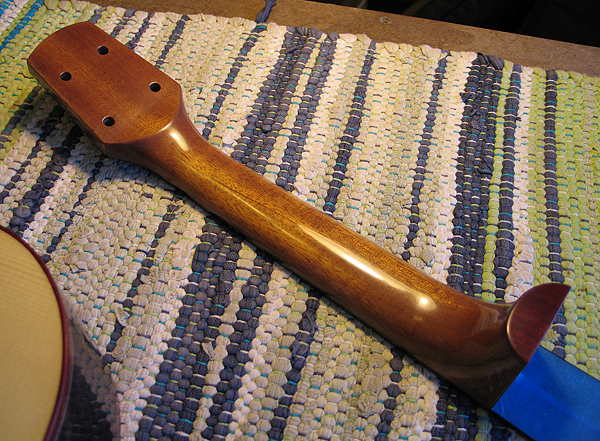
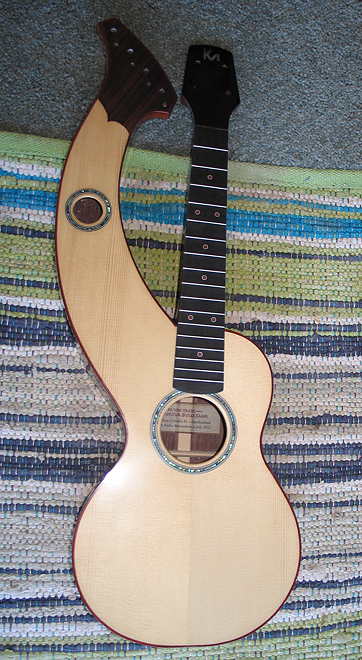
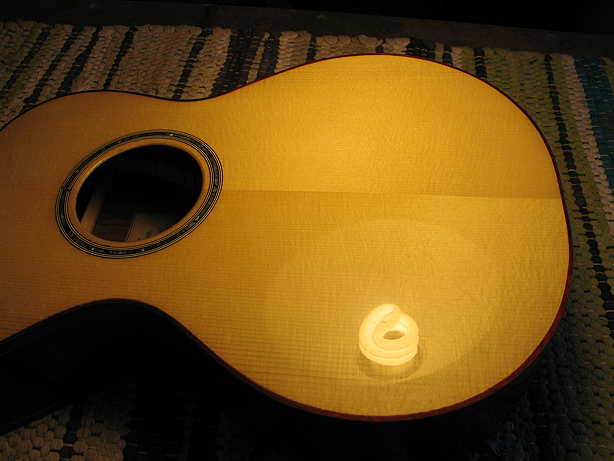
Here are some quick photos (the obligatory photo with the lamp light reflected in the finish):


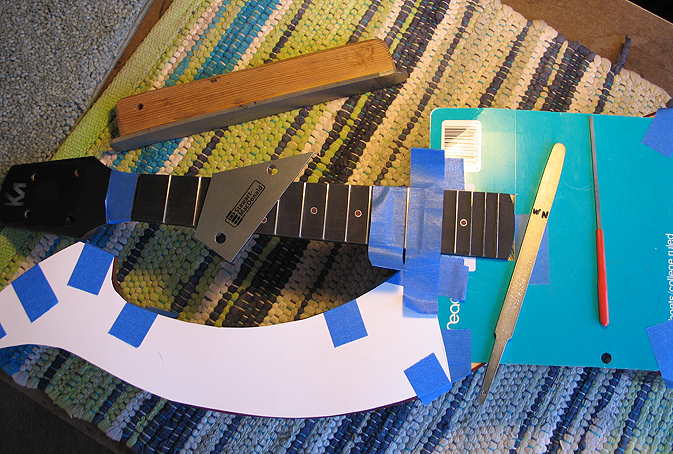
Tomorrow I will probably glue the neck on and then level and dress the frets.


INDEX:

Return to HOME PAGE

  1. Working on the Top and Back
  2. Finishing the Rosette, Harpbox Peghead Veneer
  3. Bracing
  4. Carving the Braces
  5. Bending the Sides
  6. Neck and Tail Blocks
  7. Pegheads & Top Kerfing
  8. Profiling the Sides for the Back
  9. Soundport and Side Reinforcements
  10. Gluing on the Top
  11. Gluing on the Back
  12. Trimming Overhang & Harpbox Peghead
  13. Routing for Binding
  14. End Wedge & Binding
  15. Scraping the Binding, Binding the Harpbox Peghead
  16. The Box is Done --- On to the Neck!!!
  17. Working on the Neck & Fingerboard
  18. The Neck is Finished!!! Now to the Bridge!!!
  19. Peghead Inlay, Final Sanding & Pore-Filling
  20. Shellac Seal Coats and Finishing!!!
  21. Finishing the Finish!!!
  22. The Final Steps
  23. It is Finished!!!

Sunday, August 12th, 2012:

Yesterday I glued on the neck. Here's the result.


Today it was time to level the frets, crown them, and polish them. Here are the various tools I used. To polish the frets, I used 400 wet/dry sandpaper, followed by 600, followed by steel wool. I also used Micromesh papers to buff them up to a nice shine.

It was the first time I've used the "Fret Rocker" --- it is a marvelous, simple tool, which made it very easy to find the individual frets that were a bit too high.


Here is the harp ukulele, after all the fret dressing was completed.


Go to Previous Page


Go to Next Page