Wednesday, June 13th, 2012:
I have just recently retired, after 32 years teaching high school English, so now my building time will no longer be limited to summers! SO....my very first project will be to build a second harp ukulele, as I sold my first one this past February to a fellow teacher (our campus's Ukulele Club advisor). This one should be better, as I now know the basic process and how to handle the more difficult parts of the build.
I plan, this time, to use some East Indian rosewood and Engelmann spruce I already had on hand. Also, I'm thinking of putting a soundport in this one.
AND. . . .this one, I will not sell!!!!
I got out of school on May 25th, but I've been spending the first few weeks of the summer doing some much-needed cleaning up around the house, purging my house of a lot of "stuff" that somehow accumulates over the years. There's still a lot more to do, but I have all the time in the world to do all that now, and I'm itching to begin this second harp ukulele. So, here we go!!!
The first task was to joint and join the top and back plates. Below is my basic process, step-by-step:
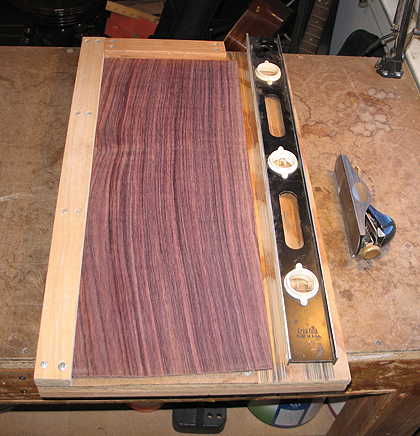
(1) The first thing I do is to do some preliminary jointing of the plates in my shooting board. I first use my little bench plane, then the 24" level with stick-on sandpaper, to do a rough jointing of the edge. |
|
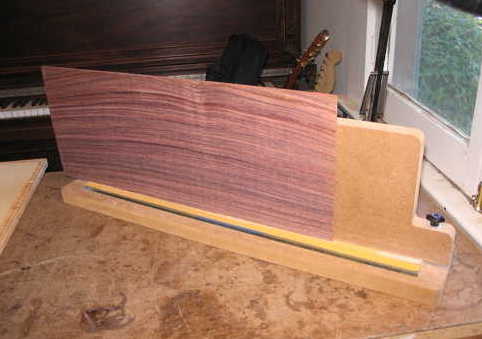
(2) Then I refine the joint using the "Easy Jointer," until it's perfectly straight, with no light showing when I hold the two halves together at the seam. |
| |
|
|
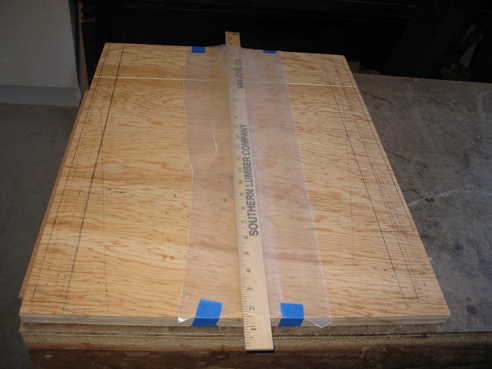
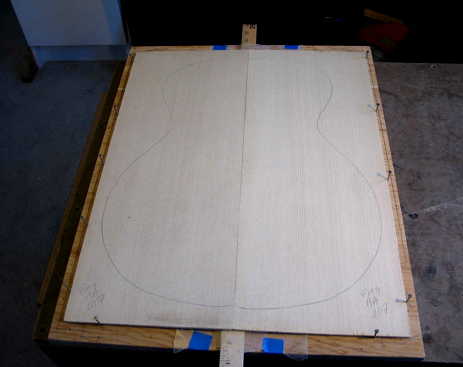
(3) This is the board I will use for the plates glue-up. I place a yardstick in the center and lay a piece of waxed paper on top of the yardstick. |
|
(4) The two plates are placed on top of the waxed paper, with the joint centered over the yardstick. |
| |
|
|
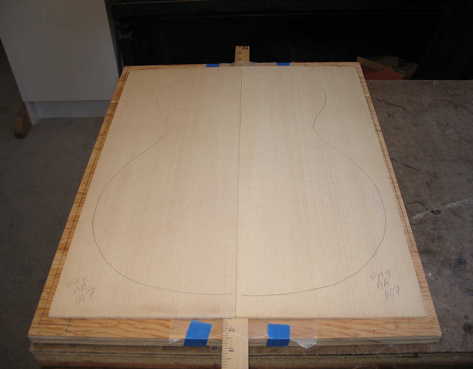
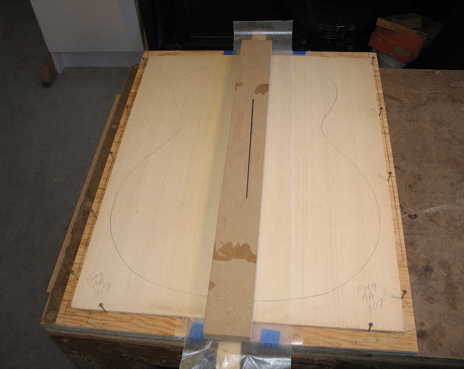
(5) I trace the outside edge and bottom corner of one plate half and place nails along that line. Then, butting that plate half against the nails, I butt the other plate's jointed edge tightly against the other jointed edge and place nails along the opposite side. The two plates are thus "tented" slightly in the middle; when the yardstick is later removed, and the two halves are pressed down, they will form a tight seam. |
|
(6) Next, I remove the two plate halves, spread a bead of glue along both jointed edges, place them together, and rub the glued edges together. I carefully place them against the nails and over the waxed paper and yardstick. Then I place another strip of waxed paper over the glued joint, remove the yardstick, and press down on the seam to make sure it lies flat all along the edge. I then place another wood strip over the waxed paper and clamp it down. |
| |
|
|
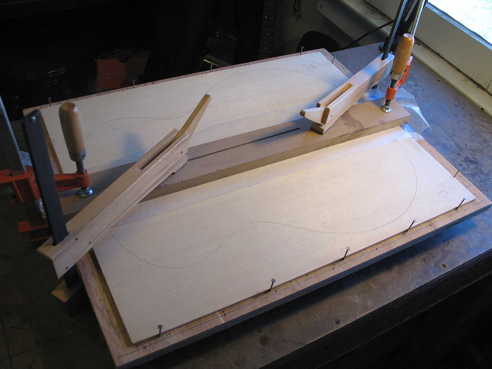
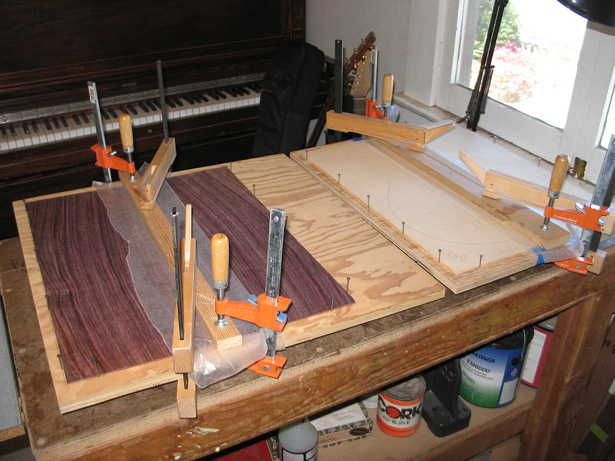
(7) Here I have clamped the wood strip at both ends and towards the center. To the right, you see that I have both the top and the back plates glued up. |
|
 |
|
|