Finishing the Rosette and Harpbox Peghead Veneer
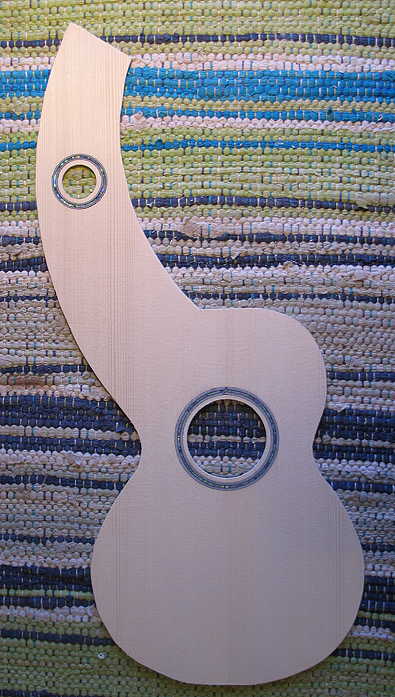
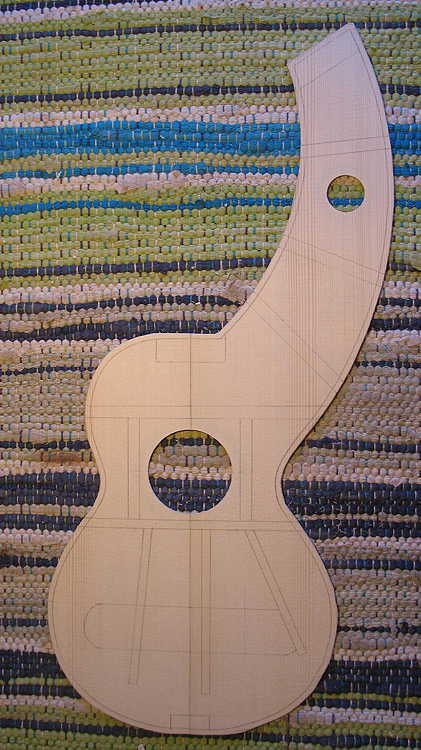
Friday, June 15th, 2012: Just a couple of photos today, even though I did quite a bit....The first thing I did this morning was to sand the top surface just enough to level down the rosettes. Next, I flipped the top over and thickness-sanded the top (on the bracing side) to its almost-final thickness, to about 2.3mm thick. (Later, after the final sanding, the top should end up around 2mm thick.) After I did that, I routed out the soundholes and retraced the top template shape onto the bracing side. I then used the washer & pencil method to mark for the cutting line around the edge, and then cut the top shape using my bandsaw. The final thing I did was to mark all the brace locations onto the top. That's it for today!
|
|
|||
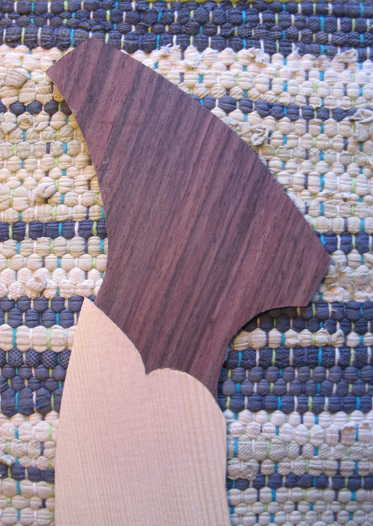
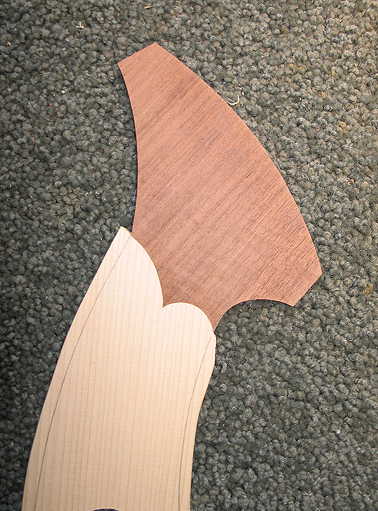
Saturday, June 16, 2012: Only two photos today, even though I did do quite a bit. Much of my time today was spent with pencil and paper, doing some redrawing and tracing and recalculating. The first thing that I had to figure out was how to deal with the fact that the harpbox peghead veneer v-joint had to be moved further down than the plans stated. The plans had the spruce top stop at the far edge of the peghead block, which was about 1/2" or so short of the v-joint as drawn on the peghead veneer piece. If I had cut the peghead veneer as drawn on the plans, there would be no spruce there to meet it! Only after I had cut out the spruce top from my template, did I remember that I had had a problem in this area in my first harp ukulele build! (Typical.) Anyway . . . I spent much of the morning refiguring and redrawing how and where the peghead veneer should meet the top and exactly where to draw and cut the v-joint on both pieces. (If you want to see how it's different from the previous harp uke, click here.) After all the figuring, I cut it out (just from the scraps from cutting out the back), cut the v-joint to match and butt up against each other, and glued it together. Later on today, I spent time measuring and figuring out all the dimensions for the spruce braces I will need for this build. Tomorrow I'll probably do the cutting of all the braces. In the photo below, you can see the two spruce billets I will use to cut my braces from.
|
