Pegheads (Continued) & Top Kerfing


Thursday, June 28th, 7 a.m., 2012:

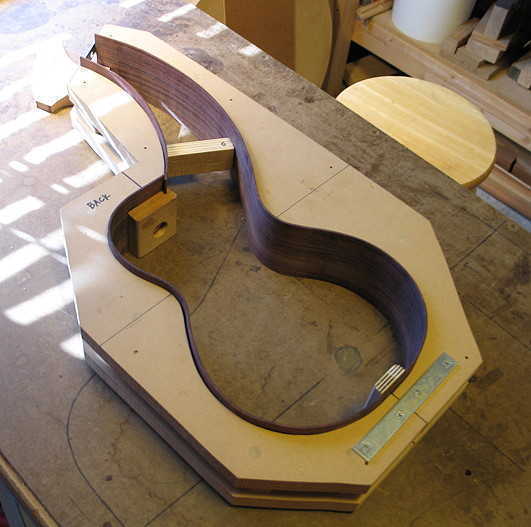
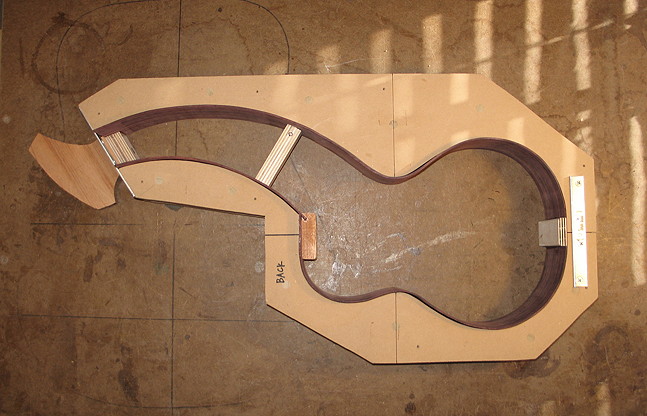
Just a few quick photos of what I woke up to today. Last night I glued the harpbox end block, with the peghead attached, to the sides. I glued it up outside of the mold, and just used masking tape to hold it all together. This morning I removed the tape and set it into the mold. It came out perfectly (so far, none of my usual mistakes on this build --- cross your fingers!!!).


The sides fit tightly against the mold, even with only one spreader!


INDEX:

Return to HOME PAGE

  1. Working on the Top and Back
  2. Finishing the Rosette, Harpbox Peghead Veneer
  3. Bracing
  4. Carving the Braces
  5. Bending the Sides
  6. Neck and Tail Blocks
  7. Pegheads & Top Kerfing
  8. Profiling the Sides for the Back
  9. Soundport and Side Reinforcements
  10. Gluing on the Top
  11. Gluing on the Back
  12. Trimming Overhang & Harpbox Peghead
  13. Routing for Binding
  14. End Wedge & Binding
  15. Scraping the Binding, Binding the Harpbox Peghead
  16. The Box is Done --- On to the Neck!!!
  17. Working on the Neck & Fingerboard
  18. The Neck is Finished!!! Now to the Bridge!!!
  19. Peghead Inlay, Final Sanding & Pore-Filling
  20. Shellac Seal Coats and Finishing!!!
  21. Finishing the Finish!!!
  22. The Final Steps
  23. It is Finished!!!


Later today I will install the top kerfing, followed by tapering the sides on the back edge.

Later . . . 2 p.m. :


To the left is a view of the top kerfing, after I have removed the clamps.


NEXT . . . on to the profiling and tapering of the sides for the back! I've never done the profiling after the sides were bent (I've always cut the sides with the taper already figured in), so this will be something new for me. Let's see how it goes . . .