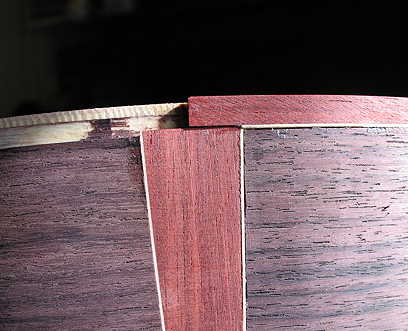
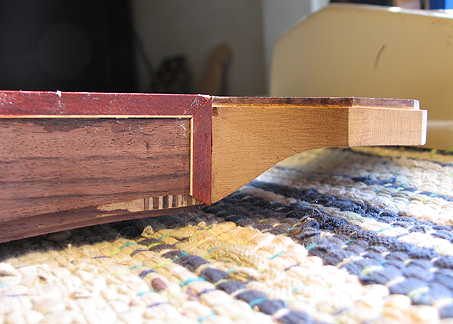
Here's the harpbox peghead end, where I also had to do some miter work. There will be a shallow-height binding strip running from the binding all the way around the peghead.
There is a little chip you can see at the top of the peghead (I think it happened when I was routing out the binding slot there), but I will fill that with some mahogany dust and glue later; hopefully, it won't be very noticeable.
|
|
Still Sunday, about 6 p.m.:
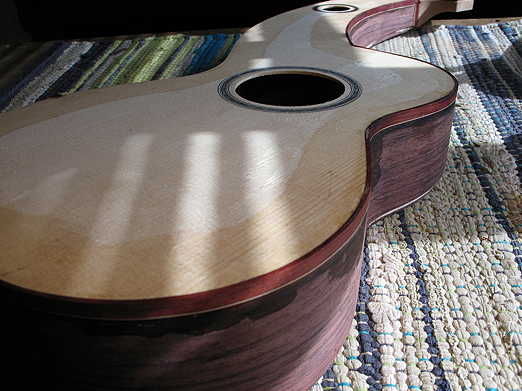
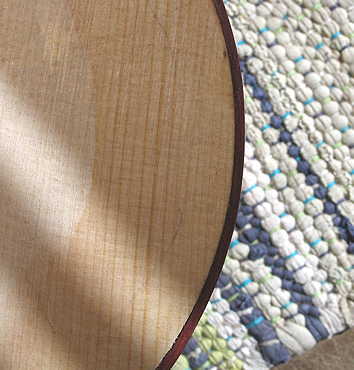
Two quick photos of where I'm at now --- I just bent the bass side binding for the top. Right now it's just taped --- I'm going to take a dinner break so that the bend will have some time to "set" a bit.
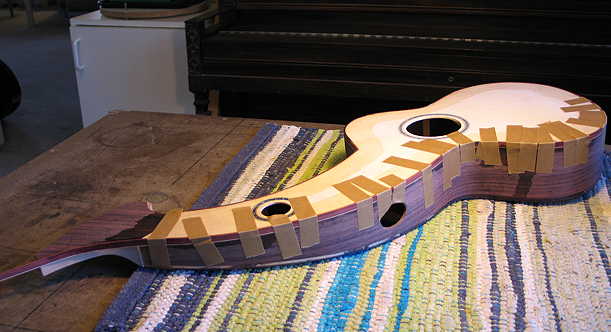
I tried something different this time, and it seems to have worked. As I began bending this piece of binding, there were some areas in the lower bout where there was a stubborn gap between the binding and the top; it seems the binding strip kind of twisted outward at the top edge, and I was having a hard time hand-bending the "twist" out of it. So what I did was to tape the binding tightly up to the area of the gap, and then, holding the entire soundbox, I pressed the binding into place against the bending iron, constantly sliding it back-and-forth to avoid scorching the binding. Occasionally, I would put a damp piece of towel between the iron and the binding, so the steam would help soften and mold the binding to the curve of the body. Well, it worked so well to get rid of the gaps, that I just continued to do the rest of the bending that way, all the way up to the end of the binding. After I eat dinner, I will remove the tape, check it all for fit again, make any necessary adjustments, and then trim the end for the miter in the corner.
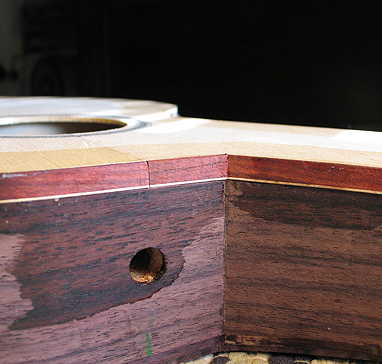
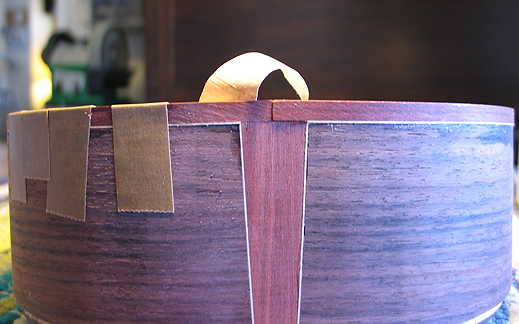
Oh, yeah....the end wedge mitering came out well (I guess I'm getting better at this):
|
|