|
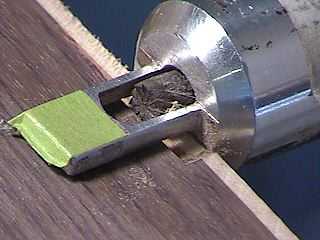
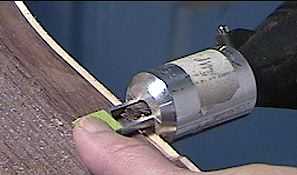
After quite a few measurements and adjustments, I've set up the cutter (Dremel #115) in the Stew-Mac binding attachment. This is how I position it to rout the top binding ledge. The long, flat guide runs along the guitar side, and the flat surface at the cutter base sits on the spruce top. Making sure to hold the attachment at a right angle to the sides, I rout from right to left. The green tape on the guide will make the cut a little bit shallower than the .090" that side is set for. |
I like using this binding attachment, because, since the guide runs along the side, I am ensured that the routed ledge will always run parallel to the sides. This is not really an issue when routing the top binding ledge; when routing the back binding ledge, however, it ensures that the ledge won't be cut at an angle into the sides (since the back's surface meets the sides at a much sharper angle than the top). The tape I have on the attachment cylinder (I have it marked "up") is just to remind me which side to rout with. (If I turned it the other way, I'd be routing a .060" ledge, instead!) |
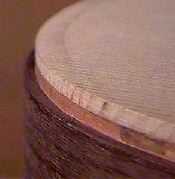 |
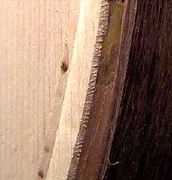
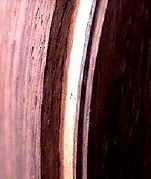
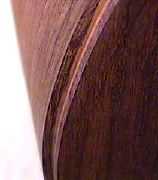
The first ledges I routed were the binding ledges. My ebony binding will have a thin holly laminate at the bottom.
To the left is the top binding ledge; to the right is the back binding ledge. |
 |