|
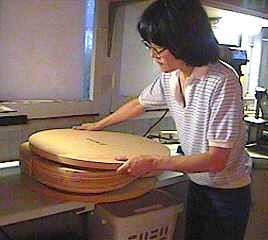
I've placed the finished sides firmly against the sides of the mold, using clamps made with threaded rod, plastic knobs, and scrap blocks. I've stuck 80-grit sandpaper to the curved surface of the two hollow radius dishes (15 ' radius for the back arch, 25 ' radius for the top arch). |
Here I am sanding the top rim of the sides (kerfing and neck & end blocks) with one of the radius dishes, by twirling the dish around in a circle as I press down on the rim. I will do the same with the back kerfing. When I'm done, the arched top and back will sit solidly on the sides, as all will have matching arches. |
|
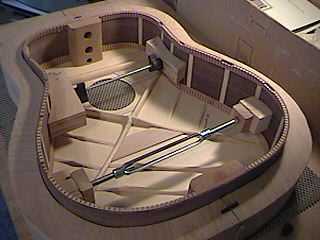
Here I'm gluing the top onto the sides. You can't see it in the photo, but the top is lying on the radius dish. I've run a bead of glue all along the top kerfing edge on the sides, which are still in the mold. (Previous to this, I have spent an hour or so fitting the top and back to the sides, for a snug fit, by chiseling out pockets in the kerfing for the brace ends.) Then I place the sides, glued kerfing side down, carefully onto the top and then clamp it down, using a guitar-shaped strip as a clamping caul. The caul has been carefully positioned on top of the side kerfing. |
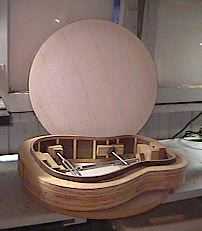
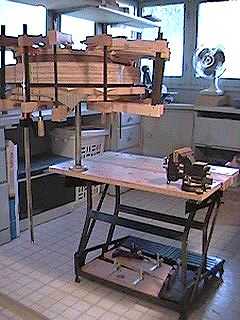
Above is the top and sides, after the glue has set. I will use the same set-up to glue on the back. I will run a bead of glue on the kerfing you see above (by the way, you can see the pockets I've chiseled out for the back braces), place the back onto the sides, and clamp it down using the same caul I used for the top. By the way, I'm using a new version of my "workboard" here. I used to have two guitar-shaped boards joined by two pipe flanges and a three-foot pipe. It worked, but was kind of wobbly. I got the brainstorm today to just use a shorter piece of pipe I had lying around, bolt a spare flange onto my Workmate, and put one of the guitar-shaped boards on that. The Workmate keeps it much more sturdy, I have easy access all around the board, and there's even a handy table right beneath it! You can see another picture of this new set-up (without all the clamps and stuff hiding it) on my "Jigs" page (return to "Amateur Luthier" site). |