|
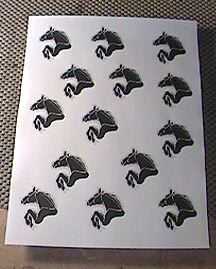
Last summer I had found a clip art book with this design of a horse, so I scanned it and saved a page with about fourteen of them. Then I cut, out of each horse image, only one of the thirteen sections. This way, I was able to place each section over the abalone pieces, until I found a section of abalone that looked suitable for that part of the horse's body. |
Here's one of those sections. Then I glued the piece of paper with white glue to the abalone. When the glue had set, I used a jeweler's saw to cut the piece of abalone. After cutting, I just used a little soapy water to remove the paper. |
|
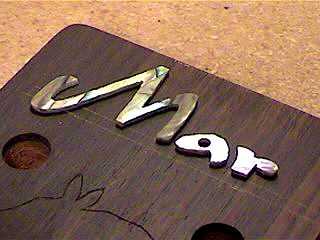
I did the same for the other pieces of inlay. Here's a picture of the customer's name, after I have cut out the three letters. I have placed a teeny-tiny dot of superglue on each piece, to hold it steady while I use an Exacto knife to scribe around the edges. Below the name, you can see that I have already scribed the outline of the horse. |
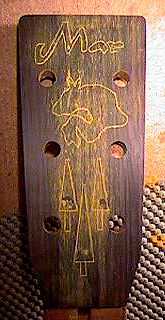
After I've scribed all the pieces, I rub yellow chalk powder into the scribed lines. That way, it will be easy to see the lines when I rout out the cavities tomorrow. It probably took me a total of about ten hours to do all this inlay work so far. You think this looks hard to do? Just wait till I have to rout out the cavities! Actually, I consider cutting the inlay easier than routing the cavities to FIT those inlay pieces! I usually end up with some gaps, or places that need more shaving and adjusting....Lucky for me there's epoxy and rosewood dust!!!! Well, we'll see tomorrow how I do this time.... |

Return to Projects Home Page |
|