|
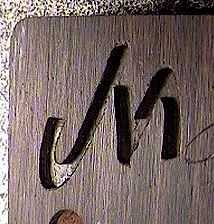
Okay...I've routed the first cavity, for the letter "M" of the customer's name. So far, so good! To rout the cavities, I used my Dremel fitted with the Stew-Mac router base, with a 1/16" down-cut, left-hand spiral carbide bit. |
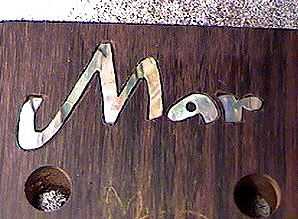
Above, I have placed all three letters in their routed cavities, to check their fit.There are some gaps here and there, but they will be largely unnoticeable (I hope), once I fill those gaps with epoxy mixed with rosewood dust. |
|
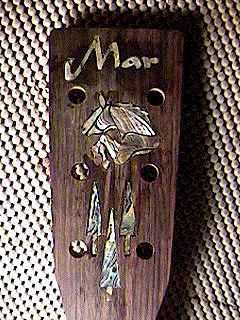
Here are all the pieces superglued into their cavities. Next, I need to do the filling-in of the gaps with the rosewood dust and epoxy. |
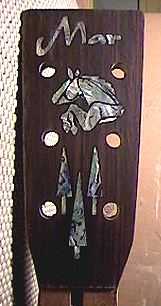
Here's the peghead after I have filled the gaps and sanded it down. In the sanding, some of the abalone pieces changed their colorations and markings, but, still, the colors will look quite brilliant under the final finish. It's hard to see the abalone's true colors here. In this photo, I dampened the peghead to try to bring out the approximate colors, but the camera didn't quite capture what it really looks like! |
|
Return to Projects Home Page |
|