|
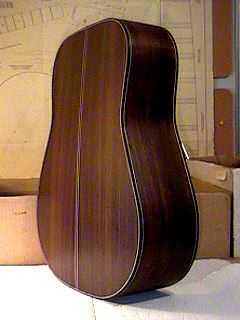
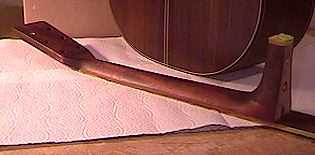
The end is in sight!!!!! Here's what I did since the last step: 1. I did my final scraping and sanding of all the rosewood. I first used my cabinet scraper to scrape away any irregularities, glue, etc. Then I sanded with 120-grit sandpaper wrapped around a cork-lined wood block. Next, I dampened all the rosewood to raise the grain. After 30 minutes, I sanded with 220-grit and wet to raise the grain again. Thirty minutes later, I sanded once again with 220. I used the scraper to knock off the sharp edge of the ebony bindings and then used sandpaper to smooth it over. 2. Next, I used the same sanding process on the neck. I then mixed up a solution of denatured alcohol and powdered aniline dye. Using a cloth, I stained the neck with the solution. 3. Next came the pore-filling. First I taped all the non-rosewood/mahogany parts with thin strips of masking tape. I mixed a little artists' oil color (burnt umber) with Jasco paste wood filler (it has kind of a custardy consistency), to form a kind of chocolate-brown color paste. I brushed it on the rosewood and mahogany with a foam brush. After a few minutes, it turned hazy and dull. Using a piece of burlap and then paper towels, I wiped the filler off, wiping across the grain to force it into the pores. I'm going to be using the LMI water-based finish (the older FSM one). I could have used a water-based wood filler, but I like using the oil-based filler much better. From past experience, I have found the water-based filler much, much harder to remove. As long as I wait long enough (I'm going to wait about three days) for the filler to completely dry, it is fine to use with the water-base finish. |
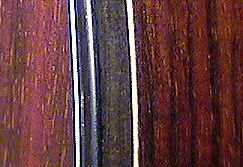
As you can see, besides filling the pores (to provide a smoother surface for finishing), the paste wood filler also lends a richer color to the rosewood. With the LMI finish, that color will become even more striking.
|
 |
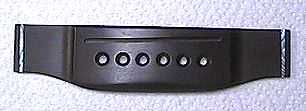
Oops --- forgot to mention this! I also inlaid a couple of abalone strips into the bridge, to add a little more interest to the top. |